
A new client wants a 30-minute intro call. You suggest Tuesday, they offer Thursday, and ten emails later there’s still no time. If you’ve picked Calendly, this guide shows how to set up Calendly so clients choose a slot themselves and the meeting lands on your calendar.
When you set up Calendly, go in this order to avoid rework. Each step says whether it works on the Free plan or needs a paid one. Menu names come from Calendly’s Help Center and can change.
Still deciding between tools? Read our Calendly vs Acuity Scheduling comparison first, or start with the bigger picture in how to set up an online booking system for a small business.
Quick steps
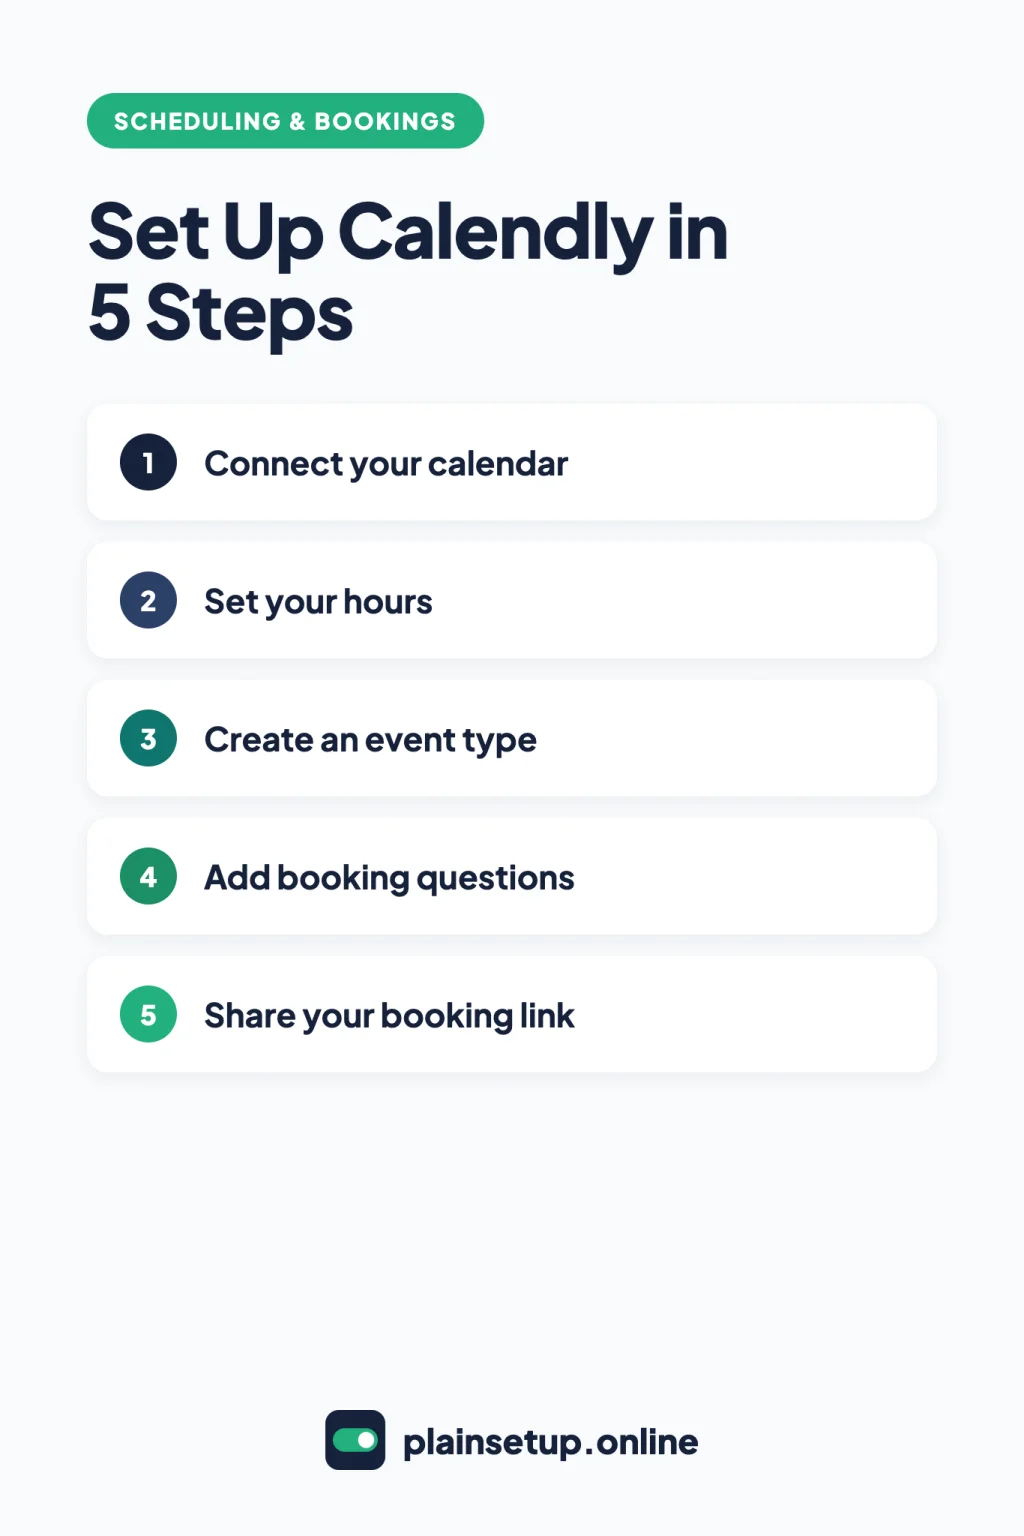
- Create your account and connect your calendar.
- Set your weekly hours and any date-specific changes.
- Create a one-on-one event type with a duration and location.
- Add booking questions to the invitee form.
- Check confirmations and, on a paid plan, turn on reminders.
- Connect Stripe or PayPal if clients pay when they book (paid plans).
- Copy your link or add it to your website, then preview it like a client.
Before you set up Calendly: what’s free and what’s paid
The Free plan is enough for one kind of meeting. Calendly’s guide to choosing the right plan breaks it down:
| Step | Free plan | Paid plans |
|---|---|---|
| Connect a calendar | 1 calendar | Up to 6 per user |
| Availability, buffers, meeting limits | Yes | Yes |
| Event types | 1 | Unlimited |
| Booking questions | Up to 10 per event type | Up to 10 per event type |
| Confirmations | Yes | Yes |
| Email and text reminders | No | Yes |
| Payments (Stripe, PayPal) | No | Standard and up |
| Website embed | Yes | Yes, plus custom colors |
| Remove Calendly branding | No | Standard and up |
On the Calendly pricing page, Standard is $10 per seat per month billed yearly, or $12 billed monthly. Teams is $16 per seat per month billed yearly, or $20 billed monthly. Only hosts need a seat; your clients don’t. The pricing page FAQ says a 14-day trial ends with your account moved to the Free plan.
Prices checked in October 2026. Plans and prices change, so confirm on the official pricing page before you buy.
If you’re still deciding, compare Calendly vs Google Calendar appointment schedules first.
Step 1: Create your account and connect your calendar
Go to the Calendly sign-up page. You can choose Continue with email, Continue with Google or Continue with Microsoft. The page says no credit card is required, and signing up with Google or Microsoft connects that calendar at the same time.
Calendly’s guide to connecting your calendar lists Google Calendar, Office 365 or Outlook.com, and Exchange. To connect one, the newest help articles for Google Calendar and Outlook use Settings > Scheduling > Calendars, then Connect. An older article uses Availability > Calendar settings, so menu names can vary.
Then pick two settings:
- Calendars to check for conflicts: Calendly marks you unavailable during busy events on these calendars.
- Calendar to add events to: the one calendar where new bookings are saved.
On a work Microsoft account, an Approval required message means your organization has to approve Calendly first.
Step 2: Set your availability
Calendly’s guide to setting your availability works on all plans. Go to Scheduling > Manage availability and open the Schedule dropdown. You can edit the default schedule or choose + Create schedule to make a new one.
- Weekly hours: in List view, add the days you work and set start and end times. Add a second time block if you take a lunch break.
- Date-specific hours: select + Hours, choose the dates, adjust the time blocks and select Apply.
- Active on: assign the schedule to your event types.
Schedule changes are saved automatically.
Step 3: Create your first event type
An event type is a reusable meeting template. Per Calendly’s guide to setting up an event type, go to Scheduling, select + Create and pick an event type. For client calls, choose One-on-one, which works on Free.
Fill in Event name, Duration, Location, Availability and Host(s), then select Save changes.
The Location section offers video conferencing (Zoom, Google Meet, Microsoft Teams, Webex or GoTo Meeting), phone call, in-person, custom, or ask invitee. To use a video tool, connect it first under Automations > Integrations & apps (video conferencing guide). Each booking then gets its own meeting link automatically.
Inside the same editor you can protect your time, on all plans:
- Minimum notice: in the Availability section, under Date-range, set how much notice you need (fine-tune availability).
- Buffers: More options > Limits and buffers > + Set buffer time adds breaks before or after meetings (how to use buffers).
- Daily limits: in the same section, + Set limit caps bookings per day, week or month (meeting limits).
Step 4: Add booking questions
Calendly’s booking form collects name and email. To ask more, follow the guide to adding invitee questions: open your event type, select More options > Invitee form > + Add new question. Tick Required if clients must answer, choose an Answer type and select Save changes.
You can add up to 10 custom questions per event type on any plan. Answer types include one line, multiple lines, radio buttons, checkboxes, dropdown and phone number.
Step 5: Turn on reminders and confirmations
Confirmations work on every plan. Per Calendly’s page on scheduling notifications, each booking sends either a calendar invitation from your connected calendar or an email confirmation from Calendly.
Reminders need a paid plan. For basic notifications, open the event type, select More options > Notifications and automations, select the three dots next to a notification and toggle it on. For more control, go to Automations and pick a template with Use automation or select Create your own automation (how to create an Automation).
Text reminders have a few rules. Calendly’s guide to text messages with Automations says you can’t send them during the trial, and clients must opt in. Per the SMS credit limits page, non-Enterprise plans get 250 SMS credits per seat per month. A text to the US or Canada uses 0 credits; a text to the UK uses 1.
Step 6: Add payments (optional)
Collecting payment at booking needs Standard or higher. First connect a processor under Automations > Integrations & apps:
- Stripe: per Calendly + Stripe, your Stripe account must be in live mode to take real payments.
- PayPal: per Calendly + PayPal, you need a Business PayPal account.
Then open the event type, select More options > Payment and turn on Require payment to book this meeting (Stripe) or select Accept payments with PayPal. Enter the amount and currency and select Save changes. Supported currencies are AUD, CAD, EUR, GBP and USD.
Calendly’s Payments FAQ says the client is charged during booking and the money goes straight to your Stripe or PayPal account. Refunds happen in Stripe or PayPal, not in Calendly. The Stripe article also notes that Calendly doesn’t calculate or collect VAT or sales tax.
Step 7: Share your link or add it to your website
Calendly’s guide to sharing your scheduling link gives you a few options, all on every plan:
- Copy link on the event type card: your standard booking link.
- Create single-use link: a link that expires after one booking (single-use links).
For your website, select the three dots on the event card, then Add to website. Choose Inline embed, Popup widget or Popup text, select Continue, then Copy Code and paste it into your site (add Calendly to your website). Custom embed colors need a paid plan. Removing the “Powered by Calendly” badge needs Standard or higher, under your profile icon > Branding (turn off Calendly branding).
Test it like a client
The final check after you set up Calendly: look at your page the way a client will, before sharing it. The event type editor overview says you can open the editor and select Preview at the bottom. Check that:
- The times match your hours, notice and buffers, in your time zone.
- The location and questions read clearly.
- If you charge, the price and currency are right.
Calendly’s notifications page also suggests a test booking to see which email address the invitation comes from.
Frequently asked questions
Is Calendly free?
Yes, there’s a Free plan with no time limit. It covers one event type, one connected calendar and unlimited one-on-one meetings, per the pricing page. Paid plans start with Standard.
Can Calendly send reminders on the free plan?
No. Free sends booking confirmations, but automated reminders are listed for Standard and up on the pricing page. Text reminders also don’t work during the trial.
How do I add Calendly to my website?
Use Add to website from the three dots on your scheduling page or an event card, pick an embed type and copy the code. Calendly’s embed guide links to instructions for Wix, Squarespace, WordPress, Google Sites and other site builders.
Can clients pay when they book?
Yes, on Standard or higher, with Stripe or PayPal connected. If the payment fails, the booking isn’t completed, according to Calendly’s Payments FAQ.
Sources
- Calendly: Pricing
- Calendly: Signup and create your free account
- Calendly: Choose the right Calendly plan
- Calendly: Connect your calendar to Calendly
- Calendly: How to connect your Google Calendar
- Calendly: How to connect your Office 365 or Outlook.com calendar
- Calendly: How to set your availability
- Calendly: How to fine-tune your availability settings
- Calendly: How to use buffers
- Calendly: How to set meeting limits
- Calendly: How to set up an event type
- Calendly: Event type editor overview
- Calendly: How to set the location for your event type
- Calendly: How to schedule with video conferencing
- Calendly: How to add or remove invitee questions
- Calendly: Calendly scheduling notifications
- Calendly: How to set up basic notifications
- Calendly: How to create an Automation
- Calendly: How to send text messages with Automations
- Calendly: SMS credit limits
- Calendly: Calendly + Stripe
- Calendly: Calendly + PayPal
- Calendly: Payments FAQs
- Calendly: How to share your scheduling link
- Calendly: How to create a single-use link
- Calendly: How to add Calendly to your website
- Calendly: How to turn off Calendly branding on your scheduling page
Your Next Step
Today, set up Calendly with one event type: your standard client call, with your real working hours and two or three booking questions. Preview it, then send the link to the next person who asks for a time. For more help, browse our Scheduling & Bookings guides.

Fernando Pompeu is a journalist and digital content writer with more than 8 years of experience in media outlets and news portals. He writes to explain things clearly and without jargon. At PlainSetup, he publishes step-by-step guides to the everyday tools small businesses run on, based on each tool’s official documentation and written for owners without an IT team.