
A client calls while you’re with another client, leaves a voicemail asking for “sometime next week,” and the phone tag starts. If your business already pays for Microsoft 365, you may have a booking tool you’ve never opened. This guide shows how to set up Microsoft Bookings so clients pick a time on a web page and the appointment lands in your Outlook calendar.
Bookings has two kinds of pages. A personal booking page is for you and one-on-one meetings. A shared booking page is for a business: several services, staff members and one public link. This guide covers the shared page. Menu names come from Microsoft Learn and can change.
Still comparing tools? Start with how to set up an online booking system for a small business. No Microsoft 365 account yet? Follow our guide to setting up Microsoft 365 business email first.
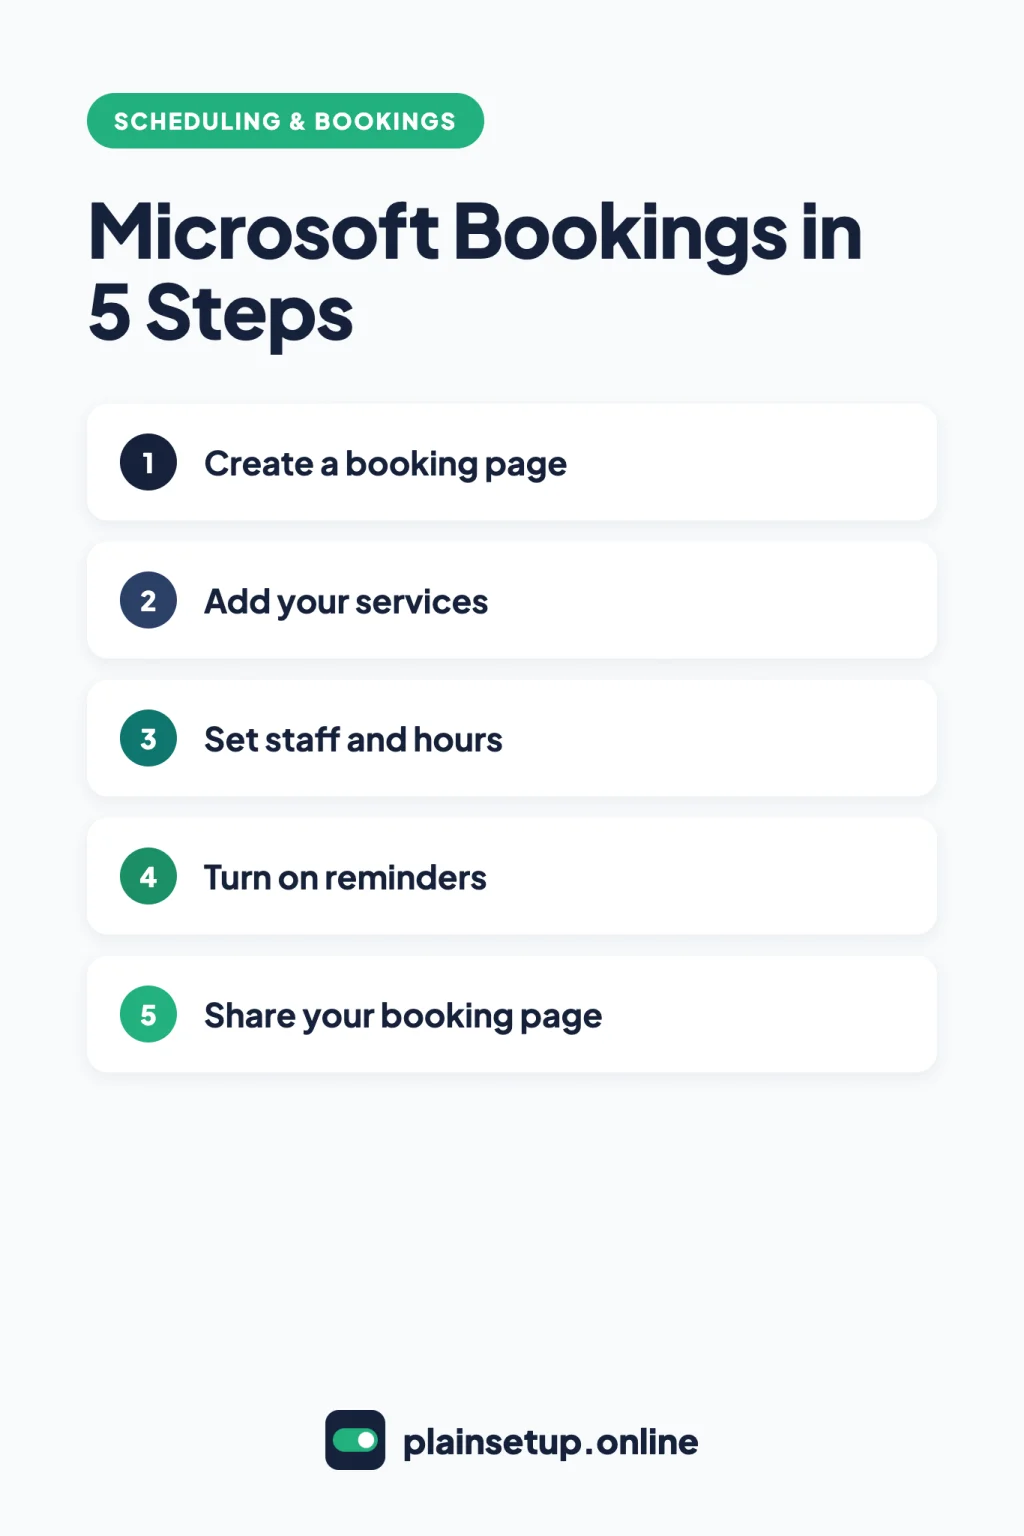
Quick steps
- Check that your Microsoft 365 plan includes Bookings, then open it at book.ms.
- Create a shared booking page with your business name and hours.
- Add services with a duration, buffer time and price display.
- Add staff and choose whose calendars count.
- Set lead time, cancellation notice and how far ahead clients can book.
- Turn on confirmation and reminder emails.
- Publish the page, then share the link or embed it on your website.
Before you set up Microsoft Bookings: plans and limits
According to the Bookings overview, the small business plans that include it are Business Basic, Business Standard and Business Premium. The Shared Bookings FAQ says it isn’t sold as a standalone app, and Outlook on the web must be enabled for your account.
| Plan | Paid yearly | Paid monthly | Includes Bookings |
|---|---|---|---|
| Microsoft 365 Business Basic | $7.00 user/month | $8.40 user/month | Yes |
| Microsoft 365 Business Standard | $14.00 user/month | $16.80 user/month | Yes |
| Microsoft 365 Business Premium | $22.00 user/month | $26.40 user/month | Yes |
Both annual and monthly subscriptions renew automatically. For example, two people on Business Basic paid yearly cost 2 x $7.00 = $14.00 a month. Prices checked in October 2026. Plans and prices change, so confirm on the official pricing page before you buy.
Three things to know before you start:
- No payments. The FAQ is direct: “No, there’s no payment support in Bookings.” You can show a price on a service, but clients pay you another way.
- Teams meetings need a Teams license. The Bookings service description says the staff member being booked needs a license that can create Teams meetings. The three plans above include Teams.
- Your admin can switch it off. If Bookings is missing from your apps, an admin can check Settings > Org settings > Shared Bookings in the Microsoft 365 admin center and tick Allow your organization to use Bookings (turn Shared Bookings on or off). For one person, it’s under Users > Active users > the user > Licenses and Apps > Apps. Another Microsoft page labels the menu Bookings and says tenant changes can take up to four hours (granular controls).
Step 1: Create your booking page
Go to book.ms and sign in with your Microsoft 365 account, or pick Bookings from the app launcher. In Outlook or Teams, you can add it from the Apps icon in the left rail.
Your personal booking page already exists. The Personal Bookings FAQ says it’s auto published with two meeting types, 15 minutes and 30 minutes, and works only for one-on-one meetings.
For a business page, follow Microsoft’s steps to set up your shared booking page:
- In the Shared Bookings section of the home page, select Create booking page, then Create from scratch.
- Enter your business name (the only required field), logo and business hours.
- Use Invite staff, Add a service and Choose who can book appointments now, or skip them for later.
- Select Create. If you quit before this, your progress isn’t saved.
Then open Business information in the left pane. Add your address, phone, Website URL and privacy policy link. In Send customer replies to, enter the inbox that should get client replies to confirmations and reminders. Select Save.
Step 2: Add your services
A service is something clients book, such as a 60-minute consultation. Per Microsoft’s guide to defining your services, open your shared booking page, select Services, then Add new service.
- Service name and Description: what clients see on the booking page.
- Location: shown in confirmation and reminder emails.
- Add online meeting: turn it on to give each appointment its own Teams link, added to the calendar event and to every confirmation and reminder email.
- Duration: how long each appointment blocks your calendar.
- Buffer time: turn on the toggle, then use Before and After to add prep or travel time.
- Price: pick a price option to show clients. Price not set hides any mention of cost.
- Maximum attendees per event: raise it for group sessions, such as a class.
Buffers change which slots appear. Microsoft’s page on service availability gives an example: a one-hour appointment with a 15-minute buffer needs a free block of 1 hour and 15 minutes.
The booking form always asks for email, phone, address and notes; untick Required to make them optional. Keep email required if you use Teams links, since that’s how the link reaches the client. Select Save changes.
Step 3: Add staff and business hours
Per Microsoft’s guide to adding team members, select Staff, then Add new staff. Type a colleague’s name and pick them from the list. Staff don’t need a Microsoft 365 account, only a valid email address, but people outside your organization can’t share their free/busy time with Bookings.
Choose a role for each person: Team member, Scheduler, Viewer or Guest.
Leave Events on Microsoft 365 calendar affect availability ticked. It’s on by default, and Microsoft recommends keeping it on to avoid double bookings. Keep Use business hours ticked, or untick it to give someone shorter hours, such as Tuesdays only.
Business hours live on the Business information page under Set your business hours. They start at 8 a.m. to 5 p.m., Monday through Friday. Select + to add a second time row for a lunch break.
Step 4: Set booking rules
Your rules sit on the Booking page tab, in the Scheduling policy section (set scheduling policies):
- Time increments: the gap between start times, from 5 minutes to 4 hours.
- Lead time in hours: how far ahead clients must book or cancel. This is your cancellation notice too.
- Maximum days in advance: how far into the future clients can book.
- Notify when a booking is created or changed: emails you about every new or changed booking.
The FAQ notes there must be at least 24 hours between the minimum and maximum lead time. These rules apply to every service unless you turn off Default scheduling policy inside a service and set different ones.
Clients reschedule or cancel with the Manage booking button in their confirmation email, and you get an email when they do (let customers manage their booking).
On the same tab, check access. Leave Require a Microsoft 365 account from my organization to book unticked, or outside clients can’t book. Tick Disable direct search engine indexing of booking page if only people with the link should find it (customize and publish your booking page).
Step 5: Turn on confirmations and reminders
Emails are set per service. Open a service and go to its Notifications page. You’ll find Email confirmation, Email reminders and Email follow-up, each sent to customers, staff or both. You can add several reminders, plus your own text, such as what to bring or how to reschedule.
For staff, tick Notify all staff via email when a booking assigned to them is created or changed in each person’s staff details.
On a personal booking page, reminders sit inside each meeting type under Advanced Settings > Email Reminders (add email reminders).
Step 6: Share your booking page
Select Save and publish on the Booking page tab. Microsoft’s guide to sharing your booking page lists these options:
- Copy Link: paste it in emails, your email signature or social profiles.
- Email: send the link straight from Bookings.
- Embed in Your Website: copy the iframe code and paste it into your site.
To share one service only, open it under Services and copy the URL under Service booking page.
Once you set up Microsoft Bookings and publish, open the link in a new browser window and book a test slot. One catch from the FAQ: appointments can only be edited in the Bookings web app, not in your Outlook calendar. To take the page offline, select Unpublish.
Frequently asked questions
Is Microsoft Bookings free?
There’s no free or standalone version. Bookings is included in Microsoft 365 Business Basic, Business Standard and Business Premium, per the Shared Bookings FAQ.
Can clients pay when they book in Microsoft Bookings?
No. Microsoft’s FAQ says Bookings has no payment support. You can display a price on each service, but you’ll need to collect payment some other way.
Do my clients need a Microsoft account to book?
No. The Personal Bookings FAQ says anyone can book with you, even without a Microsoft account; only you need a Bookings license. The exception is a page set to require an account from your organization.
Can I set up Microsoft Bookings without a website?
Yes. The FAQ says you can give clients the booking page link from the Booking page tab and they’ll see your current availability.
Sources
- Microsoft: Microsoft Bookings
- Microsoft: Shared Bookings Frequently Asked Questions
- Microsoft: Personal Bookings Frequently Asked Questions
- Microsoft: Microsoft Bookings service description
- Microsoft: Microsoft 365 Pricing for Business: Plans with Teams
- Microsoft: Turn on or off Shared Bookings for organization
- Microsoft: Manage granular controls for Shared Bookings
- Microsoft: Set up your shared booking page
- Microsoft: Define your services in Shared Bookings
- Microsoft: Configure service availability
- Microsoft: Add team members to Bookings
- Microsoft: Set Bookings scheduling policies
- Microsoft: How to let customers manage their booking
- Microsoft: Customize and publish your booking page
- Microsoft: Add email reminders and follow-up
- Microsoft: Sharing your shared booking page
Your Next Step
Today, open book.ms and set up Microsoft Bookings with one shared booking page, your real business hours and your most common service. Book a test appointment yourself, then send the link to the next client who asks for a time. For more help, browse our Scheduling & Bookings guides.

Fernando Pompeu is a journalist and digital content writer with more than 8 years of experience in media outlets and news portals. He writes to explain things clearly and without jargon. At PlainSetup, he publishes step-by-step guides to the everyday tools small businesses run on, based on each tool’s official documentation and written for owners without an IT team.