
You finished a job, the client is happy, and now you need to bill them before the details go fuzzy. If you’ve picked Wave, this guide shows how to create an invoice in Wave, from your business details to the moment the payment is recorded.
The steps use Wave in a web browser. Each one says whether it works on the free Starter plan or needs Pro or online payments. Menu names come from Wave’s Help Center and can change.
Still choosing a tool? Read our FreshBooks vs Wave vs QuickBooks comparison first.
Quick steps
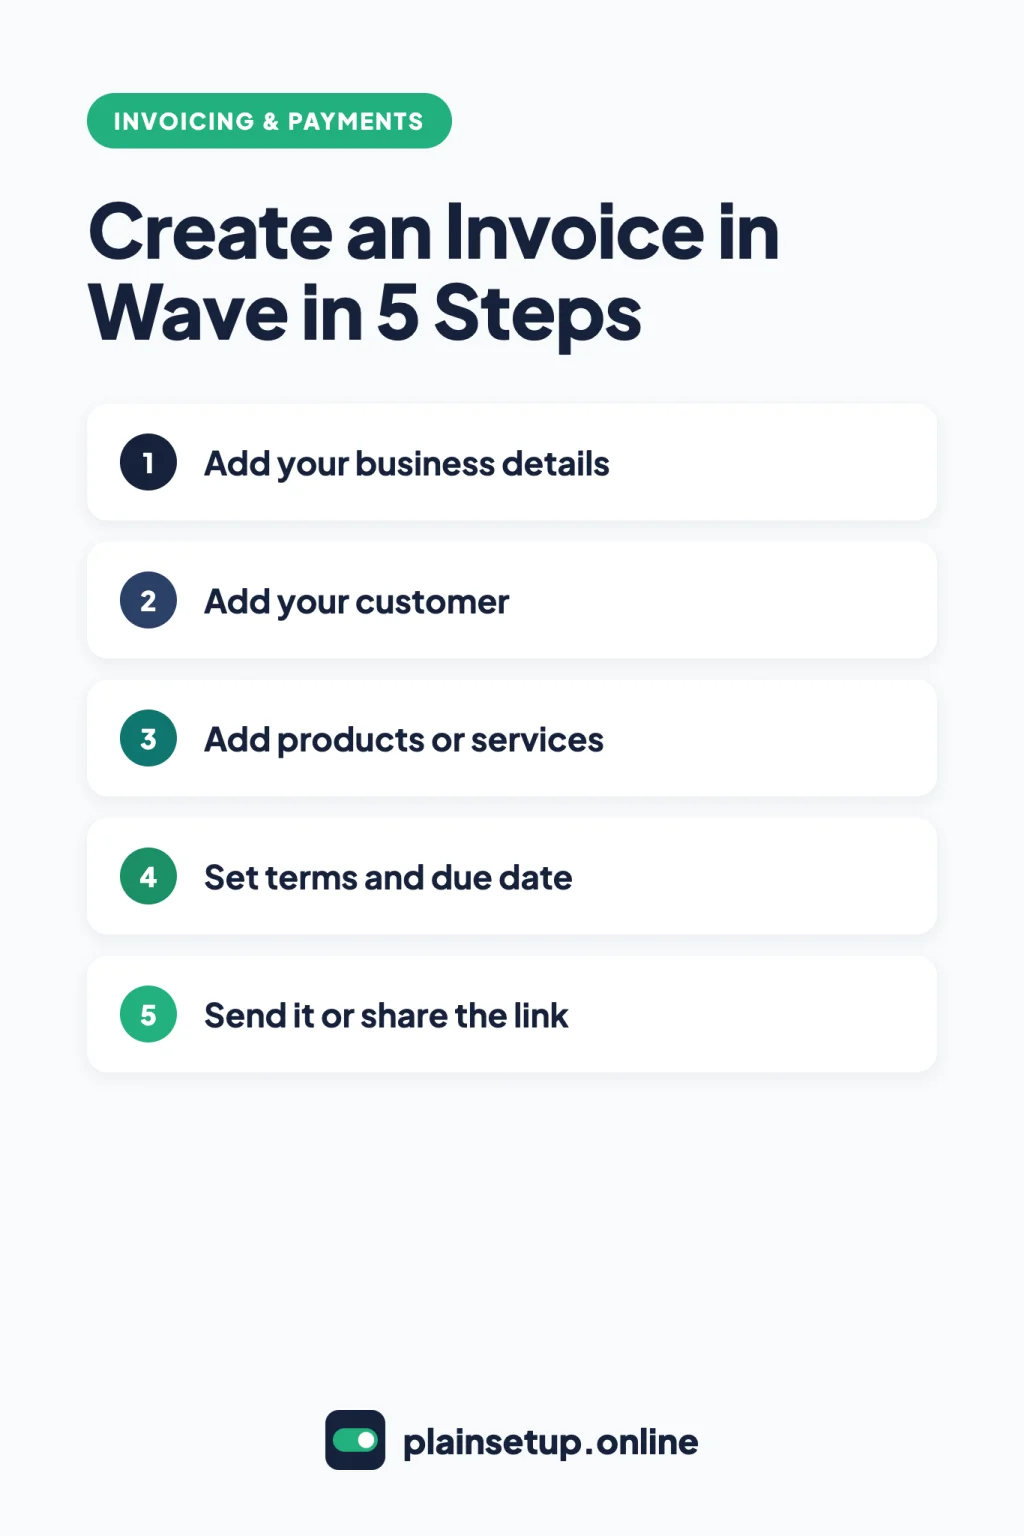
- Add your business details and logo.
- Add your customer with a name and email.
- Save the products or services you sell.
- Create the invoice, set the dates and approve the draft.
- Email it through Wave, or share a link or PDF.
- Record the payment and check the invoice status.
Before you start: Starter vs Pro
Wave serves businesses in the US and Canada. Since November 2020, users elsewhere can’t send invoices or reminders through Wave, only share them as a PDF or link.
Per Is Wave free?, the Starter plan is free and includes basic invoicing. The catch is sending: emailing invoices through Wave needs the Pro plan or approved online payments. Here’s what the Wave pricing page lists:
| Invoicing feature | Starter | Pro |
|---|---|---|
| Unlimited invoices and estimates | Yes | Yes |
| Logo and brand colors | Yes | Yes |
| Send by link or PDF | Yes | Yes |
| Send by email through Wave | With online payments | Yes |
| Automatic late payment reminders | With online payments | Yes |
| Attachments on invoices | No | Yes |
| Remove the Wave footer | No | Yes |
Starter is $0. Pro is $19 USD/month billed monthly, or $190 USD/year billed annually, per business. Online payments are an add-on you apply for under Sales & Payments > Payments Setup. Per Set up online payments, access depends on approval, and Wave reviews applications within 3 business days.
Online payments have fees. On Starter, Wave’s fees article lists 2.9% + $0.60 per Visa, Mastercard or Discover payment, 3.4% + $0.60 per Amex payment, and 1% per bank payment (minimum $1 fee). On Pro, the first 10 card transactions each month have a $0 fixed fee.
Prices checked in October 2026. Plans and prices change, so confirm on the official pricing page before you buy.
Step 1: Add your business details and logo
Your business name, address and contact details print on every invoice. Per Edit your business information, click your business name at the top right, then Profile settings > Businesses. Click the pencil icon next to your business, edit the details and click Save.
Next, set how invoices look. Per Customize your invoices and estimates, click your business name > Business settings > Invoices and estimates. Both plans include:
- Logo: a JPEG, PNG or GIF under 5MB, at most 300 by 200 pixels. Make sure Display logo is checked.
- Accent color: use the sliders or type a hex code.
- Template: pick one of three. Each has its own font; custom fonts aren’t possible.
- Invoice settings: default Payment terms (upon receipt, or 15, 30, 45, 60 or 90 days), plus a default title, subheading, footer and notes/terms.
Click Save all changes. Default invoice settings only apply to new invoices. Turning off the Powered by Wave footer needs Pro.
Step 2: Add a customer
Per Wave’s guide to adding a customer, go to Sales & Payments > Customers and click Add customer.
- Customer: the business or person’s name. It’s the only required field.
- Primary contact: the first and last name and email of whoever receives your invoices. Wave needs this email to send invoices and reminders.
- Add contact: extra people who should get copies.
- Currency: change it only if you bill this customer in another currency.
- Billing and Shipping: addresses, if you mail invoices or products.
Click Save. You can also create a customer in the middle of an invoice with Add a customer > Create a new customer.
Step 3: Add products or services
Saved items spare you retyping descriptions and prices. Per Create a product or service, go to Sales & Payments > Products & Services and click Add a product.
- Enter a name, such as “Logo design” or “Hourly consulting”.
- Add an optional description. It fills in automatically on invoices.
- Enter a price. It’s optional, and you can change it on any invoice.
- Check Sell this and choose an income account. Without this box, the item can’t go on invoices.
- Select a sales tax if one applies, then click Save.
Sales taxes are set up under Business settings > Sales Taxes (see Add, edit, or delete a sales tax). Questions about which sales taxes you must charge belong with an accountant.
Step 4: Create an invoice in Wave
Now put it together. Per Wave’s article Create an invoice, go to Sales & Payments > Invoices and click Create an invoice at the top right. The first time, Wave asks you to set up a template.
- Invoice number: Wave numbers invoices in order. You can type a different number if it hasn’t been used.
- Customer: click Add a customer and pick from the list.
- Dates: choose the invoice date and the payment due date. Your default payment terms apply, and you can pick a custom due date on any invoice. Add a P.O. or S.O. number if the client uses one.
- Items: click Add an item, choose a saved product, then set the quantity and price. Changes here don’t touch the item’s saved settings.
- Tax: pick one from the Tax dropdown. Taxes apply per item, not to the whole invoice.
- Notes / Terms and Footer: at the bottom, add payment instructions or terms. Reset restores your defaults.
- Extras: Add a discount below the subtotal, or change Currency. Tags and attachments need Pro.
Be careful with Business address and contact details, title, summary, and logo at the top of the page. Changes there update your business profile and all past invoices.
Click Save and continue. This saves a draft, and Wave’s article warns: “Wave does not automatically save invoices.” A draft doesn’t affect your accounting. When it looks right, click Approve draft. Per Approve a draft invoice, you can only approve in a web browser, and an approved invoice can’t go back to draft.
Step 5: Send it or share a link
You have two ways to get the invoice to your client.
Email it through Wave (Pro, online payments or payroll)
Per Send an invoice through Wave, go to Sales & Payments > Invoices and click Send next to the invoice. In the pop-up, check the From and To addresses and edit the subject and message. Preview the email, then click Send.
With online payments on, the email your client gets has a Review & Pay button for card or bank payment, per how customers pay invoices.
Share a link or PDF yourself (all plans)
Per Send an invoice outside of Wave, open the invoice and click Send invoice in the Send section. On Pro or with online payments, open the More options tab first. Choose Copy link or Download PDF, then paste or attach it in your own email.
Afterwards, open the invoice and click Mark as sent, so its status stops showing Unsent. If you edit the invoice later, the same link shows the new version, so tell your client.
Step 6: Record the payment and follow up
With online payments, Wave marks the invoice paid when the client pays in full. For checks, cash or bank transfers, record it yourself. Per Mark an invoice as paid, open the invoice and, in the Manage payments section, click Record a payment. Fill in the details, add any Memo / Notes and click Submit.
Each invoice has one status at a time:
| Status | What it means |
|---|---|
| Draft | Saved, not yet approved |
| Unsent | Approved, not sent or marked as sent |
| Sent / Viewed | Sent, or opened by your client |
| Partial | Partly paid, balance still due |
| Paid / Overpaid | Paid in full, or more than the total |
| Overdue | Unpaid or partly paid after the due date |
The Unpaid tab on the Invoices page groups everything still open. For automatic nudges before or after the due date (Pro or online payments), see our guide to setting up automatic payment reminders.
Frequently asked questions
Can I create an invoice in Wave for free?
Yes. The Starter plan is $0 and includes unlimited invoices, per the pricing page. On Starter you send invoices as a link or PDF; emailing them through Wave needs online payments or Pro.
Can I change the invoice number in Wave?
Yes. Wave numbers each invoice after the last one, so 007 is followed by 008. Per Wave’s invoicing FAQ, you can edit the number as long as no other invoice uses it.
Why can’t I email my invoice from Wave?
Sending through Wave is limited to businesses on Pro, with online payments or with payroll. Businesses outside the US and Canada can’t send invoices through Wave at all, per Wave’s regional changes article. Use Copy link or Download PDF instead.
Can I delete an invoice in Wave?
Yes, from the dropdown arrow next to it, but deleted invoices can’t be recovered. Invoices paid through online payments can’t be deleted at all; Wave’s FAQ suggests writing off an invoice you don’t expect to be paid.
Sources
- Wave: Pricing
- Wave: Is Wave free?
- Wave: Changes for Wave users outside the United States and Canada
- Wave: Online payments processing fees and timelines
- Wave: Set up online payments
- Wave: Edit your business information
- Wave: Customize your invoices and estimates
- Wave: Add a customer
- Wave: Create a product or service
- Wave: Add, edit, or delete a sales tax
- Wave: Create an invoice
- Wave: Approve a draft invoice
- Wave: The difference between creating and approving a draft invoice
- Wave: Send an invoice through Wave
- Wave: Understand how customers pay invoices through Wave
- Wave: Send an invoice outside of Wave
- Wave: Mark an invoice as paid
- Wave: Invoice statuses
- Wave: Edit or delete an invoice
- Wave: Frequently asked questions about invoicing
Your Next Step
Today, add your logo and one saved service, then create an invoice in Wave for your most recent job and approve it. Send it by email or copy the link, and click Mark as sent if you shared it yourself. For more help, browse our Invoicing & Payments guides.

Fernando Pompeu is a journalist and digital content writer with more than 8 years of experience in media outlets and news portals. He writes to explain things clearly and without jargon. At PlainSetup, he publishes step-by-step guides to the everyday tools small businesses run on, based on each tool’s official documentation and written for owners without an IT team.