
You run a small business with a newsletter. Some readers bought from you last month, some only downloaded a free checklist, and a few live too far away for your in-person events. Right now they all get the same email. This guide shows how to segment your email list in MailerLite, Mailchimp and Kit, so each group gets the emails that fit what they want.
The three tools use different words for the same idea. Menu names come from each vendor’s help center and can change. If you don’t have a list yet, start with how to start an email newsletter.
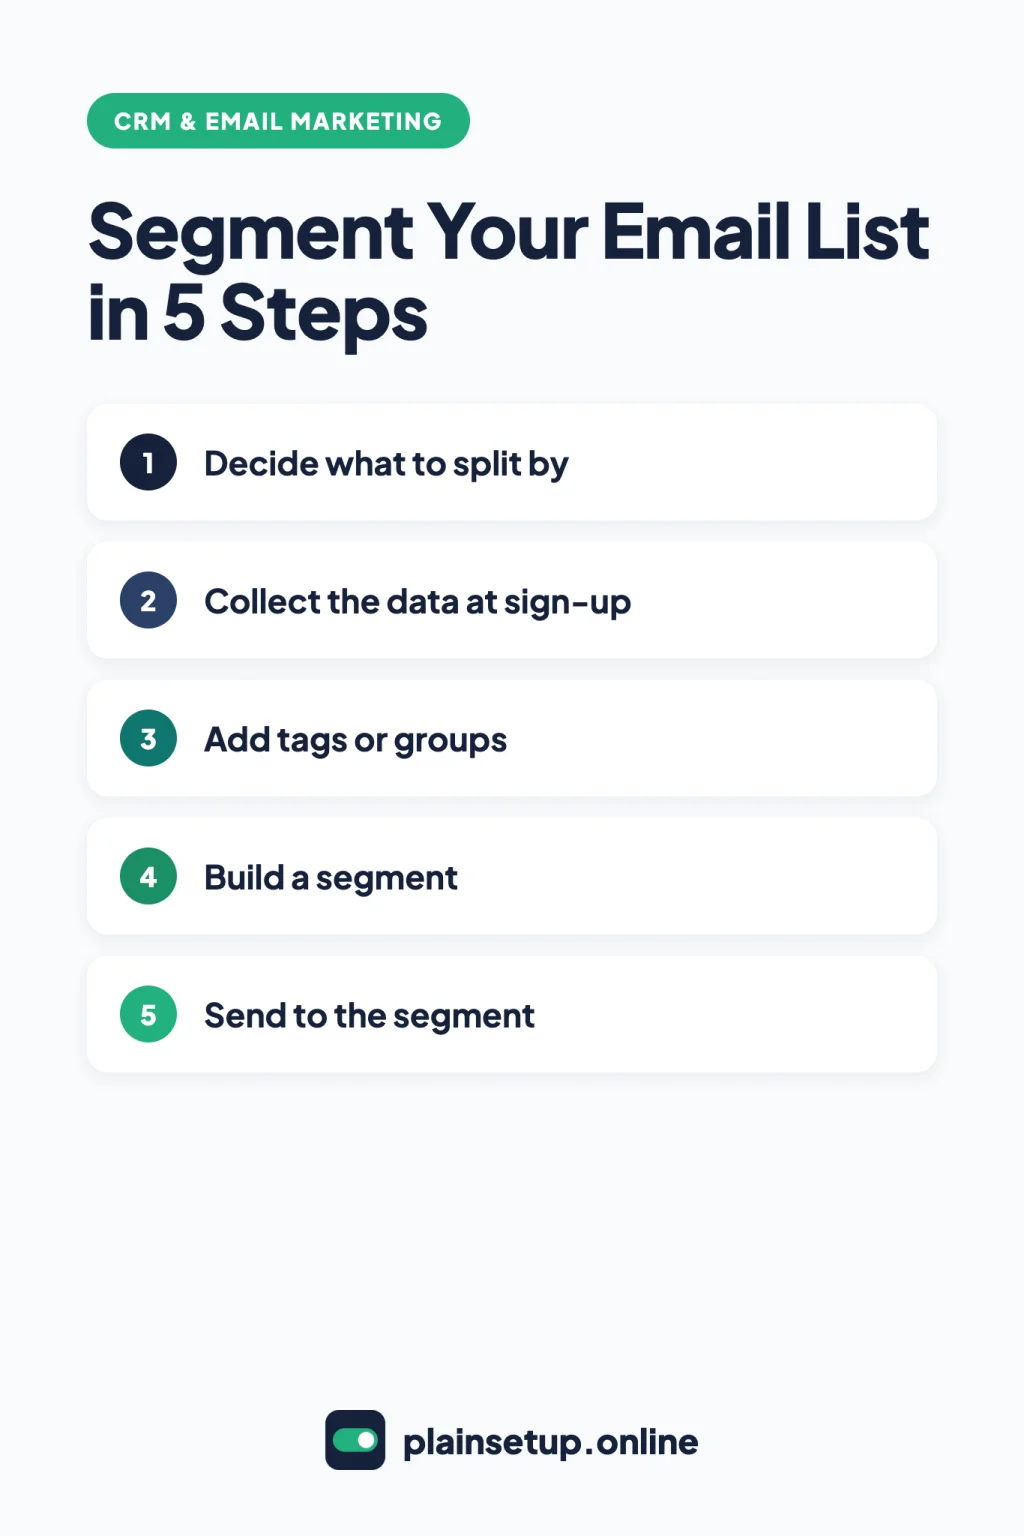
Quick steps
- Decide what to split your list by.
- Add a group or tag choice to your sign-up form.
- Label the people already on your list.
- Build a segment from rules.
- Send your next campaign to that segment.
- Delete labels and segments you no longer use.
What it means to segment your email list
Segmenting means sending to part of your list instead of everyone. Each tool has fixed labels that you add (or subscribers pick) and segments, saved rules that update themselves. Kit’s guide to tags and segments puts it this way: “Segments are fluid groups of subscribers who meet certain filter conditions.”
| Tool | Fixed labels | Rule-based lists | On the free plan |
|---|---|---|---|
| MailerLite | Groups | Segments | Interest groups and dynamic segments listed as unlimited |
| Mailchimp | Tags (you add) and groups (contacts choose) | Segments | Regular segments, up to 10 conditions |
| Kit | Tags | Segments | Tagging and segmentation included |
Sources: the MailerLite pricing comparison table, Mailchimp’s guide to getting started with segments and the Kit Free plan page. Plan features checked in October 2026. Plans and prices change, so confirm on each official plan page before you buy.
Keep everyone in one list and split it with these tools. Mailchimp’s guide to getting started with your audience says: “We recommend you maintain 1 primary audience in Mailchimp.” Audiences don’t share contacts, so the same address in two audiences counts as two contacts, and the Free plan includes only one audience. In MailerLite, a subscriber in several groups is counted once toward your plan limit.
Step 1: Decide what to split your list by
Before you segment your email list, pick two or three splits that would change what you send. Common ones for a small business:
- Interest: the topic or product line someone cares about, such as workshops or online orders. Best collected as a choice on your sign-up form.
- Customer or lead: people who have paid you versus those who only signed up. A tag you add works well.
- Location: useful for local events. MailerLite lists Location as a segment filter, and Kit’s tags and segments guide names location as a segment condition.
Start small. A few splits you’ll actually use are easier to keep accurate.
Step 2: Collect the data at sign-up
Add a short question to your form so new subscribers sort themselves.
MailerLite
When you create a form, MailerLite asks which group new subscribers join. Its guide to creating an embedded form calls this an important step. To let people choose, follow the guide to interest groups inside forms: in the Drag and drop editor, open the Settings tab, tick Interest groups and click the plus sign over the form to pick groups. For a pop-up, use the Options tab and toggle Interest groups on. Hidden group adds every sign-up to a group they don’t see.
Mailchimp
Mailchimp uses groups for choices contacts make themselves. Go to Audience > More options > Groups > Create Group, choose checkboxes, radio buttons, a dropdown or hidden, then fill in the Group category (visible to contacts) and the Group options, per its guide to creating an audience group. Each audience can have up to 60 group names. To label everyone who uses one particular form, the embedded form builder has a Tags menu that tags each sign-up automatically (embedded signup forms).
Kit
Kit adds tags straight from a form or landing page. Its guide to tag dropdowns and checkboxes says to add a field with the plus icon, then in the sidebar set Save as to Tag and choose a dropdown (one choice) or checkboxes (several). To tag everyone who joins a form, Kit’s guide to automatically tagging subscribers uses a Visual Automation or a Rule with the Subscribes to a form trigger. Both need the Creator or Creator Pro plan.
Step 3: Add groups or tags to people already on your list
MailerLite
Go to Subscribers > Groups > Create group, enter a name and click Create. Then select subscribers on the Subscribers page and choose Actions > Add to group. You can also open a group with View group > Add subscribers, up to 50 at a time, as MailerLite’s guide to groups explains.
Mailchimp
Go to Audience > Tags > Create new tag. To tag many people, click Bulk tag, paste addresses or upload a CSV, choose Tag these emails and click Apply tag. For a few, tick them in the contact table, click Tag contacts, choose Add tags and click Apply. Tag names can be up to 100 characters, per Create, Add, or Remove Tags.
Kit
On the Subscribers page, click the plus icon next to All Tags, name the tag and click Save. Select subscribers and choose Add Tag from the bulk actions menu, as Kit’s guide to creating and managing tags shows.
Step 4: Build a segment from rules
MailerLite
Go to Subscribers > Segments > Create segment. Choose Create to start from scratch or pick a filter from the segment library, name the segment, add filters and click Save changes. MailerLite’s guide to segments warns you to watch “and” versus “or”: with “and”, people must meet every condition. Filters include Groups, Location, Signup date and Signup source.
Mailchimp
Go to Audience > Segments > Create segment, pick a condition in Select or search a filter, click Use segment, enter a Segment name and click Save & exit, as in Create and Send to a Segment. Other Mailchimp articles show Review Segment instead, so labels may differ. On Free and Essentials, a segment can have up to 10 conditions and one and/or operator. Nested logic with unlimited conditions needs Standard, Premium or a legacy Mailchimp Pro plan. Mailchimp’s pre-built segments such as New Subscribers and Engaged Subscribers are available to all accounts.
Kit
On the Subscribers page, click the plus icon next to All Segments, name it in the Create Segment window, and set each filter group to match Any, All or None of its filters. Use Add Filter for more conditions, per Kit’s guide to creating a segment. Kit advises against keeping a catch-all “Newsletter” tag by hand; build a segment from your forms and tags instead.
Step 5: Send a campaign to a segment
- MailerLite: when you set up a campaign, select the segment as a recipient, or use Exclude segment to leave a group out. The guide notes that exclusion wins over inclusion.
- Mailchimp: go to Audience > Segments, open the drop-down next to your segment under Saved by you and choose Send regular email. From an email draft, use the To section > Send to > Segments, and Do not send to to exclude one. Mailchimp removes anyone who isn’t subscribed.
- Kit: go to Broadcasts > + New Broadcast, write the email and click Continue. Under Send email, change Broadcast recipients from All Subscribers to your segment or a tag filter (Creating, sending, and publishing Broadcasts). Kit says segments de-duplicate, so no one gets the email twice.
Keep segments tidy
- Remove what you don’t use. Deleting a MailerLite segment doesn’t delete its subscribers, and deleting a Mailchimp tag keeps the contacts (Manage Tags).
- Use segments for anything that changes. Tags stay until removed; segments update themselves.
- Let people update their choices. Kit recommends linking form tags to Manage Subscriber Preferences; MailerLite lets subscribers change groups on your unsubscribe page; Mailchimp groups can appear on an update profile form.
- Handle inactive readers separately. A segment of people who stopped opening is a cleaning job; see how to clean your email list.
Frequently asked questions
What is the difference between a tag and a segment?
A tag (or a MailerLite group) is a fixed label that stays until you or an automation removes it. A segment is a saved set of rules, and the tool adds or removes people as they match. Kit notes that only tags, not segments, can start its automations.
Should I make a separate list for each group?
Usually not. Mailchimp recommends one primary audience and counts the same address in two audiences as two contacts. MailerLite counts a subscriber in several groups once, and Kit’s segments de-duplicate when you send.
Can I segment my list on a free plan?
Yes, with limits. MailerLite’s pricing table lists unlimited interest groups and dynamic segments on Free. Mailchimp Free allows segments with up to 10 conditions, and the Kit Free plan includes tagging and segmentation, but automatic tagging with Rules or Visual Automations needs a paid Kit plan.
Sources
- MailerLite: How To Create And Use Groups
- MailerLite: How To Create And Use Segments
- MailerLite: How To Use Interest Groups Inside Forms
- MailerLite: How To Create An Embedded Form
- MailerLite: Pricing
- Mailchimp: Getting Started with Your Audience
- Mailchimp: About Mailchimp Pricing Plans
- Mailchimp: Getting Started with Groups
- Mailchimp: Create a New Audience Group
- Mailchimp: Create and Customize Embedded Signup Forms
- Mailchimp: Getting Started with Tags
- Mailchimp: Create, Add, or Remove Tags
- Mailchimp: Manage Tags
- Mailchimp: Getting Started with Segments
- Mailchimp: Create and Send to a Segment
- Mailchimp: About Pre-Built Segments
- Kit: Tags and Segments in Kit (and when to use which)
- Kit: Creating and managing Tags
- Kit: Adding tag dropdowns + checkboxes to Kit forms
- Kit: How to automatically tag subscribers
- Kit: How to create a Segment
- Kit: Creating, sending, and publishing Broadcasts
- Kit: The Kit Free plan
Your Next Step
Pick the one split that would change your next email, such as customers versus leads. Today, create that group or tag in your email tool, add it to the people you already know about, and add the matching choice to your sign-up form. Then send your next campaign to that segment only. That is how to segment your email list one useful step at a time. For more help, browse our CRM & Email Marketing guides.

Fernando Pompeu is a journalist and digital content writer with more than 8 years of experience in media outlets and news portals. He writes to explain things clearly and without jargon. At PlainSetup, he publishes step-by-step guides to the everyday tools small businesses run on, based on each tool’s official documentation and written for owners without an IT team.