
Your website says “Join our newsletter,” and the sign-up form sits there week after week with almost no new names. A short free file, like a checklist or a one-page guide, gives visitors a clear reason to hand over their email address. This guide shows how to create a lead magnet and send it automatically with MailerLite, Mailchimp or Kit.
The first two steps need no software. The last three use your email tool and say when a paid plan is needed. Menu names come from each vendor’s help center and can change.
No email list yet? Start with our guide on how to start an email newsletter, then come back here.
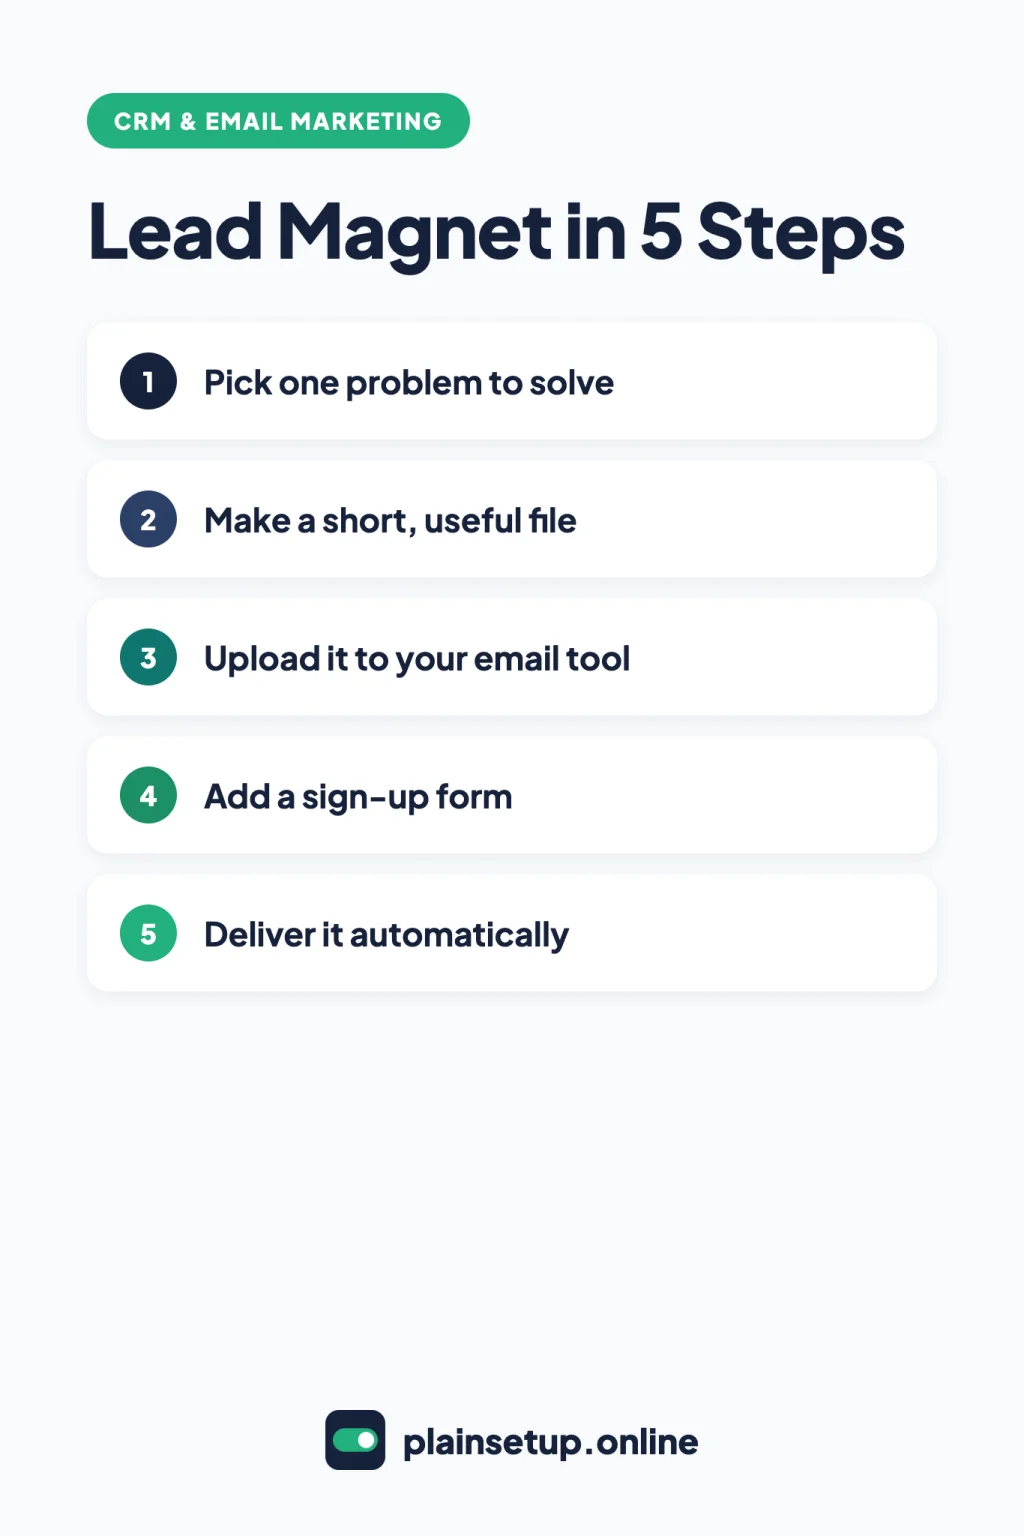
Quick steps
- Pick one problem your customers ask you about.
- Turn the answer into a short file, such as a PDF checklist.
- Upload the file to your email tool.
- Add a sign-up form or landing page that names the file.
- Send the download link automatically after sign-up.
- Sign up yourself to test the whole path.
Before you create a lead magnet: what it is and why permission matters
A lead magnet is a free item you give in exchange for an email address. MailerLite’s help center calls it a freebie and lists eBooks, guides, PDF checklists, coupons and video content as examples. The deal is simple: the visitor asks for the file, and in return they join your list.
Say clearly on the form that people will also get your emails, and include an unsubscribe link in every message. Rules for marketing email differ by country, so check official guidance such as the FTC’s CAN-SPAM compliance guide for the US or the ICO’s electronic mail marketing guidance for the UK.
Step 1: Pick one problem your customers have
Start with the questions you already answer by phone or email. Keep it narrow and tied to the work you sell. For example:
- A bookkeeper: “What to gather before your first meeting.”
- A dog groomer: “How to prepare your dog for its first groom.”
- A wedding photographer: “Questions to ask any photographer before you book.”
Pick one problem only. You can create a lead magnet for another topic once the first one is running.
Step 2: Make a short, useful file
The file only needs to solve the problem from Step 1. Common formats you can make in a word processor:
- Checklist: the steps or items, one per line, with a box to tick.
- Template: a fill-in document, such as a project brief or a packing list.
- Short guide: a few pages that explain one process in plain words.
- Resource list: tools, suppliers or local contacts you recommend.
Describe what’s inside honestly and don’t promise results the file can’t guarantee. Put your business name and website on it.
Save it as a PDF and keep the file small. MailerLite’s file manager accepts files up to 10MB, Mailchimp hosts non-image files up to 10MB, and Kit recommends 10 MB as a maximum for files in emails. Use a short file name with no spaces, underscores or accented letters.
Step 3: Upload the file to your email tool
All three tools host the file for you and give subscribers a link instead of an attachment. Mailchimp says it doesn’t allow attachments, and Kit adds files as downloadable links.
| Tool | Where the file lives | Size limit | How you link it |
|---|---|---|---|
| MailerLite | File manager | 10MB (PDF, ePUB, images) | Link icon, then Insert File or Redirect to File |
| Mailchimp | Content studio | 10MB (images about 1MB) | Link icon, then File |
| Kit | Form settings (Step 5) | Not stated for forms | Download option after confirming |
MailerLite
Open the File manager tab, click Upload and choose your PDF, according to MailerLite’s guide to importing PDF and ePUB files.
Mailchimp
Uploaded files are stored in the content studio. From the dashboard, go to the Content section and click My files. You can also upload the file directly while adding the link in Step 5. Mailchimp’s content studio guide notes that each upload gets a unique ID that can’t be changed.
Step 4: Add a sign-up form or landing page
Your form needs a headline that names the file, a line on what’s inside, an email field and a button. It can sit on your site or on a landing page you share on social media. Our newsletter guide covers form basics; here is what matters for a lead magnet:
- MailerLite: every form asks which group new subscribers join. Use one group, such as “Checklist download,” for every form that offers this file. The Free plan allows 3 active forms and 1 landing page, according to the MailerLite pricing page.
- Mailchimp: landing pages and forms are available on every plan, Free included. The final welcome email in Step 5 belongs to your audience’s signup form.
- Kit: go to Audience growth > Landing Pages & Forms > + New > Form, according to The Kit Form builder. Click Save & Publish after changes. The Free plan includes unlimited forms and landing pages for up to 10,000 subscribers.
Step 5: Deliver it automatically
MailerLite: welcome automation
MailerLite’s guide to creating an automation workflow gives this path:
- On the Automations page, click Create workflow.
- From the Triggers tab, drag Joins a group into the workflow, pick your download group and click Save.
- Click the plus icon and add the Send email action. Fill in the subject and sender details.
- Click Design email, write a short message, select the link text or button, click the Link icon and choose Insert File (or Redirect to File in the simple editor).
- Click Activate. When asked about current group members, choose No, only add new subscribers unless you want them to get the file too.
MailerLite’s freebie guide calls the button New automation and the trigger When a subscriber joins a group, so labels vary. The Free plan includes 3 active automations with up to 5 steps each. Another option is a link on the double opt-in Confirmation thank you page (Forms > Overview > Double opt-in tab). Note: “Editing double opt-in confirmation emails is only available on MailerLite’s paid plans.”
Mailchimp: final welcome email or a flow
The final welcome email is off by default. To turn it on, go to Audience > Signup forms > Form builder > Manage forms, choose Final welcome email from Forms and response emails and tick Send a final welcome email. Then, on the Build it tab, highlight your link text, click the Link icon, choose File, upload or pick the PDF, click Insert and then Save & Close. Mailchimp’s Send a File to New Subscribers uses Forms > Other forms instead.
For a welcome email you can extend later, build a marketing automation flow (paid plan): Automations > Build from scratch > name and audience > Choose a trigger > Signs up for email > Save Trigger, add a Send email action with the file link, then Continue > Turn flow on. Mailchimp’s help says flows allow up to 4 steps on Essentials or higher. Its plan comparison lists flows as not included on Free, so check the current plan page.
Kit: download after confirming
In the form builder, click Settings and open the Confirmation email tab. Tick Send confirmation email, then under After confirming redirect to choose Download, click Choose a file and save. Publish the form again. Subscribers get the file after they click the button in the confirmation email, as Kit’s confirmation email guide explains. Some older Kit articles call this tab Incentive.
Kit’s help pages don’t tie this setting to a plan, but follow-up email sequences and visual automations need Creator or Creator Pro, according to The Kit Free plan.
Plan features checked in October 2026. Plans and prices change, so confirm on each official plan page before you buy.
Check that it works
Sign up on your own form with a second email address. Mailchimp suggests testing with the Signup form URL in the form builder. Then check that:
- The email arrives with a clear subject line.
- The link opens the right file on a phone and on a computer.
- Your business name and an unsubscribe link appear in the email.
If a Kit download fails, its troubleshooting page says to re-upload the file, shorten the file name and publish the form again. Later, you can send related emails only to the people who downloaded this file. Our guide on how to segment your email list shows how.
Frequently asked questions
Can I attach the PDF to the email instead of linking to it?
Not in Mailchimp, which says it doesn’t allow attachments and hosts the file instead. Its file sharing guide adds that attachments can slow or stop bulk email delivery. Kit also adds files as downloadable links, not attachments.
Can I deliver a lead magnet on a free plan?
In MailerLite, yes: the Free plan includes 3 active automations. In Kit, the confirmation email download isn’t tied to a plan on its help pages, but sequences are paid. In Mailchimp, the final welcome email has no plan listed on its help page, while automation flows start on Essentials.
Can I update the file later?
In Kit, upload the new version under the same Download setting and save, and future confirmation emails use it. In Mailchimp, each upload gets its own unchangeable ID, so a new version means a new link. Replace the link in your welcome email after uploading.
Sources
- MailerLite: How to send a freebie (lead magnet) to new subscribers
- MailerLite: Importing PDF and ePUB files to MailerLite
- MailerLite: How to create an automation workflow
- MailerLite: How to use double opt-in when collecting subscribers
- MailerLite: Pricing
- Mailchimp: Send a File to New Subscribers
- Mailchimp: Turn the Final Welcome Email On or Off
- Mailchimp: Share Files with Contacts
- Mailchimp: Use the Content Studio
- Mailchimp: Create a Marketing Automation Flow
- Mailchimp: All the Marketing Automation Flow Triggers
- Mailchimp: About Marketing Automation Flows
- Mailchimp: Compare plans
- Kit: The Confirmation Email
- Kit: Grow your list with content upgrades
- Kit: The Kit Form builder
- Kit: Troubleshooting: Confirmation downloads
- Kit: Adding files to your emails
- Kit: The Kit Free plan
- FTC: CAN-SPAM Act: A Compliance Guide for Business
- ICO: Electronic mail marketing
Your Next Step
Today, write down the one question customers ask you most and draft a one-page checklist that answers it. Save it as a PDF, upload it to your email tool and set up the automatic delivery from Step 5. Once you create a lead magnet and test it, add the form to your homepage. For more help, browse our CRM & Email Marketing guides.

Fernando Pompeu is a journalist and digital content writer with more than 8 years of experience in media outlets and news portals. He writes to explain things clearly and without jargon. At PlainSetup, he publishes step-by-step guides to the everyday tools small businesses run on, based on each tool’s official documentation and written for owners without an IT team.