
The email address in your website footer gets more junk than real inquiries, and the real ones are hard to act on: “Hi, how much?” with no name, no phone number and no hint of what the person needs. A Google Forms contact form fixes the second problem by asking the same clear questions every time and putting every answer in one place.
This guide goes in order: decide what to ask, build the form, check the email field, get an alert for each message, save responses to a spreadsheet, publish, and add it to your site. It works with a personal Google account or Google Workspace, and menu names come from Google’s help pages, linked as we go.
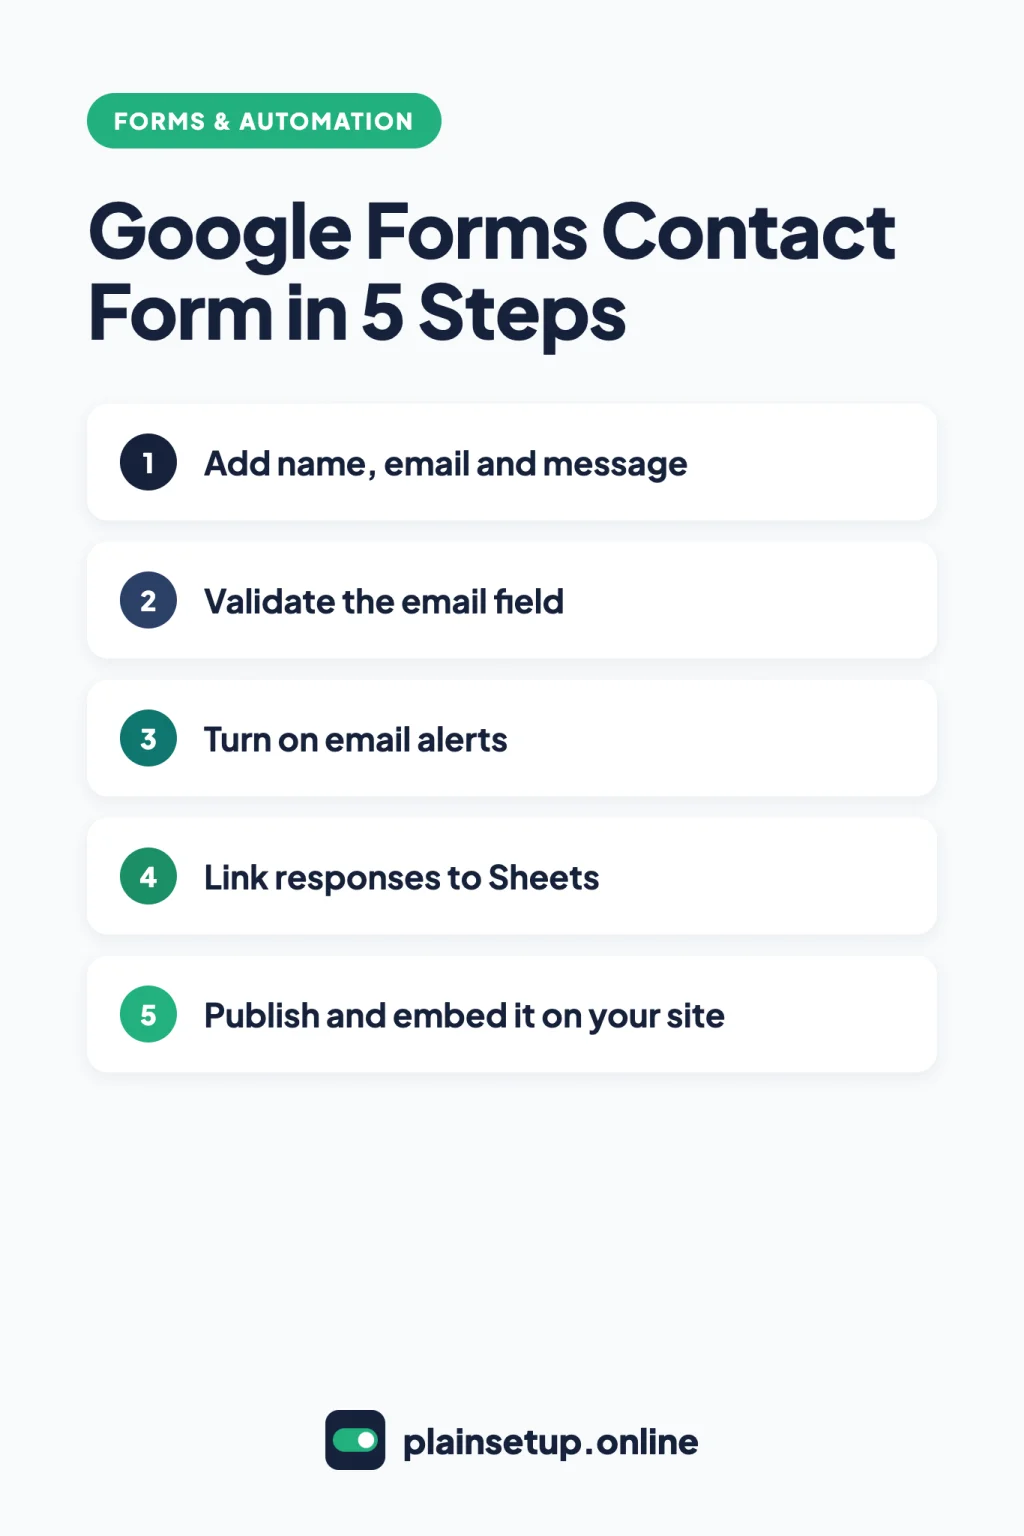
Quick steps
- Create a blank form at forms.google.com and give it a title.
- Add name, email and message questions, and turn on Required.
- Use response validation so the email field only accepts email addresses.
- Turn on email notifications for new responses.
- Link the form to a Google Sheets spreadsheet.
- Publish the form and copy the responder link.
- Embed the form on your website with the Embed HTML code.
What a good contact form asks
A contact form should get you enough to reply well, and nothing that makes people give up halfway. That usually means four or five questions:
| Question | Question type | Required? |
|---|---|---|
| Your name | Short answer | Yes |
| Your email address | Short answer (with validation) | Yes |
| Phone number | Short answer | No |
| What can we help with? | Multiple choice or Dropdown | Yes |
| Your message | Paragraph | Yes |
The “What can we help with?” question sorts messages before you open them. Use options that match your work, such as a quote, a booking or a general question. Skip a file upload question on a public contact form: Google’s guide to question types says responders need to sign in to a Google Account to answer it.
Step 1: Create your Google Forms contact form
Go to forms.google.com, click Blank form and name your untitled form, for example “Contact us”. You can also start from drive.google.com: in the top left, click New > Google Forms. Either way, Google’s guide to using Google Forms says the form is saved in Google Drive.
To change the form’s title or description, click the text. Use the description to tell people what happens next, such as who will read the message and how you usually reply.
Step 2: Add the fields and make the right ones required
Google’s help on editing your form describes the routine for each question:
- Click Add.
- Type the question title.
- To the right of the title, choose the question type (Short answer, Paragraph, Multiple choice or Dropdown).
- For choice questions, type the options.
- Turn on Required if people shouldn’t be able to skip it.
Short answer gives one line (name, email, phone); Paragraph allows a longer answer for the message. Multiple choice and Dropdown both let people pick only one option, and Multiple choice can include an “Other” option where they type their own answer.
Need a hint under a question, like “Include your area code”? Click More > Description on that question.
Step 3: Check the email address with response validation
A typo in the email field means you can’t reply. Google’s page on setting rules for your form uses this exact case as its example.
- Click your email question (it should be a Short answer question).
- Click More > Response validation.
- In the rule menu, select Text, then choose the email format option.
- Optional: in the Custom error text field, write a friendly message, such as “Please check your email address.”
If an answer breaks the rule, people see your error message and, per Google’s responder troubleshooting page, can’t submit.
Google also has a “Collect email addresses” setting under Settings > Responses, with Verified (people confirm their Google Account email) and Responder input options, per its page on managing responses. For a public contact form, a validated email question is simpler.
Step 4: Get an email for every new response
A contact form only helps if you see new messages quickly. Turn on alerts:
- At the top of the form, click Responses.
- Click More.
- Click Get email notifications for new responses.
Our guide to automating small business tasks without code shows how it fits with email filters, templates and reminders.
Step 5: Send responses to Google Sheets
The form keeps a summary of responses, but a spreadsheet is easier to sort, search and share. In the Responses tab, click Link to Sheets at the top right. Google’s page on choosing where to save responses also gives the full path: Responses > Summary > More > Select destination for responses, then Create a new spreadsheet (or Select existing spreadsheet) and click Create or Select.
- Google Sheets puts the responses in a table automatically.
- When you create a new response spreadsheet, people who collaborate on the form get access to it. Later permission changes don’t sync, so update the form and the sheet separately.
- The spreadsheet is a separate file in Drive. Deleting one doesn’t delete the other.
- If you unlink it (More > Unlink form), new responses stop going to the sheet, but the data already there stays.
Want each new response to land in a CRM or another app too? Our comparison of Zapier vs Make explains how those no-code automation tools connect apps.
Step 6: Publish the form and copy the link
Google’s guide to publishing and sharing your form is clear: “Before responders can access your form, you need to publish it.” Even someone with the link can’t open an unpublished form.
First, check two settings:
- Confirmation message: Settings > Presentation > next to “Confirmation message,” click Edit, write a short thank-you that says what happens next, and click Save.
- Limit to 1 response: leave it off. Google’s tip says that to fill out a form with this setting, users must sign in to their Google Account.
Then publish:
- At the top right, click Publish.
- Click Manage to choose who can respond. Under “General access,” choose anyone with the link.
- Click Done > Publish. The top right now shows “Published.”
On Google Workspace? Google’s page on getting permission to open a form says forms from work or school accounts are only open to people in your organization unless you change the settings. Per Google’s responder access page, click Share or Published > Manage and set responder permissions to “Anyone with link.”
To get the link, click Published > Copy responder link. For a shorter version, check the box next to “Shorten URL” and click Copy.
Step 7: Add the form to your website
The quickest option is a “Contact us” link on your site that opens the responder link. To show the form right on your contact page instead:
- Open the form in Google Forms.
- At the top right, click the More menu.
- Select Embed HTML.
- Click Copy.
- In your website editor, paste the code where you want the form, in a block or section that accepts HTML.
Google autosaves draft responses for 30 days by default and lists forms embedded in websites as a case where you may want that off. To turn it off, go to Settings > Presentation and turn on Disable autosave for all respondents.
Test the form before you share it
Before you tell anyone about your new Google Forms contact form, open your contact page (or the responder link) in a private browser window and run through this list:
- Skip a required question. You should see “This is a required question” and be unable to submit.
- Type a broken email, like name@ with nothing after it. Your custom error text should appear.
- Send a complete test message. Check for the notification email, the new row in your spreadsheet and your confirmation message.
- Check it on your phone. Make sure it’s easy to fill out there.
When everything works, delete the test: Responses > Individual, find the response, then click Delete > YES. Google warns that deleting responses can’t be undone. Because the spreadsheet is a separate file, open it too and remove the test row if it’s still there.
Frequently asked questions
Can I get an email when someone fills out my Google Form?
Yes. The option sits in the Responses tab under More, as covered in Step 4. Google’s response help page also mentions a Form notifications add-on if you want more notification options or custom follow-up emails to respondents.
How do I put a Google Form on my website?
Publish it first, then use More > Embed HTML > Copy and paste the code into your page, or link to the form with the responder link. Google’s Google Forms product page lists sharing by email, social media or embedding on a website.
Can people respond without a Google account?
Google’s help pages, including its publishing guide, name some cases that do require signing in: Limit to 1 response, file upload questions and forms limited to a Workspace organization. A contact form built as in this guide avoids all three. Google doesn’t list every case in one place, so test your published form while signed out.
Can I stop the form from accepting new messages?
Yes. On a published form, click Published at the top right and turn off Accepting responses, or choose Set close date or response limit. According to Google’s guide to managing responses, visitors then see a “no longer accepting responses” message, which you can customize.
Sources
- Google Docs Editors Help: How to use Google Forms
- Google Docs Editors Help: Edit your form
- Google Docs Editors Help: Choose a type of question for your form
- Google Docs Editors Help: How to set rules for your form
- Google Docs Editors Help: View & manage form responses
- Google Docs Editors Help: Choose where to save form responses
- Google Docs Editors Help: Publish & share your form with responders
- Google Docs Editors Help: Get permission to open a Google Form
- Google Docs Editors Help: Share responder access for users in trusted domains in upgraded forms
- Google Docs Editors Help: Fix common errors while you respond to a Google Form
- Google Workspace: Google Forms
Your Next Step
Today, open forms.google.com and build your Google Forms contact form with the five questions from the table above, then turn on email notifications before you publish it. Send yourself one test message to make sure it all works. For more help, browse our Forms & Automation guides.

Fernando Pompeu is a journalist and digital content writer with more than 8 years of experience in media outlets and news portals. He writes to explain things clearly and without jargon. At PlainSetup, he publishes step-by-step guides to the everyday tools small businesses run on, based on each tool’s official documentation and written for owners without an IT team.