
A new client books a first session. When they arrive, the first part of the meeting goes to basics: how to reach them, what they actually need, and the photo or document they forgot to bring. A client intake form collects those answers before the first visit, so you can prepare instead of taking notes on the spot.
This guide uses Google Forms as the main example, with one line each on Jotform and Tally where file uploads come up. It covers the form you send to people who have already said yes. If you need a form for strangers to reach you from your website, start with our guide to building a Google Forms contact form.
Menu names come from each vendor’s help pages, linked as we go, and can change.
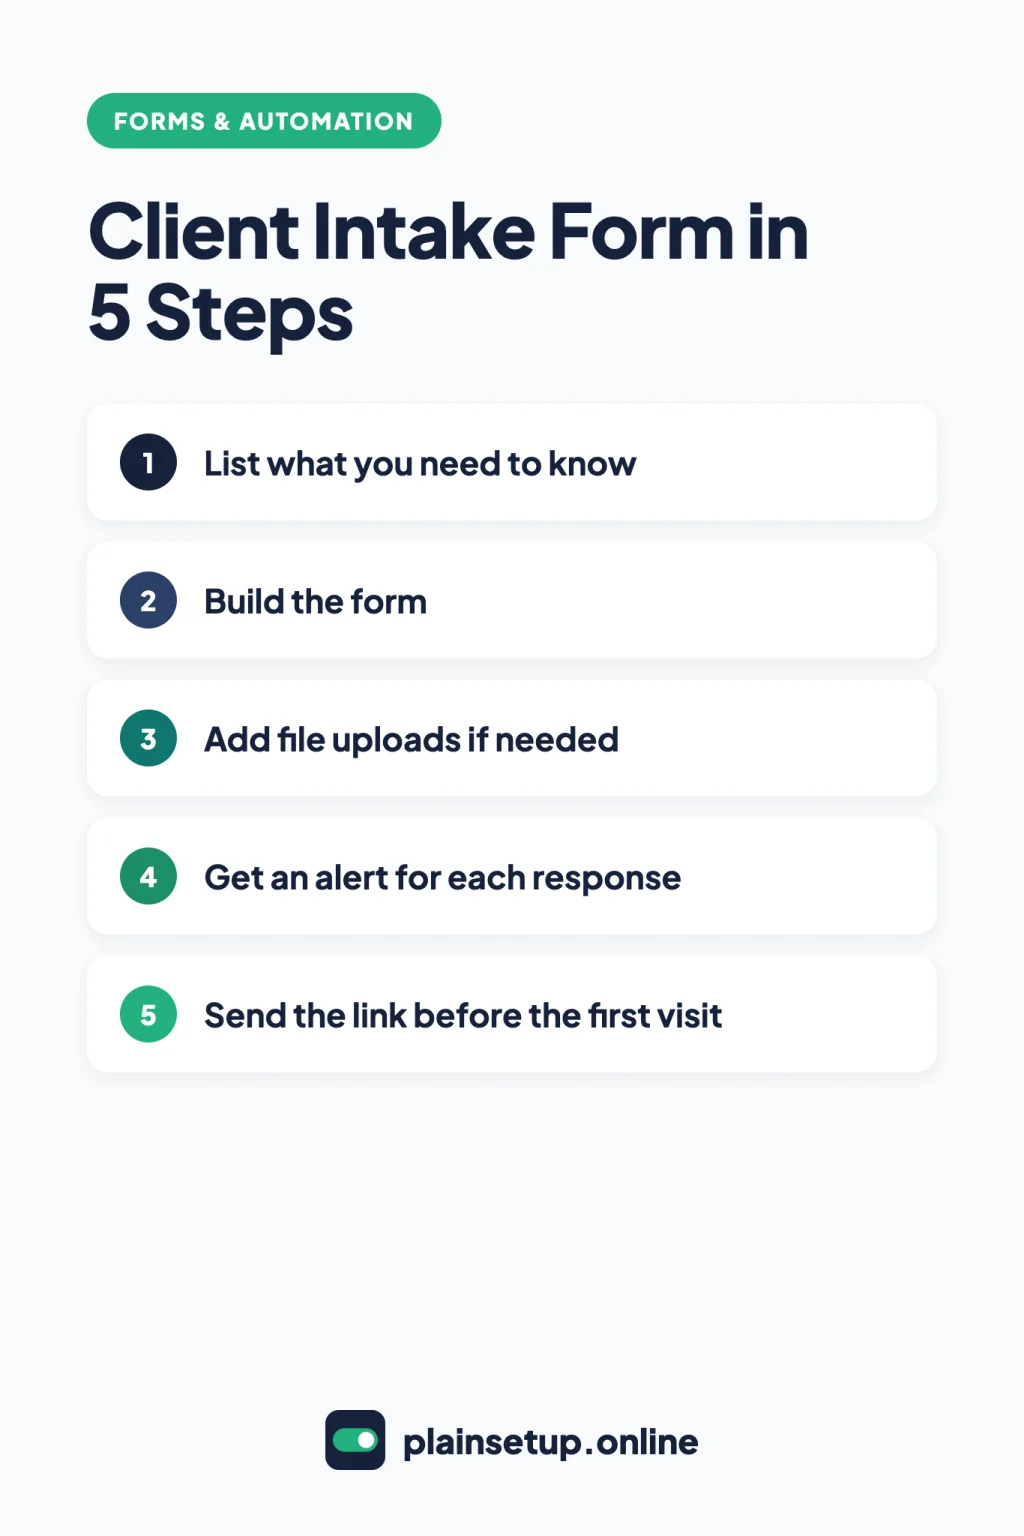
Quick steps
- List what you need to know before the first visit.
- Build the form in Google Forms with the right question types.
- Add a file upload question only if clients must send files.
- Turn on email alerts and send responses to Google Sheets.
- Publish the form and send the link before the first appointment.
- Keep responses organized and delete what you no longer need.
What to ask on a client intake form
Every service business needs different details, so treat the list below as a starting point, not a standard. Match each question to a Google Forms question type, using Google’s guide to question types:
| What you want to know | Question type |
|---|---|
| Full name, phone number | Short answer |
| Which service they booked | Multiple choice or Dropdown |
| Best way to contact them | Multiple choice |
| What they want to achieve, in their own words | Paragraph |
| Dates, deadlines or event day | Date |
| Which extras or topics apply | Checkboxes |
| Photos, plans or documents | File upload |
Ask only for what you will use. The FTC’s guide Protecting Personal Information advises businesses not to collect sensitive personal information they have no legitimate need for. If your work involves health or medical details, check the official rules for your field before you add those questions.
Step 1: List what you need before the first visit
Before you open any tool, write down the questions you end up asking at every first meeting. Then sort them into two groups:
- Must have: answers you can’t start without. These become required questions.
- Nice to have: details that help but can wait. Leave these optional so the form stays short.
Group related questions by topic, such as contact details, the job itself and logistics. In Google Forms, each group can become its own section. Google’s guide to editing your form says sections make a form “easier to read and complete,” and a form can hold up to 75 sections and 300 pieces of content.
If you offer several services, note which questions only apply to one of them. You can send clients to the right section based on their answer, as shown in the next step.
Step 2: Build the form in Google Forms
Following Google’s guide on how to use Google Forms, go to forms.google.com, click Blank form and name the form. Use a title your client will recognize, such as your business name plus “New client questions.” The form is saved in your Google Drive.
Then add your questions:
- Click Add.
- To the right of the question title, choose the question type.
- Turn on Required for every must-have question.
- To explain a question, click More > Description.
- Click Add Section to start a new topic and name it.
To show questions for one service only, put them in their own section. Then, on the service question, click More > Go to section based on answer and pick the section for each option. Google’s page on showing questions based on answers says this only works for Multiple choice and Dropdown questions.
To keep a record of who answered, go to Settings, click the arrow next to Responses and, under “Collect email addresses,” choose Verified or Responder input. Verified asks clients to confirm the email of their Google Account. Once emails are collected, you can also set Send responders a copy of their response to When requested or Always, per Google’s guide to managing responses. Google notes that spam filters can sometimes stop these receipts.
Finally, write a short thank-you under Settings > Presentation > “Confirmation message” > Edit, then Save. Say what happens next, for example that you will review the answers before the appointment.
Step 3: Add file uploads if needed
If clients need to send photos, plans or documents, add a File upload question. Read the rules on Google’s question types page first:
- To answer it, clients must sign in to a Google Account.
- You can’t use it if the form is stored in a shared drive or your admin has turned on Data Loss Prevention.
- Uploaded files go to a new folder in your Google Drive.
- You choose the allowed file types, the maximum number of files and the maximum file size.
Say in the question description which files you want and in what format. Google’s responder help page tells clients to check those instructions if an upload fails.
If the sign-in rule is a problem for your clients, other builders handle uploads differently. Jotform’s free Starter plan, per its pricing page, includes 5 forms, 100 monthly submissions and 100 MB of space, and its file size guide sets a default upload limit of about 10.6 MB. Tally’s file uploads page says the free plan accepts files up to 10 MB each and respondents don’t need to log in. For a full side-by-side, see our Google Forms vs Jotform vs Tally comparison.
Step 4: Get an alert for each response
You want to know when a client finishes the form, not discover it the morning of the visit. Per Google’s guide to managing responses:
- Open the form and click Responses.
- Click More.
- Click Get email notifications for new responses.
For more alert options, Google points to the “Form notifications” add-on.
Next, send answers to a spreadsheet. Click Responses, then Link to Sheets at the top right. You can also use More > Select destination for responses and choose Create a new spreadsheet or Select existing spreadsheet, per Google’s guide to saving form responses. Google Sheets puts the data in a table, one row per response.
Step 5: Send the link before the first appointment
A form can’t take responses until it’s published. Per Google’s guide to publishing and sharing your form:
- Click Publish at the top right.
- Click Manage to choose who can respond. Under General access, you can allow anyone with the link.
- Click Done > Publish. The button now shows Published.
- Click Published > Copy responder link. Tick “Shorten URL” for a shorter link.
On a work or school Google account, forms are open only to people in your organization unless you change this, according to Google’s page on form permissions. Check General access before you send the link to clients.
Paste the link into your booking confirmation or welcome email, with a clear request to complete it before the first appointment. Google notes you can’t embed a form with a file upload question inside an email, so send the link instead. To save clients some typing, use More > Pre-fill form, enter their name, then Get link.
Before sending it to anyone, open the link yourself, fill it out and submit a test response.
Keep responses organized
The linked sheet is your running list of new clients. A few habits help:
- Check who can see it. Form collaborators may get access to the linked spreadsheet, and changes to form permissions don’t sync to the sheet. Update both separately.
- Delete old answers on purpose. Go to Responses > Individual, find the response and click Delete. Google warns this can’t be undone, and deleting responses doesn’t delete attached files, so remove those from the Drive folder too.
- Keep a copy if you need one. Responses > More > Download responses (.csv) exports everything.
From September 2026, Google lists limits of 1 GB of storage (not counting uploaded files) and 500k responses per form, far beyond what a small intake list needs.
Frequently asked questions
What should a client intake form include?
Ask for contact details, the service they want, their goals in their own words, key dates and any files you need. Keep only what you will use; the FTC’s business guide advises against collecting sensitive data without a real need.
Can clients upload files to a Google Form without a Google account?
No. Google’s question types page says responders need to sign in to a Google Account to answer a file upload question. Tally’s file uploads page says its respondents don’t need to log in.
How do I get an email when a client fills out my Google Form?
Open the form, click Responses > More > Get email notifications for new responses. Google’s responses guide suggests the “Form notifications” add-on if you need more options.
Can I send the form by email instead of a link?
Yes, when you publish and choose to notify responders. But Google’s sharing guide says a form with a file upload question, a rating question or an image in a question can’t be embedded in the email, so the link is the safer option.
Sources
- Google Docs Editors Help: How to use Google Forms
- Google Docs Editors Help: Edit your form
- Google Docs Editors Help: Choose a type of question for your form
- Google Docs Editors Help: Show questions based on answers
- Google Docs Editors Help: View & manage form responses
- Google Docs Editors Help: Choose where to save form responses
- Google Docs Editors Help: Publish & share your form with responders
- Google Docs Editors Help: Get permission to open a Google Form
- Google Docs Editors Help: Fix common errors while you respond to a Google Form
- Jotform: Features and Pricing
- Jotform: How to Change the File Size Limit in File Upload Fields
- Tally: File upload forms
- FTC: Protecting Personal Information: A Guide for Business
Your Next Step
Today, write down five questions you ask every new client, build them into a client intake form in Google Forms, turn on email notifications and submit one test response yourself. Then add the link to your next booking confirmation. For more help, browse our Forms & Automation guides.

Fernando Pompeu is a journalist and digital content writer with more than 8 years of experience in media outlets and news portals. He writes to explain things clearly and without jargon. At PlainSetup, he publishes step-by-step guides to the everyday tools small businesses run on, based on each tool’s official documentation and written for owners without an IT team.