
A potential client fills in the contact form on your website on Friday night. The answer sits in a spreadsheet until Monday, when you copy the name and email into your CRM by hand, if you remember. This guide shows how to build your first Zap so every new form submission becomes a contact in your CRM on its own.
We use Google Forms and HubSpot as the example, because Zapier’s help pages list only a Google account for Google Forms and a free or paid account for HubSpot. Tally, Jotform and other CRMs follow the same flow. Menu names come from Zapier’s Help Center and can change.
Still choosing a tool? Read our Zapier vs Make comparison for beginners. No form yet? See how to make a Google Forms contact form.
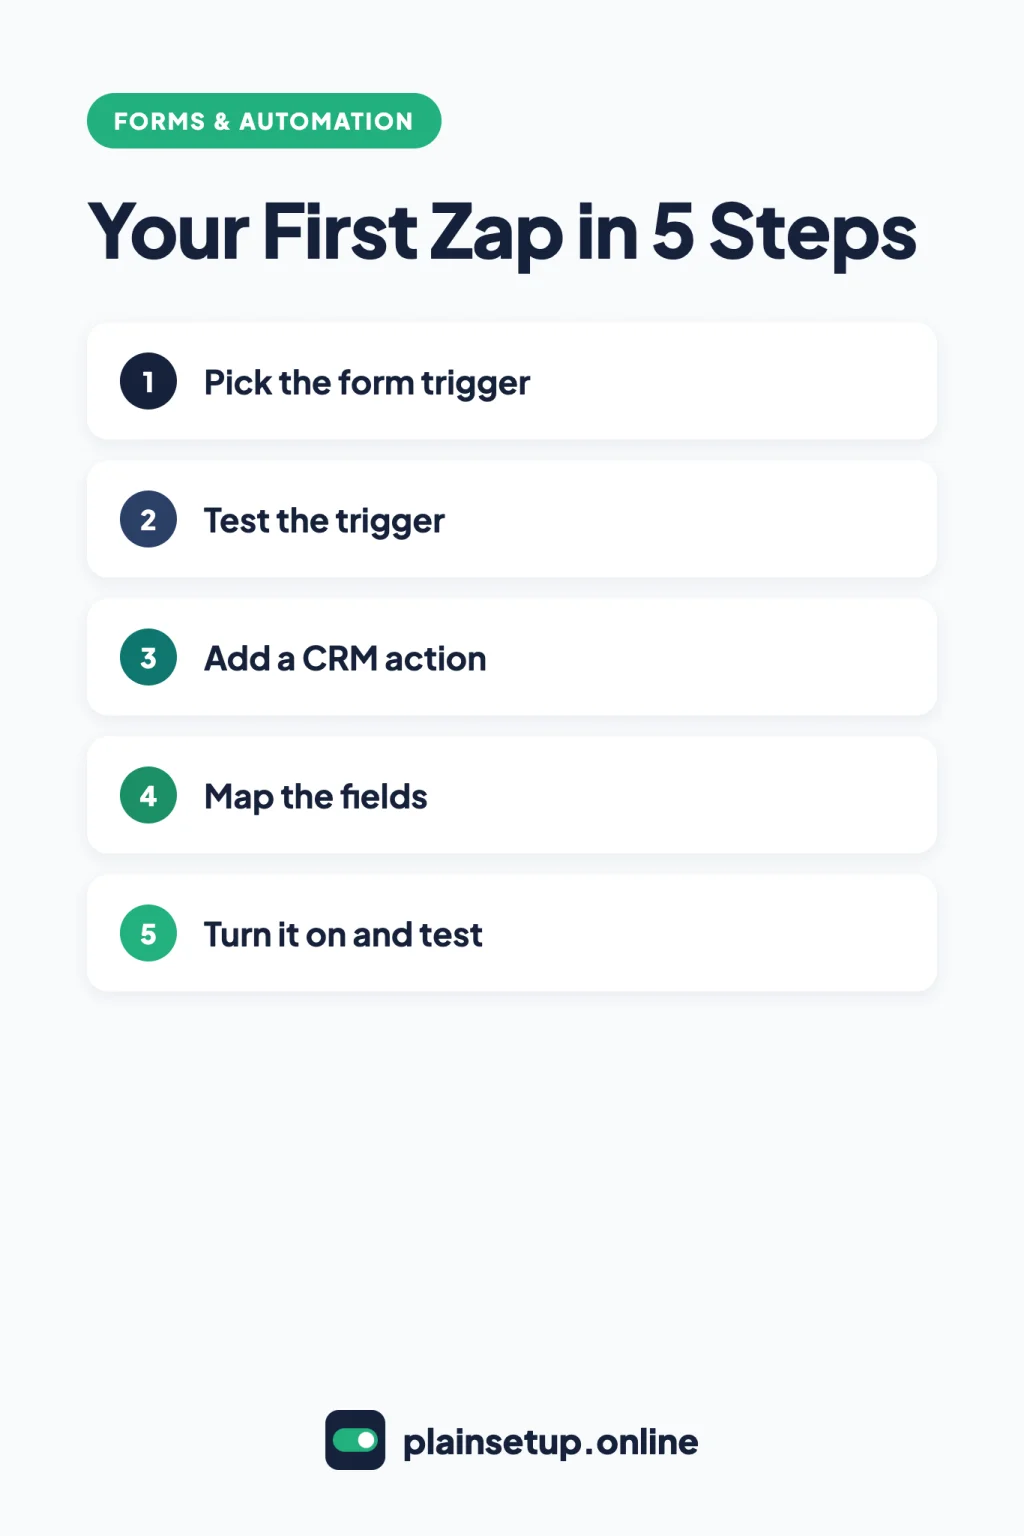
Quick steps
- Link your form to a Google Sheet and sign in to Zapier.
- Create a Zap and pick Google Forms New Form Response as the trigger.
- Click Test trigger and submit a test response.
- Add HubSpot Create or Update Contact as the action.
- Map each form answer to a contact field.
- Click Test step, check HubSpot, then click Publish.
- Check Zap history after the first real submissions.
Before you start: what you need
A Zap is a workflow with a trigger (the event that starts it) and one or more actions (what it does next), per Zapier’s What is a Zap? page. Ours has one of each.
| You need | Free account works? | Notes |
|---|---|---|
| Zapier account | Yes | Free: 100 tasks per month, two-step Zaps only |
| Google Forms | Needs a Google account | Responses must be saved to a Google Sheet |
| HubSpot | Yes, free or any paid plan | You need Super Admin permissions |
Per Zapier’s page on what’s included in the Free plan, new accounts start with a 14-day trial of paid features. On Free, each Zap can have one trigger and one action.
Zapier’s guide to task usage says a task is a successful action, and triggers never use tasks. This Zap has one action, so each submission that reaches HubSpot uses 1 task: 100 tasks a month covers up to 100 submissions (100 tasks ÷ 1 task per submission).
Multi-step Zaps need a paid plan. On the Zapier pricing page, Professional starts at $19.99 per month billed yearly, or $29.99 per month billed monthly. Prices checked in October 2026. Plans and prices change, so confirm on the official pricing page before you buy.
A Free plan can’t turn on a Zap that uses a premium app. Google Forms, HubSpot, Tally and Jotform are not premium in Zapier’s app directory.
Step 1: Build your first Zap and choose the trigger
First, make sure your form saves responses to a Google Sheet. Zapier’s Google Forms guide says responses must be saved to a Google Sheet to work with Zapier. In Google Forms, open the form, click Responses, then Link to Sheets at the top right (Google’s steps).
Then follow Zapier’s guide to setting up your Zap trigger:
- In the left sidebar, click + Create > Zap workflows. The Zap editor opens in a new tab.
- Select the Trigger step, search for Google Forms and select it.
- In the Setup tab, open Trigger event and choose New Form Response.
- Click Account, then Sign in or + Connect a new account. Log in to Google in the window that opens and grant permission.
- In the Configure tab, pick your form. Required fields have an asterisk.
Skip New or Updated Form Response: Zapier notes that “New or Updated” triggers also fire when an item changes. If the sign-in window doesn’t open, Zapier’s guide to connecting app accounts suggests turning off your pop-up blocker.
Using Tally or Jotform instead? Pick its New Submission trigger; the rest works the same. Per Zapier’s guides for Tally and Jotform, both work with free accounts but need a published form. Branded Jotform accounts use the Jotform Enterprise app.
Step 2: Test the trigger
The test gives the next steps data to work with. New Form Response is an instant trigger, and Zapier’s page on trigger test failures says instant triggers search for new data for 3 minutes. So prepare the response first:
- Open your live form in another tab and fill it in with your own details. Don’t submit yet.
- Back in the Zap editor, open the Test tab and click Test trigger.
- Submit the form in the other tab.
- Select the record that appears and click Continue with selected record. If it doesn’t show, click Find new records.
Answer every question. Zapier’s guide to testing Zap steps says the Publish button stays disabled until the trigger is tested.
Step 3: Add the CRM action
Per Zapier’s guide to setting up your Zap action, select the Action step and choose HubSpot. For Action event, the Google Forms + HubSpot page lists two options:
- Create Contact: creates a contact in HubSpot.
- Create or Update Contact: creates a new contact or updates an existing one, based on email address.
Pick Create or Update Contact: a second submission with the same email updates that contact. Then connect HubSpot under Account.
Per Zapier’s HubSpot guide, the user you connect needs Super Admin permissions, and a new connection to the same HubSpot account cancels the old one.
Using a different CRM? Zapier’s action guide uses the same setup for every app. The CRM category in its app directory lists more than 1,000 apps, including Pipedrive and Zoho CRM. Look for an action that creates or updates a contact.
Step 4: Map the fields
Mapping tells Zapier which answer goes into which CRM field. Open the Configure tab. For Create or Update Contact, Contact Email is required. Per Zapier’s guide to mapping fields:
- Click the plus sign icon in a HubSpot field, such as Contact Email.
- In the dropdown, select the matching answer from your Google Forms step.
- Repeat for name, phone and other fields.
A mapped field shows as a colored pill and uses each response’s data; typed text stays the same for every contact. If a question is missing from the list, re-test the trigger with a response that answers it.
A few HubSpot details, from Zapier’s common HubSpot problems:
- HubSpot checkbox fields only accept “true” or “false”.
- For multi-select fields, separate options with a semicolon and match HubSpot’s options exactly, including capital letters.
Reformatting data needs a Formatter step, a paid feature per Zapier’s Formatter guide. On Free, ask for each detail separately in your form, such as first name and last name.
Step 5: Test and publish
In the action’s Test tab, click Test step. Zapier warns: “Testing is live and may result in changes made in your app.” So this creates a real contact. Data in shows what you sent; Data out shows what HubSpot returned. Check the contact in HubSpot, then delete it if you don’t want to keep it.
Then click Publish in the upper right. Per Zapier’s trigger guide, instant triggers ignore data created before the Zap was turned on, so older responses won’t be sent. When you build your first Zap, finish with one more live submission and confirm a new contact appears.
Keep it running
Check on your Zap now and then:
- Zap history: per Zapier’s guide to Zap history, it logs every run with a status such as Successful or Errored, plus your task usage. Zapier only guarantees up to 60 days of run data.
- Error emails: Zapier emails you when a Zap errors. Change how often under Notifications > My notification settings (error notifications guide).
- Broken connections: if a step shows a warning in the Account tab, click the three dots and Reconnect.
- Turning it off: the editor’s top menu has a toggle switch that turns the Zap on and off (editor guide). To edit it while it keeps running, click Edit Zap and publish the draft (drafts guide).
Zapier also turns a Zap off if it errors repeatedly, or if it uses a paid feature after your trial ends. The same trigger-and-action pattern can also save Gmail attachments to Google Drive automatically.
Frequently asked questions
Can I connect a form to a CRM with Zapier for free?
Yes, if the Zap has one trigger and one action and neither app is premium. The Free plan includes 100 tasks per month. Each contact the Zap creates or updates is one successful action, so it uses one task, per Zapier’s task usage guide.
Does Google Forms need a Google Sheet to work with Zapier?
Yes. Zapier’s Google Forms troubleshooting page says responses must be saved to a Google Sheet. Link the form to a sheet before you create the Zap.
How quickly does the Zap send a submission to my CRM?
Google Forms New Form Response is an instant trigger, and Zapier’s key concepts page says instant triggers run immediately on every plan. Polling triggers check on a schedule instead: every 15 minutes on the Free plan.
What happens when I run out of tasks?
Zapier holds new runs until your usage resets. Its Zap limits page says “Your Zap runs will be held, not lost,” and you can replay them from Zap history once tasks are available.
Sources
- Zapier: What is a Zap?
- Zapier: What’s included in Zapier’s Free plan?
- Zapier: How is task usage measured in Zapier?
- Zapier: Plans & Pricing
- Zapier: Can’t turn on or publish Zap
- Zapier: Set up your Zap trigger
- Zapier: Connect your app accounts to Zapier
- Zapier: How to get started with Google Forms on Zapier
- Zapier: Common Problems with Google Forms
- Zapier: How to get started with Tally on Zapier
- Zapier: How to get started with Jotform on Zapier
- Zapier: Zap trigger test fails
- Zapier: Test Zap steps
- Zapier: Set up your Zap action
- Zapier: Google Forms HubSpot Integration
- Zapier: How to get started with HubSpot on Zapier
- Zapier: Common Problems with HubSpot
- Zapier: Top CRM (Customer Relationship Management) Apps
- Zapier: Send data between steps by mapping fields
- Zapier: Get started with Formatter
- Zapier: How Zap triggers work
- Zapier: Learn key concepts in Zap workflows
- Zapier: View and manage your Zap history
- Zapier: Manage notifications when errors occur in Zap workflows
- Zapier: Use the editor to build and view your Zap workflows
- Zapier: Create Zap drafts and versions
- Zapier: Zap limits
- Google: View & manage form responses
Your Next Step
Today, link your contact form to a Google Sheet, then build your first Zap with Google Forms New Form Response and HubSpot Create or Update Contact. Submit one test response and check that the contact appears. For more help, browse our Forms & Automation guides.

Fernando Pompeu is a journalist and digital content writer with more than 8 years of experience in media outlets and news portals. He writes to explain things clearly and without jargon. At PlainSetup, he publishes step-by-step guides to the everyday tools small businesses run on, based on each tool’s official documentation and written for owners without an IT team.