
A client replies to your quote, and the answer lands in your personal Gmail, between a grocery receipt and a school newsletter. Meanwhile, two people on your team share one password for the info@ inbox, and nobody is sure who answered what.
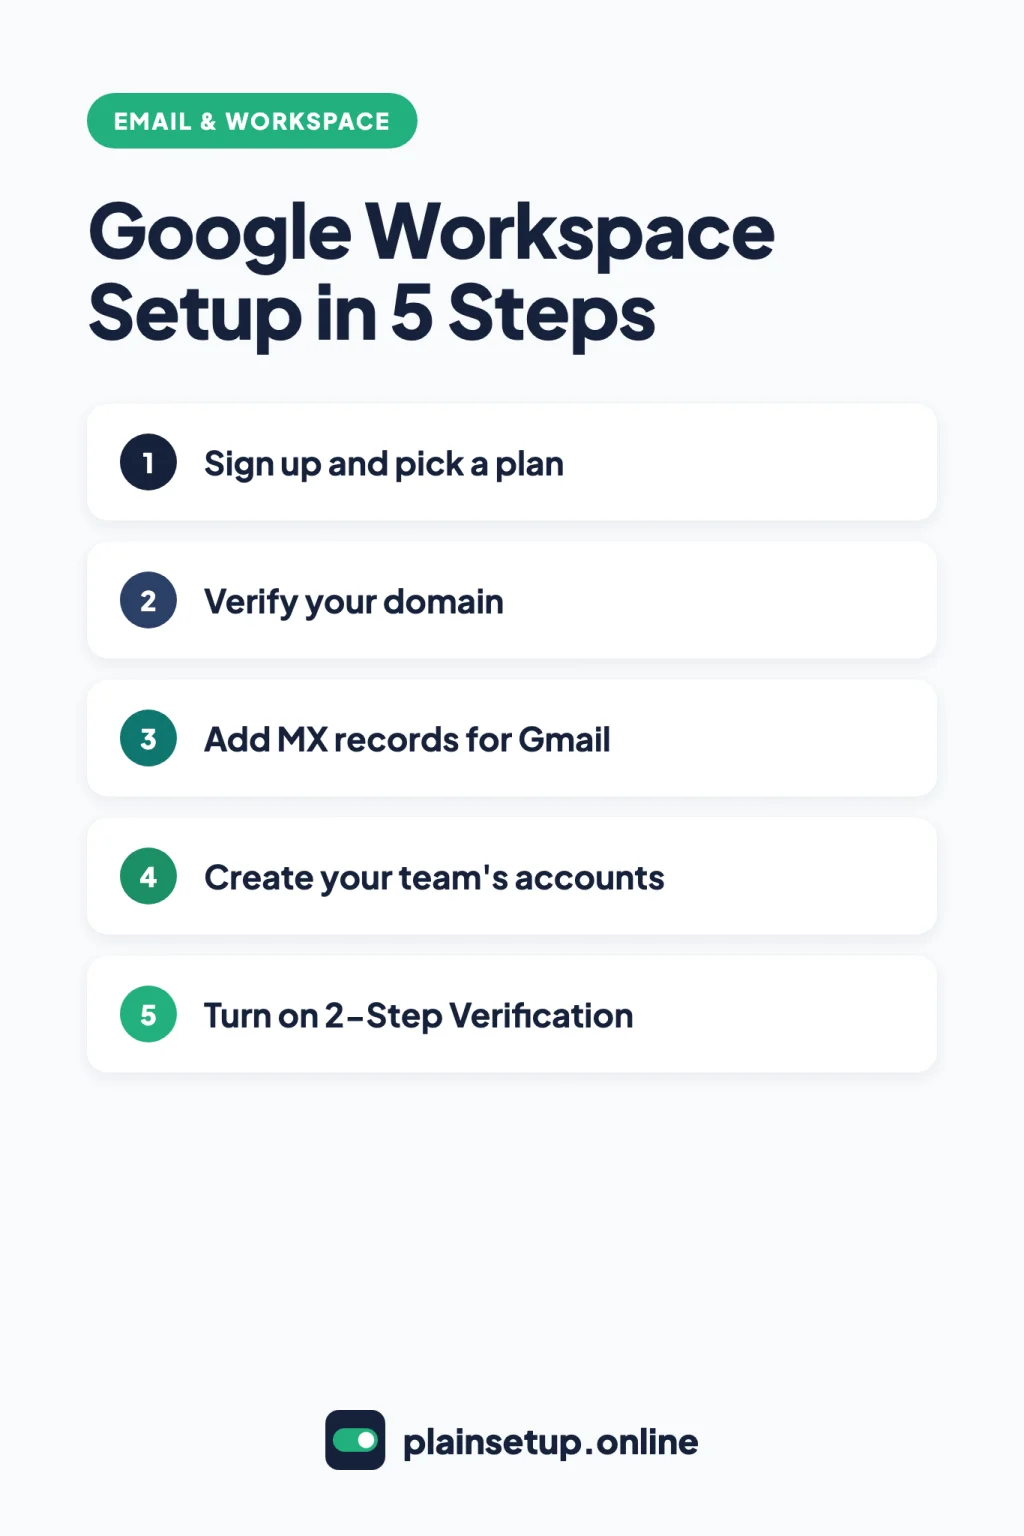
This guide shows how to set up Google Workspace for small business use, in order: sign up, prove you own your domain, point your email to Google, add your team and turn on basic protection. Menu names and record values come from Google’s help pages, linked as we go. The order matters more than speed, because some DNS changes can take up to 72 hours to be recognized.
Before you start: what you need
- Your domain and access to its DNS settings, usually the account where you bought the domain.
- A list of everyone who needs an address, especially anyone who already receives email at your domain.
- A payment method. Google requires payment setup before you can use the service, though you aren’t charged until the free trial ends.
- A recovery email and phone number for your admin account.
Step 1: Sign up and choose a plan
Start from the official Google Workspace pricing page. It lists each plan, what it includes (storage per user is a key difference) and the current price per user, per month. Prices change, and the page shows them for your region.
- Google’s guide to choosing your Google Workspace edition says Business editions (Starter, Standard and Plus) support up to 300 users.
- According to Google’s page about the free trial, it lasts 14 days and covers up to 10 users. If it ends without billing set up, the account is suspended; if your domain also isn’t verified, the account is deleted.
After signing up, you sign in to your Admin console at admin.google.com with your admin account, not a personal @gmail.com one.
Step 2: Verify that you own your domain
Google’s guide to verifying your domain for Google Workspace says to open the Google Workspace setup tool from your admin account and follow its instructions to get a verification code. You add that code as a TXT record at your domain host. Per Google’s steps to verify your domain with a TXT record, it looks like this:
Type:  TXT
Host:  @   (or leave blank)
Value: google-site-verification=your-unique-code
Save it, return to the Admin console and click Confirm. Leave the record in place until Google verifies you; removing it early makes verification fail. A new TXT record can take up to 72 hours to be recognized, and once it’s active Google can take up to an hour to confirm it.
Step 3: Turn on Gmail by adding MX records
MX records tell the internet where to deliver email for your domain. Changing them moves your email to Google, so first create accounts for everyone who already uses an address at your domain (Step 4). Google’s guide to activating Gmail with Google Workspace says to change MX records only after that. Google’s tips to avoid issues when changing MX records suggest switching at a quiet time, such as an evening.
Then, following Google’s guide to set up MX records for Google Workspace, open your domain’s DNS settings, remove any other MX records and add this one:
Type:     MX
Host:     @   (or leave blank)
Priority: 1
Value:    smtp.google.com
TTL:      your host's default (or 1)
Some hosts want a period at the end (smtp.google.com.). Save, then in the Admin console go to Menu > Account > Domains > Manage domains and click Activate Gmail.
Where to find your DNS settings
DNS settings usually live with your domain registrar, the company you bought the domain from. Google’s guide to identifying your domain registrar suggests checking your invoice or searching your domain at ICANN Lookup (lookup.icann.org). If a reseller or separate DNS host manages the records, edit them there.
How long DNS changes take
Until your new MX record is active, email keeps going to your previous provider, so watch the old inbox during the switch. Google’s maximum wait times:
| Record | What it does | Can take up to |
|---|---|---|
| TXT (verification) | Proves you own the domain | 72 hours |
| MX | Sends your email to Gmail | 72 hours |
| SPF | Lists who may send as your domain | 48 hours |
| DKIM | Signs your outgoing email | 48 hours |
Step 4: Add your team
There are three ways to hand out addresses:
- Users are real accounts with their own sign-in. Google says each account should be used by only one person, so no more shared passwords.
- Aliases are extra addresses that deliver to one user, such as billing@ going to Jane. Nobody can sign in with an alias.
- Groups are shared addresses, such as info@ or sales@, that deliver to several people.
Users: following Google’s steps to add an account for a new user, go to Menu > Directory > Users, click Add new user, enter a name, primary email and a secondary email for their sign-in details, and click Add New User. Then use Preview And Send or Copy Password to share the details. On a Flexible Plan, your monthly payment goes up with each user.
Aliases: to add an alternate email address, open the user’s page, click Add Alternate Emails, type the name before the @ and click Save. Each user can have up to 30 aliases at no extra cost.
Groups: to create a group in your organization, go to Menu > Directory > Groups, click Create group, enter a name and group email (such as info), pick an access type, which sets defaults like who can post, and add members. Wait a few minutes before emailing a new group.
Step 5: Turn on basic security
2-Step Verification (2SV) asks for a second proof, such as a security key or phone prompt, after the password. Google’s guide to deploy 2-Step Verification recommends this order:
- Tell your team what’s changing and by when.
- Go to Menu > Security > Authentication > 2-step verification, check Allow users to turn on 2-Step Verification, set Enforcement to Off and click Save.
- Ask everyone to enroll.
- Then set Enforcement to On. The New user enrollment period gives future hires 1 day to 6 months to enroll.
Google is already enforcing 2SV for administrator accounts.
Recovery information helps people get back in when locked out. Following Google’s steps to add recovery information for admins and users, open the person under Menu > Directory > Users, then Security > Recovery information. Use an email that’s different from their Workspace address and a mobile number that belongs only to them.
Your admin account. Google’s security best practices for administrator accounts recommend a separate, non-admin account for daily work, more than one super admin so someone can step in if one account is lost, and security keys as the most secure form of 2SV.
Step 6: Help your email reach the inbox
Google’s Activate Gmail guide warns that without SPF, messages your team sends might end up in recipients’ spam.
SPF lists who may send email for your domain. If you only send through Google Workspace, Google’s guide to set up SPF gives this record:
Type:  TXT
Host:  @
Value: v=spf1 include:_spf.google.com ~all
If you add another service that sends as your domain, such as a newsletter tool, update this record or those messages could be marked as spam.
DKIM signs your outgoing email. Following Google’s guide to set up DKIM:
- Wait 24 to 72 hours after turning on Gmail.
- Go to Menu > Apps > Google Workspace > Gmail and click Authenticate email.
- Click Generate New Record, choose 2048-bit if your domain host supports it, keep the default selector and click Generate.
- Add the host name and TXT value as a new TXT record at your domain host.
- After DNS updates, click Start authentication.
Google also recommends setting up DMARC.
Step 7: Set up shared calendars and Drive
Team calendar: to create a new calendar, open Google Calendar in a browser, click the add option next to Other calendars, choose Create new calendar, name it and select Create calendar. To share your calendar, open its Settings and sharing, click Shared with, then Add people and groups. Enter a group address to reach everyone at once, choose a permission such as See event details and click Send.
Shared drive: to create a shared drive, go to drive.google.com, click Shared drives, then New, name it and click Create. This works only if your edition supports shared drives and your admin allows it. New members default to Content manager, which can upload, edit, move or delete all files, so pick a different role for anyone who doesn’t need that.
Common setup problems and how to fix them
Verification keeps failing. Check for typos and your registrar’s required format, and allow up to 72 hours. If it still fails, contact your registrar.
Email isn’t arriving. Work through these checks from Google’s guide to troubleshoot problems receiving emails in Gmail and its MX setup guide:
- Run Check MX, one of Google’s free Google Workspace diagnostic tools, to spot common MX mistakes.
- Make sure old MX records are gone and that you clicked Activate Gmail.
- If the change is recent, check the old inbox.
- Confirm your domain registration hasn’t expired and your account isn’t suspended.
A new user can’t get in. Google services can take up to 24 hours to become available, and the welcome email’s password link expires after 48 hours. If it has expired, reset their password.
Sources
- Google Workspace pricing plans
- Choose your Google Workspace edition
- About your Google Workspace free trial
- Sign in to your Admin console
- Verify your domain for Google Workspace
- Verify your domain with a TXT record
- Activate Gmail with Google Workspace
- Avoid issues when changing MX records
- Set up MX records for Google Workspace
- Identify your domain registrar
- Add an account for a new user
- Add or delete an alternate email address (email alias)
- Create a group in your organization
- Deploy 2-Step Verification
- Add recovery information for admins and users
- Security best practices for administrator accounts
- Set up SPF
- Set up DKIM
- Create a new calendar (Google Calendar Help)
- Share your calendar (Google Calendar Help)
- Create a shared drive (Google Workspace Learning Center)
- Troubleshoot problems receiving emails in Gmail
- Google Workspace diagnostic tools
Your Next Step
Today, find out where your domain’s DNS is managed: check your domain invoice or ICANN Lookup, sign in to that account and confirm you can edit its DNS records. Then you’re ready for Step 1. Once your inbox is running, you can connect it to a simple CRM and automate repetitive admin tasks. For more help, browse our Email & Workspace guides.

Fernando Pompeu is a journalist and digital content writer with more than 8 years of experience in media outlets and news portals. He writes to explain things clearly and without jargon. At PlainSetup, he publishes step-by-step guides to the everyday tools small businesses run on, based on each tool’s official documentation and written for owners without an IT team.