
You finished the job, and the client is happy. Then the reply arrives: “Great, just send me the invoice.” You don’t have a template. Last time you typed something in Word, or sent the amount in a text message, and it took two reminders to get paid.
This guide shows how to create an invoice for a small business that looks professional and is easy to pay: what to put on it, how to number it, how to write payment terms, and how to send it from a free tool so your client can pay online. It covers the US, UK and Canada, with links to each country’s official pages.
It doesn’t give tax advice. Whether you charge sales tax, VAT or GST/HST depends on your business and where you sell, so check with the official tax authority or a qualified accountant.
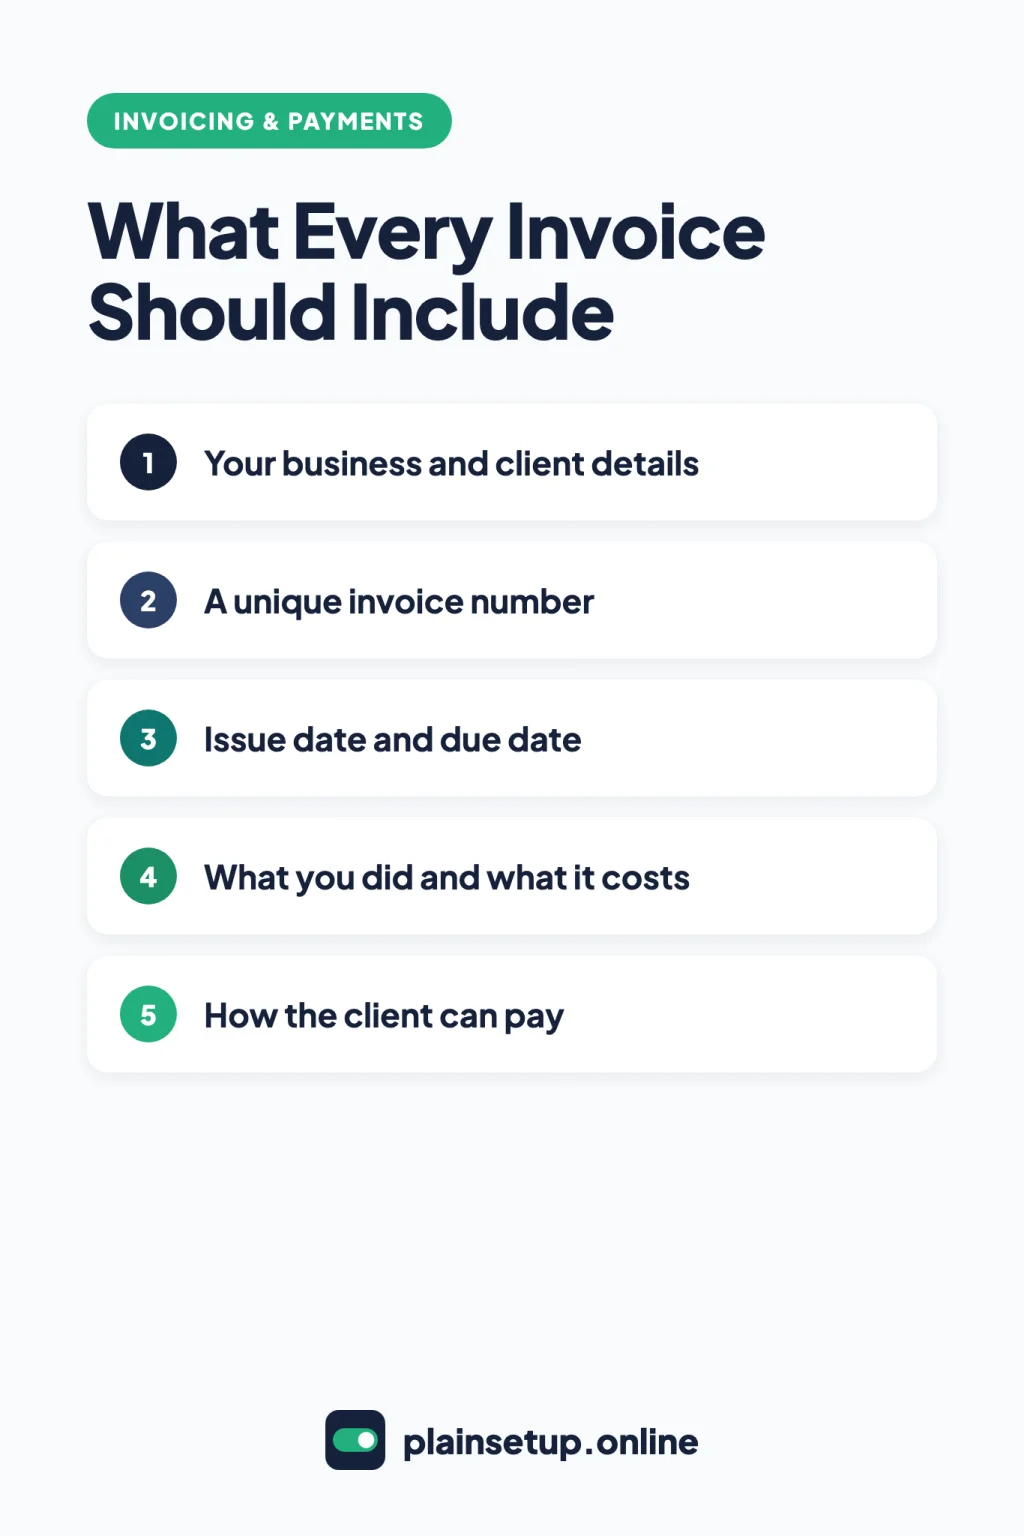
What to include on every invoice
The clearest official checklist comes from the UK government. Its guide Invoices: what they must include lists these items:
- a unique identification number
- your business name, address and contact information
- the name and address of the customer you’re invoicing
- a clear description of what you’re charging for
- the date the goods or service were provided (the “supply date”)
- the date of the invoice
- the amount or amounts being charged
- the VAT amount, if applicable
- the total amount owed
The overview page of the same GOV.UK guide adds that an invoice shows how much the customer needs to pay and when. It also notes that an invoice is not the same as a receipt, which acknowledges a payment.
Even outside the UK, that list is a practical baseline. Add one more thing: how the client can pay. A payment link or clear instructions save your client an email asking.
Country rules: where to check
Invoice rules differ by country and type of business. Treat the official pages below as the final word, not this article.
United Kingdom. On top of the general list, GOV.UK’s invoice guidance says sole traders must also show their name and any business name they use, plus, if they use a business name, an address where legal documents can be delivered. A limited company must show its full name as it appears on its certificate of incorporation. If you and your customer are both VAT registered, GOV.UK says you must use VAT invoices, which include more information. That’s a VAT question for HMRC guidance or an accountant.
United States. The IRS recordkeeping pages don’t list what an invoice must show. The IRS Recordkeeping page says you may choose any recordkeeping system suited to your business that clearly shows income and expenses. Its page What kind of records should I keep lists invoices among the documents that show the amounts and sources of your gross receipts, and suggests keeping them orderly and in a safe place.
Canada. The CRA’s Business records page says to support all income entries with original documents, and sales invoices are the first example it lists. It also says income records must include the date, amount and source of the income. If GST/HST applies to you, the CRA’s Input tax credits page has a chart of the information receipts and invoices need to support a credit claim. Whether GST/HST applies is a question for the CRA or an accountant.
How to number your invoices
GOV.UK lists “a unique identification number” first. One number per invoice makes it easy to match payments, answer client questions and find a document later. Pick one simple format and keep it:
- Plain sequence: 0001, 0002, 0003.
- Year prefix: 2026-001, 2026-002. The year keeps each number unique when the count restarts.
- Client prefix: ACME-001, ACME-002. Handy if you bill a few regular clients.
Never reuse a number, even on a canceled invoice. If you’re moving from Word to an invoicing tool, continue your existing sequence instead of starting over. In Square’s app, for example, you can enter an optional custom invoice ID to match your own system.
Payment terms in plain English
Payment terms tell the client when the money is due. These are the ones you’ll see most:
| Term | What it asks the client |
|---|---|
| Due on receipt | Pay as soon as the invoice arrives. |
| Net 15 | Pay in full within 15 days. |
| Net 30 | Pay in full within 30 days. |
The SBA’s article on business credit terms describes net terms as trade credit that requires payment in full within a short period after a purchase, and names net 30 and net 60 as typical.
Two habits make any term clearer. Print the actual date next to the term, such as “Net 30, due November 8, 2026,” so nobody has to count days. And agree on terms before you start the work, then repeat them on the invoice.
In the UK, the GOV.UK payment obligations page says you can set your own terms, such as discounts for early payment or payment upfront. Unless you agree a payment date, it says the customer must pay within 30 days of getting your invoice or the goods or service.
Step by step: create and send an invoice in a free tool
This example uses Square Invoices. Square’s help center refers to a free plan (“Square Invoices Free”) and has invoice guides for the US, UK and Canada. Other free tools follow a similar flow.
Menu names vary by account. Square says the invoice area may be labeled Orders & payments, Invoices & Payments, or Payments; open whichever you have, then Invoices.
Add your business details and logo
Do this once, before your first invoice. Square’s invoice templates and settings guide says you can add a logo and brand colors without a paid subscription.
- Sign in to Square Dashboard.
- Go to Settings > Account & settings > Payments > Receipts to update your logo, brand color and business information.
- To choose how the logo appears, go to Invoices > Settings > Customization and pick Framed or Full. Square recommends at least 1280 x 648 px, or a 2:1 ratio.
Make sure the business name and address match your contracts and bank account.
Add the client and the work
- Go to Invoices and click Create invoice.
- Add a new or existing customer. Square allows up to nine recipients, useful if your client’s accounts team needs a copy.
- Choose One-time, then enter the due date and, optionally, the service date (when you did the work).
- Add line items: a custom amount or a saved item, with an optional note. To show item descriptions on invoices, Square says to turn this on in Receipt settings.
- Add discounts if you offer them. Square also has fields for taxes and service charges; leave tax lines alone until you’ve confirmed what applies to you.
Write descriptions a stranger could understand: “Website homepage redesign, 2 revision rounds” beats “Services.”
Send it and track when it’s viewed
- Choose email, text message, or a shareable link. With email, you can add up to eight more recipients and set automatic reminders.
- Text only works if your customer asked for invoices by text and has a valid mobile number in their profile, and it doesn’t support automatic reminders.
- Attach files if needed, such as a signed quote. Square allows up to 10 files, 25 MB total.
- Click Preview to see what your client will see. Then click Create to send it, schedule it for later, or save it as a draft.
To know when the client opens it, go to Account & Settings > Notifications > Invoices. Square’s notifications guide says you can get push notifications when a customer has viewed or paid an invoice, plus emails when it’s sent, paid or canceled.
After sending, the menu next to each invoice lets you send a reminder, edit an unpaid invoice, mark it as paid, or download a PDF.
Let clients pay online
The easiest invoice to pay has a button on it. In Square, you pick payment options while creating the invoice, and the list depends on your country. The US guide lists cards, Apple Pay or Google Pay, Cash App Pay, ACH bank transfer, Afterpay and Square gift cards. The UK guide lists cards, Apple Pay or Google Pay, Afterpay and gift cards. The Canada guide lists cards, Afterpay and gift cards.
- Fees: payments through Square can carry processing fees; the US guide lists the ACH fee, for example. Check current fees for your country before turning options on.
- Deposits and partial payments: you can request a deposit as a percentage or amount, and allow partial payments.
- Getting paid: Square says you’ll get an email once the invoice is paid, and funds go to your linked bank account on your deposit schedule.
If a client pays by check or bank transfer instead, Square’s guide to accepting payment for an invoice shows how to mark it as paid. Square notes these amounts are recorded for tracking only, with no deposit through Square.
Keep a copy of every invoice. Both the IRS and the CRA list invoices among the documents that back up your income records.
If you take appointments, you can also collect a deposit when clients book online.
Mistakes that slow down payment
- No due date. “Net 30” alone makes the client do math. Print the date.
- Vague descriptions. If the person approving payment wasn’t on the project, “Consulting” raises questions. Say what you did and when.
- Wrong recipient. Ask who handles payments and add them to the invoice.
- No easy way to pay. If paying means digging up your bank details in an old email, the invoice waits.
- Surprise terms. Terms that first appear on the invoice invite pushback. Agree on them up front.
- No follow-up. Turn on automatic reminders so you’re not chasing every invoice by hand.
Sources
- GOV.UK: Invoicing and taking payment from customers
- GOV.UK: Invoices, what they must include
- GOV.UK: Payment obligations
- IRS: Recordkeeping
- IRS: What kind of records should I keep
- Canada Revenue Agency: Business records
- Canada Revenue Agency: Input tax credits
- SBA: Top 10 Business Credit Terms Small Business Owners Should Know
- Square (US): Create and send invoices
- Square (UK): Create and send invoices
- Square (Canada): Create and send invoices
- Square: Manage invoice templates and settings
- Square: Account email and notifications settings
- Square: Accept payment for an invoice
Your Next Step
Today, add your logo and business details to your invoicing tool, then create one practice invoice addressed to yourself, with your numbering format and a real due date. Preview it and save it as a draft, so you’re ready the next time a client asks. For more help with billing, browse our Invoicing & Payments guides.

Fernando Pompeu is a journalist and digital content writer with more than 8 years of experience in media outlets and news portals. He writes to explain things clearly and without jargon. At PlainSetup, he publishes step-by-step guides to the everyday tools small businesses run on, based on each tool’s official documentation and written for owners without an IT team.