
A client emails a signed contract, a supplier sends an invoice, and a week later you’re scrolling through your inbox trying to find that PDF again. This guide shows how to save Gmail attachments to Google Drive automatically, so each new file lands in the right folder without you touching it.
We build it with Zapier’s free plan, then show the same setup in Make. For the odd file, Gmail also has a free manual button. Menu names come from each vendor’s help pages and can change.
New to Zapier? Start with our guide to building your first Zap. Not sure which tool fits? Read our Zapier vs Make comparison for beginners.
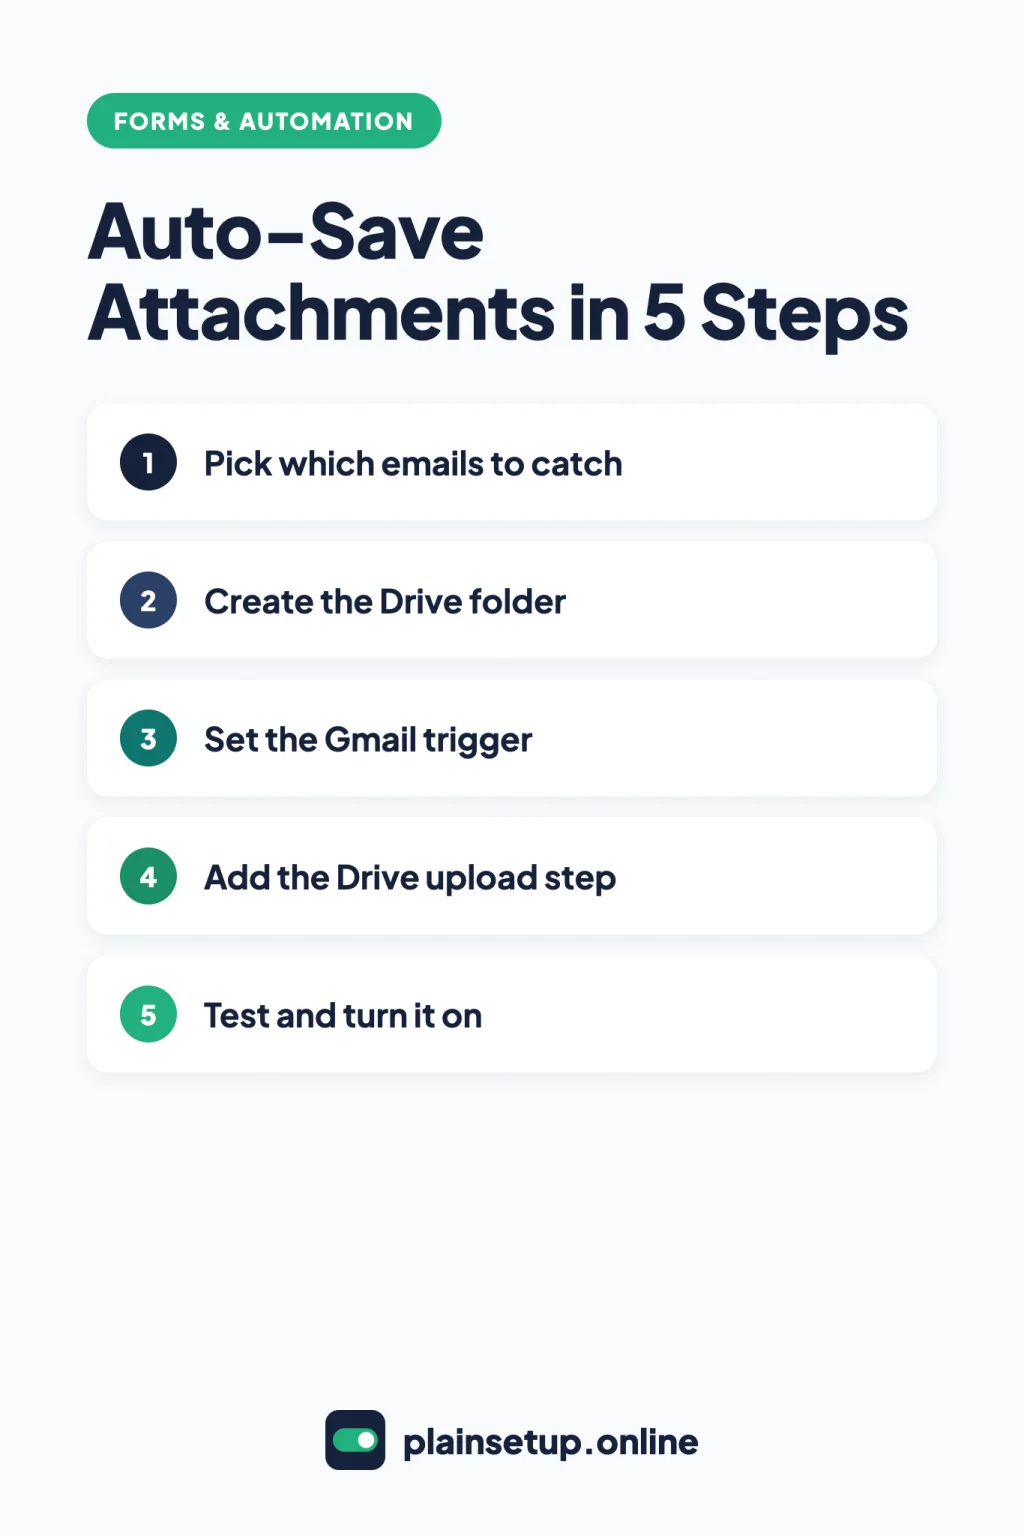
Quick steps
- Decide which emails to catch, and label them with a Gmail filter if needed.
- Create a Google Drive folder for the files.
- In Zapier, pick Gmail New Attachment as the trigger.
- Add Google Drive Upload File and choose your folder.
- Test both steps, check the file in Drive, then click Publish.
- Check Zap history after the first real emails arrive.
Before you start: the manual option and what’s free
For the occasional file, you don’t need any automation. Per Gmail’s guide to opening and downloading attachments, on a computer you open the message, hover over the attachment at the bottom and click Add to Drive. In the Gmail app on Android or iPhone, the button is called Save to Drive. Google notes that some attachments can’t be added to Drive.
To do it automatically, you need an automation tool. Here’s what the free plans allow for this job:
| Free plan | Zapier | Make |
|---|---|---|
| Monthly allowance | 100 tasks | 1,000 credits |
| How often it checks Gmail | Every 15 minutes | Every 15 minutes at the shortest |
| Workflow limit | One trigger and one action per Zap | Up to 2 active scenarios |
| Largest file it can handle | Not listed on the pricing page | 5 MB (Core: 100 MB) |
Sources: Zapier’s Free plan page and the Make pricing page. Gmail and Google Drive are not premium apps in Zapier’s directory, so a two-step Zap with them runs on Free.
Zapier’s Gmail troubleshooting page says the New Attachment trigger runs once for every attachment on an email. Each upload is one successful action, and per Zapier’s task usage guide, triggers never use tasks. So 100 tasks covers up to 100 attachments a month (100 tasks ÷ 1 task per attachment).
If you outgrow that, Zapier Professional starts at $19.99 per month billed yearly, or $29.99 per month billed monthly (Zapier pricing). Make Core, with 10,000 credits a month, is $9 per month billed yearly, or $10.59 billed monthly (Make pricing). Prices checked in October 2026. Plans and prices change, so confirm on the official pricing page before you buy.
Step 1: Decide which emails to catch
Decide which attachments you actually want, then narrow it down with Gmail’s own search operators:
has:attachmentfinds emails with attachments.filename:pdffinds attachments with a certain name or file type.from:billing@example.comlimits it to one sender.label:invoicesfinds emails under one of your labels.
Type a combination in the Gmail search box, such as from:billing@example.com filename:pdf, and check the results. You’ll paste that search into the trigger in Step 3.
For several senders, a label is easier to manage. Create a label by clicking Create new label next to “Labels” on the left. Then create a filter: in the search box, click Show search options, enter your criteria, click Create filter, choose to apply your label, and click Create filter again.
Step 2: Create the Drive folder
Per Google’s guide to organizing files in Drive, go to drive.google.com, click New > Folder, enter a name and click Create.
Create the folder in your own Drive. Zapier’s Google Drive troubleshooting page says you need to own a folder to upload files to it through Zapier, otherwise it won’t appear in the dropdown.
Step 3: Set the Gmail trigger
Zapier’s Gmail guide lists New Attachment, which starts a Zap each time you receive a new attachment. Following Zapier’s guide to setting up a trigger:
- In the left sidebar, click + Create > Zap workflows.
- Select the Trigger step and choose Gmail.
- In the Setup tab, set Trigger event to New Attachment.
- Under Account, connect your Gmail account and grant Zapier permission if Google asks.
- In the Configure tab, pick your label under Label or mailbox, or paste your search from Step 1 into Search keywords.
If Google’s Advanced Protection Program is turned on for your account, Zapier’s Gmail guide says you must disable it to use Gmail with Zapier.
Use New Attachment rather than an email trigger: Zapier’s troubleshooting page says email-type triggers can zip all of an email’s attachments into one file. It also says New Attachment can only detect emails from the past hour, so a filter that labels emails as they arrive works better than labelling old emails by hand.
Step 4: Add the upload step to save Gmail attachments to Google Drive
Select the Action step, choose Google Drive, set Action event to Upload File and connect your Google account. On the Gmail and Google Drive template page, the fields work like this:
- Drive: leave it empty to use your personal Google Drive.
- Folder: pick the folder from Step 2. If you leave it blank, the file goes to the top level of your Drive.
- File (required): map the attachment file from the Gmail step.
- File Name: by default, the file keeps its original name and extension.
- Convert to Document?: choose yes only if you want an editable Google document.
Map a real file field in File. Zapier’s Drive troubleshooting page says that without a file field, Zapier creates a text file instead. Putting several files into File makes Zapier zip them, per its Google Drive guide.
Step 5: Test and turn it on
Send yourself an email with a small PDF attached that matches your label or search. Then, per Zapier’s guide to testing Zap steps:
- In the trigger’s Test tab, click Test trigger. Click Find new records if your email doesn’t show.
- Select the record and click Continue with selected record.
- In the action’s Test tab, click Test step.
Zapier warns: “Testing is live and may result in changes made in your app.” So the test uploads a real file; check your Drive folder. Then click Publish in the upper right. Per Zapier’s guide to setting up an action, the Zap only handles new emails that arrive after it’s published.
The same automation in Make
Make has a ready-made template called Save new Gmail attachments to Google Drive, built from Gmail, Flow Control and Google Drive modules. Click Use template, or build these three modules yourself:
- Gmail > Watch emails: per Make’s Gmail modules page, choose a Folder or Label, or set Filter type to Gmail filter and enter your search. Turn on Only emails with attachments/media.
- Iterator: an email can hold several attachments. Make’s Iterator guide says to put the attachments array in the Array field, so each file is saved one at a time.
- Google Drive > Upload a File: per Make’s Google Drive modules page, set New Drive Location to My Drive, pick the folder and map the file.
By default, a scenario runs every 15 minutes; click Every 15 minutes on the scenario toolbar to change it (scheduling guide). Two things to check first. Make’s Google Drive app page says connecting an @gmail or @googlemail address requires a custom OAuth client in Google Cloud Platform. And on Free, files over 5 MB are too big, while personal Gmail accepts attachments up to 25 MB (Gmail attachment limits).
Keep it running
- Check the history: Zapier’s Zap history logs every run with its status and your task usage.
- Reconnect Gmail in Make: Make’s Gmail app page says personal @gmail.com connections must be reauthorized every six months, under Connections > Reauthorize.
- Watch your storage: per Gmail Help, storage is shared across Drive, Photos and Gmail, and when it’s full you can’t send or receive attachments.
Frequently asked questions
Can I save Gmail attachments to Google Drive for free?
Yes. Gmail’s Add to Drive button is free for one file at a time. For automatic saving, Zapier’s Free plan allows two-step Zaps and 100 tasks a month, which covers up to 100 attachments.
Will it save attachments from emails I already have?
No. Per Zapier’s action guide, a Zap only handles new data after it’s published. For older emails, search Gmail with has:attachment and use Add to Drive on each one.
How fast do new attachments show up in Drive?
New Attachment is a polling trigger, and Zapier’s trigger guide says the Free plan checks every 15 minutes. Make’s Free plan also has a 15-minute minimum interval between runs.
What happens when I run out of tasks?
Zapier’s Zap limits page says “Your Zap runs will be held, not lost.” You can replay them from Zap history once tasks are available again.
Sources
- Google: Open & download attachments in Gmail
- Google: Send attachments with your Gmail message
- Google: Refine searches in Gmail
- Google: Create & manage labels in Gmail
- Google: Create rules to filter your emails
- Google: Organize your files in Google Drive
- Zapier: How to get started with Gmail on Zapier
- Zapier: Common Problems with Gmail on Zapier
- Zapier: How to get started with Google Drive on Zapier
- Zapier: Common Problems with Google Drive
- Zapier: Save new Gmail attachments to Google Drive
- Zapier: Set up your Zap trigger
- Zapier: Set up your Zap action
- Zapier: Test Zap steps
- Zapier: What’s included in Zapier’s Free plan?
- Zapier: How is task usage measured in Zapier?
- Zapier: How Zap triggers work
- Zapier: Zap limits
- Zapier: View and manage your Zap history
- Zapier: Plans & Pricing
- Make: Save new Gmail attachments to Google Drive (template)
- Make: Gmail
- Make: Gmail modules
- Make: Iterator
- Make: Google Drive
- Make: Google Drive modules
- Make: Schedule a scenario
- Make: Pricing & Subscription Packages
Your Next Step
Today, create one Drive folder and one Gmail label for the attachments you chase most, like invoices. Then build a Zap with Gmail New Attachment and Google Drive Upload File, send yourself a test email, and confirm the file lands in the folder. That’s all it takes to save Gmail attachments to Google Drive without thinking about it. For more help, browse our Forms & Automation guides.

Fernando Pompeu is a journalist and digital content writer with more than 8 years of experience in media outlets and news portals. He writes to explain things clearly and without jargon. At PlainSetup, he publishes step-by-step guides to the everyday tools small businesses run on, based on each tool’s official documentation and written for owners without an IT team.