
A customer emails info@ about an order. Two people answer it, a third sees it the next day, and nobody knows who promised what. That’s the moment to set up a shared inbox in Google Workspace: one address the whole team can see, with a clear owner for every message.
Google doesn’t call it a “shared inbox”. The tool is a Google Group with Collaborative Inbox turned on. This guide covers it in order: create the group, let customers email it, turn on Collaborative Inbox, add your team and assign conversations. Menu names come from Google’s help pages, linked as we go.
If Workspace isn’t running yet, start with our guide to setting up Google Workspace for a small business.
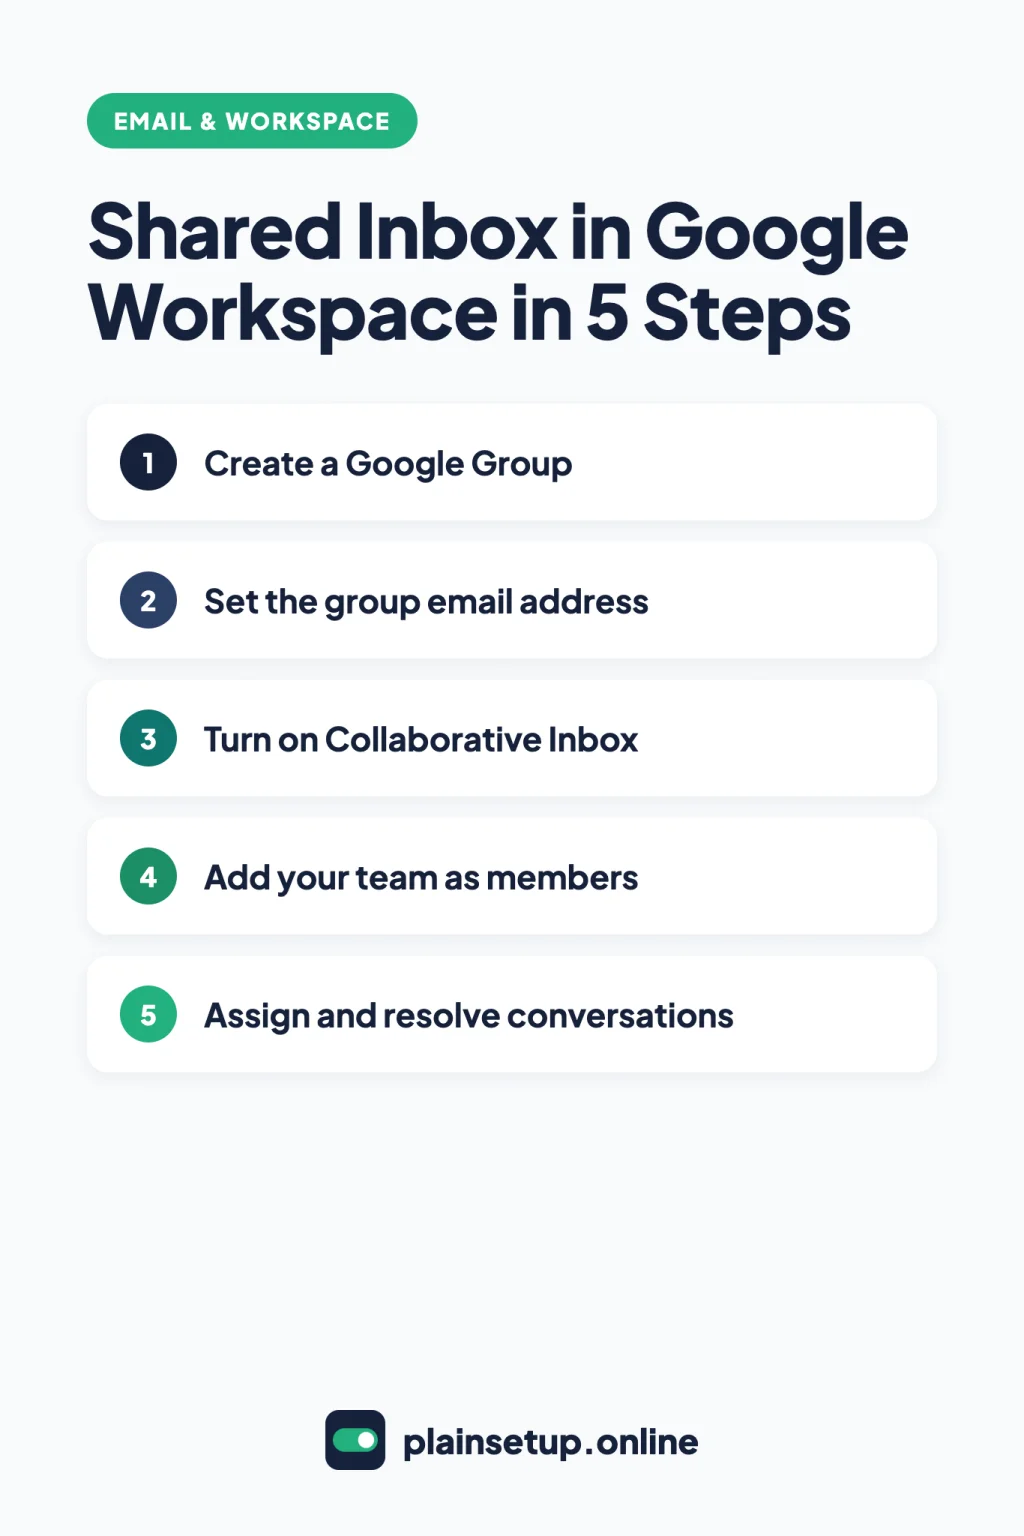
Quick steps
- Create a group with an address like info@ in the Admin console.
- Allow people outside your company to email the group.
- Turn on conversation history and Collaborative Inbox in Google Groups.
- Add your team as members.
- Give them permission to take and assign conversations.
- Assign, track and resolve each message.
Before you start: group, alias or delegated mailbox?
Google Workspace offers three ways to share email:
- Alias: an extra address for one person, such as billing@ going to Jane. Google’s page on email aliases says several users can’t share one alias. Our guide to getting a professional email address covers aliases.
- Delegated mailbox: one person’s Gmail that others can read, send and receive from on that user’s behalf.
- Group with Collaborative Inbox: a shared address that delivers to several people, who can take, assign and close conversations. This guide sets one up.
You also need:
- An admin account with the Groups administrator and Groups for Business administrator privileges.
- A verified domain. Google’s Business editions comparison lists Collaborative Inboxes in Business Starter, Standard and Plus, with a note that the feature requires verifying your domain.
- Groups for Business turned on. Collaborative Inbox doesn’t work without it. To turn Groups for Business on, go to Menu > Apps > Google Workspace > Groups for Business, click Service status, choose On for everyone and click Save. Changes can take up to 24 hours.
Step 1: Create the group in the Admin console
Following Google’s steps to create a group in your organization:
- In the Admin console, go to Menu > Directory > Groups and click Create group.
- Enter a Group name, such as “Customer Support”.
- Enter the Group email, such as info or support, and pick the domain if you have several.
- Add yourself under Group owner(s).
- Click Next, then Next again.
- Choose an access type (Public, Team, Announcement only or Restricted). Each sets default permissions.
- Click Create Group.
Wait a few minutes before sending a test email; a message sent too soon may not be delivered.
Step 2: Let customers email the group
Outside email is blocked by default. Google’s organization-wide group policies list the setting below as unchecked by default. Following Google’s guide to fix common issues with group settings:
- As admin: go to Menu > Apps > Google Workspace > Groups for Business, click Sharing settings, check Group owners can allow incoming email from outside the organization and click Save.
- In the group: sign in at groups.google.com, open the group, go to Group settings > General, set Who can post to Anyone on the web and click Save changes.
Outside senders can post by email only; they can’t read the group’s messages. Also check Group settings > Posting policies > Message moderation: per Google’s guide to group settings, Moderate messages from non-members holds customer emails for approval.
Step 3: Turn on Collaborative Inbox
This part happens in Google Groups, not the Admin console. Google’s guide to make a group a Collaborative Inbox says conversation history must be on first:
- Open the group at groups.google.com.
- Go to Group settings > Posting policies. Under Conversation history, choose On and click Save changes. (Google’s page to turn conversation history on or off has details.)
- In Group settings, under Enable additional Google Groups features, select Collaborative Inbox and save.
Step 4: Add your team as members
Following Google’s steps to add or invite users to a group: in the Admin console, go to Menu > Directory > Groups, click the group’s name, then Members > Add members. Type the first few letters of each person’s email, select them and click Add To Group.
New members get the “All email” subscription, so every message lands in their Gmail. Each person can change that under My membership settings > Subscription, as Google’s page on managing subscriptions explains:
| Option | What the member gets |
|---|---|
| Each email | Every message, as it’s posted |
| Digest | Up to 25 full messages in one daily email |
| Abridged | Summaries of up to 150 messages in one daily email |
| No email | Nothing by email; they check the group online |
Step 5: Assign, track and resolve conversations
First, give your team permission. In the group, go to Group settings > Posting policies, set Who can moderate metadata and Who can moderate content to include members, then click Save changes. Per Google’s page on group permissions, moderating content also allows approving and deleting messages.
Then work the inbox. Open a conversation (or tick several) and use the buttons at the top, as described in Google’s guides to use a group as a Collaborative Inbox and mark duplicates or no action needed:
| To do this | Click | Permission needed |
|---|---|---|
| Take it yourself | Take | Who can moderate metadata |
| Give it to a teammate | Assign, enter their email, add an optional note, then Done | Who can moderate metadata |
| Remove the assignment | Drop | Who can moderate metadata |
| Close it out | Mark as complete | Who can moderate metadata |
| Close it with no reply | No action needed | Who can moderate content |
| Link it to an earlier thread | Mark as duplicate, paste the conversation URL, then Mark duplicate | Who can moderate content |
The assignee gets an automated email with your note. To see your list, click the down arrow in the group’s search bar, choose Assigned to > Assigned to me and click Search. To hide finished work, filter by Resolved status > Is unresolved. Don’t delete resolved conversations to tidy up: Google notes deletion is permanent.
Reply as the group address
Customers should see replies from info@, not a staff member’s address. Google documents two ways:
- In Google Groups: under Group settings > Posting policies, set Who can post as group, and set Default sender to Group address. Google’s settings guide describes this option as “Best for groups where many people are responding on behalf of the group.”
- In Gmail: Google’s guide to add a group as an email address in Gmail needs Who can post set to Anyone on the web (done in Step 2). Each person then opens Gmail Settings > See all settings > Accounts (or Accounts and import), clicks Add another email address under Send mail as, enters the group address, then Next Step > Send verification. The code arrives in the group; enter it to confirm, then delete that message from the group.
Google’s advice on “Treat as an alias” is to leave the box checked for a group address. When writing, click the From line and choose the group, as Gmail Help explains.
Shared inbox in Google Workspace: common problems
- Customer emails bounce. Check both settings from Step 2, and give a brand new group a few minutes.
- Messages sit in Pending. Check Message moderation and the spam setting under Posting policies; options like Moderate and notify content moderators send flagged mail for review.
- No Collaborative Inbox option. Confirm Groups for Business is on, your domain is verified and conversation history is on.
- Take and Assign are missing. That person lacks Who can moderate metadata.
- A teammate gets nothing. Their subscription may be set to No email or Digest.
- Large attachments fail. Google’s Groups administrator FAQ sets a 25 MB limit per message to a group, including attachments.
Frequently asked questions
Is a shared inbox in Google Workspace available on Business Starter?
Yes. Google’s Business editions comparison lists Collaborative Inboxes for Business Starter, Standard and Plus. The feature requires a verified domain and Groups for Business turned on.
Can people outside my company email a Google Group?
Yes, once an admin checks Group owners can allow incoming email from outside the organization and the group’s Who can post is set to Anyone on the web.
What’s the difference between a Google Group and an alias?
An alias is an extra address for one user, and several users can’t share it. A group delivers to many people, and with Collaborative Inbox your team can assign and track each conversation.
How many people can be in a Google Group?
Google’s Groups administrator FAQ says groups in Google Workspace editions can have an unlimited number of members.
Sources
- Google Workspace Admin Help: Create a group in your organization
- Google Workspace Admin Help: Turn Groups for Business on or off
- Google Workspace Admin Help: What you get with Groups for Business
- Google Workspace Admin Help: Groups administrator FAQ
- Google Workspace Admin Help: Compare Business editions
- Google Workspace Admin Help: Set organization-wide policies for using groups
- Google Workspace Admin Help: Fix common issues with group settings
- Google Workspace Admin Help: Add or invite users to a group
- Google Workspace Admin Help: Let users delegate access to a Gmail account
- Google Workspace Admin Help: Add or delete an alternate email address (email alias)
- Google Workspace Admin Help: Should I uncheck “Treat as an alias” in Gmail?
- Google Workspace Learning Center: Make a group a Collaborative Inbox
- Google Workspace Learning Center: Use a group as a Collaborative Inbox
- Google Workspace Learning Center: Turn conversation history on or off
- Google Workspace Learning Center: Set permissions for managing members and content
- Google Workspace Learning Center: Manage your subscriptions and groups
- Google Groups Help: Create a group & choose group settings
- Google Groups Help: Mark conversations as duplicates or no action needed
- Google Groups Help: Add a group as an email address in Gmail
- Gmail Help: Send emails from a different address or alias
Your Next Step
Today, sign in to your Admin console, open Menu > Apps > Google Workspace > Groups for Business and confirm that Service status is on. Then create your info@ group and send it a test email from a personal address to check that your shared inbox in Google Workspace receives outside mail. For more help, browse our Email & Workspace guides.

Fernando Pompeu is a journalist and digital content writer with more than 8 years of experience in media outlets and news portals. He writes to explain things clearly and without jargon. At PlainSetup, he publishes step-by-step guides to the everyday tools small businesses run on, based on each tool’s official documentation and written for owners without an IT team.