
You bought your domain months ago and picked Microsoft 365, yet client emails still land in your personal Gmail. This guide shows how to set up Microsoft 365 business email on that domain, in the order Microsoft’s help pages describe, so nothing gets lost.
The order is the whole trick: plan, verified domain, mailboxes, and only then the DNS change that moves your email. Menu names come from Microsoft’s pages, linked as we go; they can vary a little, so look for the closest match.
Quick steps
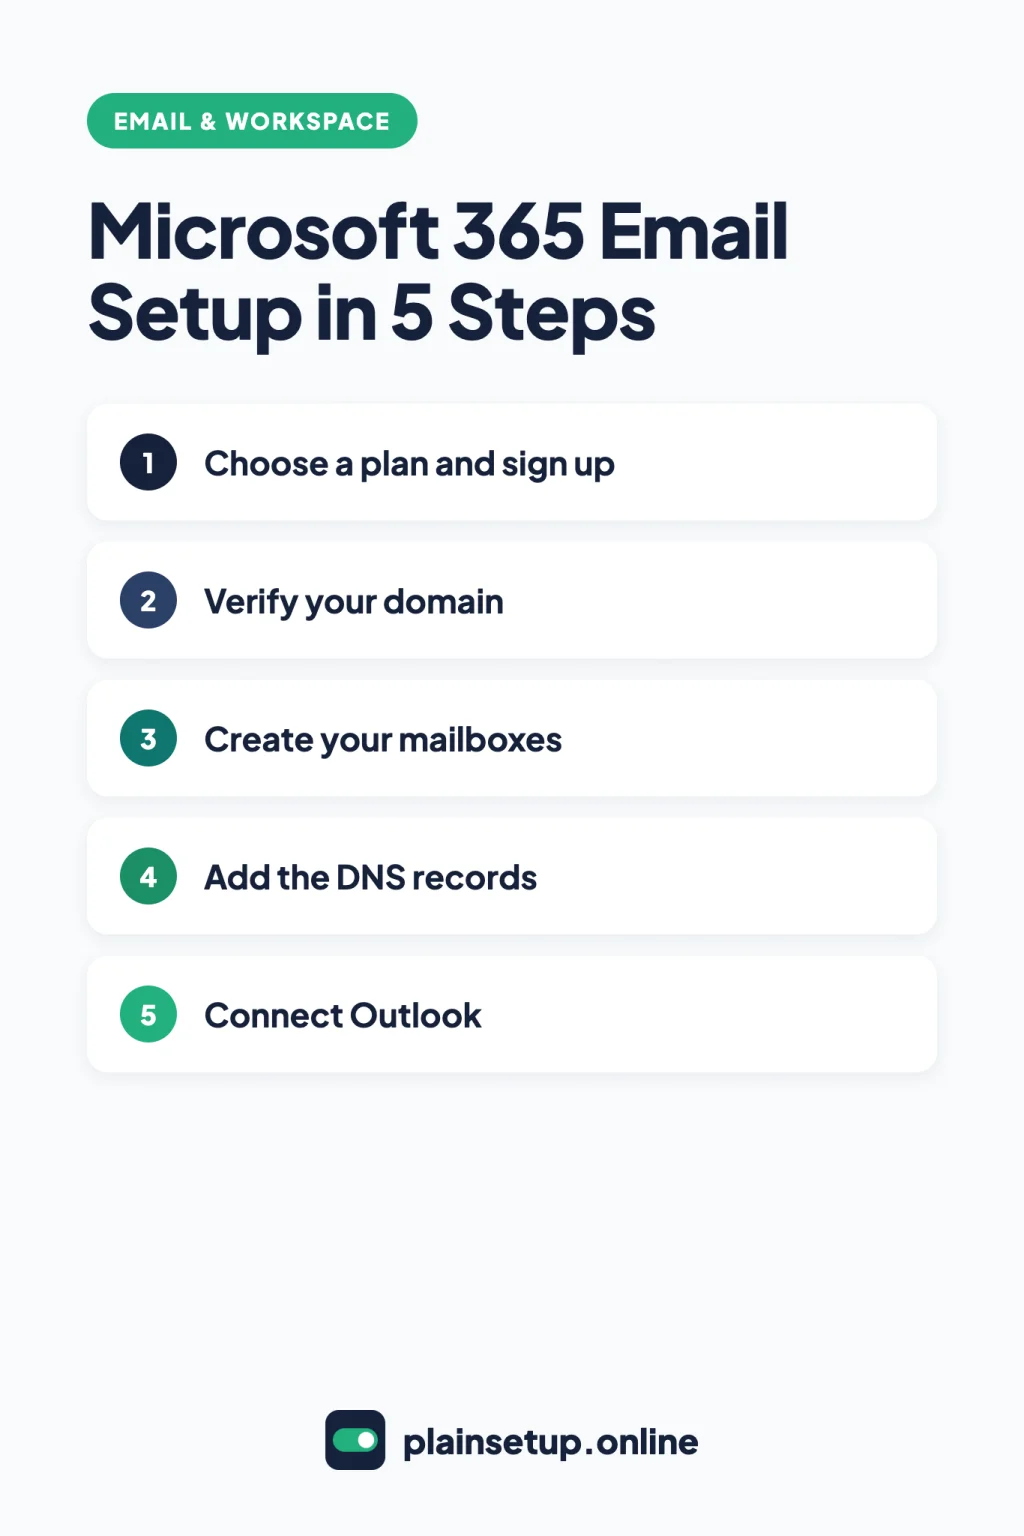
- Choose a Microsoft 365 business plan and sign up.
- Add your domain and verify it with a TXT record.
- Create a mailbox for everyone who gets email at the domain.
- Add the MX, autodiscover CNAME and SPF TXT records.
- Connect Outlook on your computer and phone.
- Check that security defaults are on.
Before you set up Microsoft 365 business email: what you need
- Access to your domain’s DNS settings, usually at your registrar.
- A list of everyone who already gets email at your domain. Each needs a mailbox before you switch.
- A credit card. Microsoft requires one to sign up, even for the free trial.
Still deciding? See our Google Workspace vs Microsoft 365 comparison or our guide to getting a professional email address.
Step 1: Choose a plan and sign up
Every Microsoft 365 business plan includes custom business email for up to 300 users. The main difference is where you can use Outlook. US list prices from Microsoft’s plans and pricing page:
| Plan | Paid yearly | Monthly subscription | Outlook and Office apps |
|---|---|---|---|
| Business Basic | $7.00 user/month | $8.40 user/month | Web and mobile only |
| Business Standard | $14.00 user/month | $16.80 user/month | Desktop, web and mobile |
| Business Premium | $22.00 user/month | $26.40 user/month | Desktop, web and mobile, plus extra security |
Three people on Business Basic paid yearly cost 3 × $7.00 = $21.00 a month. Prices checked in October 2026. Plans and prices change, so confirm on the official pricing page before you buy.
Microsoft’s guide to try or buy a Microsoft 365 for business subscription says to pick a plan, select Try free for 1 month and follow the steps to set up your account. When the trial ends, it becomes a paid subscription, by default an annual term. To prevent that, turn off recurring billing under Billing > Your products.
Sign-up gives you a starter address ending in onmicrosoft.com. Microsoft’s Business Basic setup guide says you can use a domain you own or buy one during sign-up; a domain bought then is already set up, so skip to Step 3.
Step 2: Add and verify your domain
Following Microsoft’s guide to add a custom domain to Microsoft 365, open the Microsoft 365 admin center and go to … Show all > Settings > Domains > + Add domain. Type your domain in Domain name and select Use this domain.
With Domain Connect (Microsoft lists GoDaddy, IONOS, Cloudflare, WordPress.com and a few others), select Verify, sign in at your registrar in the window that opens and authorize the TXT record. Allow pop-ups so that window can appear.
Without it, choose Add a TXT record to the domain’s DNS records, select Continue, add the record at your registrar, then select Verify. Microsoft says this can take up to 10 minutes, or up to 48 hours at some registrars.
Next, the wizard offers to add DNS records, including the MX record that moves your email. If anyone already gets email at this domain, do Step 3 first. Microsoft’s guide to connect your domain by adding DNS records confirms you can add them later.
Step 3: Create your users and mailboxes
Microsoft says to add users after adding the domain but before the MX record, so email keeps flowing. Each person needs their own license. Per Microsoft’s steps to add users and assign licenses:
- In Dashboard view, go to Users > Active users > Add a user. (In Simplified view, select Add user.)
- In Set up the basics, enter the name and username and pick your domain under Domains. Keep Require this user to change their password when they first sign in checked.
- In Assign product licenses, choose the location and license.
- Select Finish adding, then Print or email the sign-in details.
Forgot a license? Assign it later from Users > Active users: select the person, then Licenses and Apps, check the license and select Save changes.
Step 4: Add the DNS records (MX, CNAME, TXT)
Go to Settings > Domains, select your domain, then DNS records > Manage DNS > Continue. On Add DNS records, keep Exchange and Exchange Online Protection selected. With Domain Connect, select Add DNS records and authorize at your registrar. Otherwise, expand MX Records, CNAME Records and TXT Records and copy each into your registrar’s DNS settings:
MX (required)
Host:     @
Value:    copy from the Add DNS records page
Priority: highest available, typically 0
TTL:      3600

CNAME (autodiscover, highly recommended)
Host:     autodiscover
Value:    copy from the Add DNS records page
TTL:      3600

TXT (SPF, highly recommended)
Host:     @
Value:    v=spf1 include:spf.protection.outlook.com -all
TTL:      3600
The MX and autodiscover values are specific to your account, so always copy them from the admin center. Autodiscover lets Outlook configure itself.
Two cleanups matter. Remove old MX records pointing to your previous provider, or give them a lower priority. And keep a single SPF record: if one exists, add the Microsoft part to it. Then select Continue and Done.
Optional: DKIM
Microsoft’s DKIM guide says mail from custom domains isn’t DKIM signed until you set it up. In the Microsoft Defender portal, go to Email & collaboration > Policies & rules > Threat policies > Email authentication settings > DKIM, open your domain, add the two CNAMEs from Publish CNAMEs at your registrar, then turn on Sign messages for this domain with DKIM signatures.
Step 5: Connect Outlook on your computer and phone
- New Outlook for Windows: View > View settings > Accounts > Your accounts > Add Account. Enter your address, then Continue and Done.
- Classic Outlook for Windows: File > Add Account, enter your address, Connect, then Finish.
- Outlook for Mac: Outlook menu > Settings > Accounts > + Add Account, then Continue and Done.
- iPhone and Android: in the Outlook app for iOS or Android, select Add Account, enter your work address and follow the prompts.
- Outlook on the web: go to Microsoft365.com or outlook.office365.com.
Desktop apps need Business Standard or Premium. Business Basic uses Outlook on the web and mobile.
Once Outlook is connected, add an email signature so every message carries your name and contact details.
Step 6: Turn on basic security
Microsoft’s page on setting up multifactor authentication says tenants created after October 2019 have security defaults on by default. Per the security defaults guide, they cost nothing extra, require everyone to register for multifactor authentication (usually with the Microsoft Authenticator app) after a 24-hour grace period, and block older sign-in methods some old mail apps use.
To check, open the Microsoft Entra admin center and go to Entra ID > Overview > Properties > Manage security defaults, set Enabled and select Save. Some Microsoft pages label the first menu Identity. Don’t turn security defaults off unless you move to Conditional Access, which needs a paid upgrade such as Business Premium.
Common setup problems
The domain won’t verify. Microsoft’s guide to find and fix domain issues names three causes: a value missing its MS= part, a record not saved at the registrar, or a record that hasn’t updated yet (usually minutes, occasionally a few hours).
Records look wrong. On the Domains page (under Settings or Setup, depending on the page), check the Status column, select the three dots and choose Check health.
Email isn’t arriving. Microsoft’s article on emails not received for a new domain says to confirm the domain is verified and the MX record matches the admin center value. Also make sure old MX records are gone.
Everyone’s email moved at once. That’s how MX works: all mail for the domain goes to Microsoft 365. That’s why Step 3 comes first.
Frequently asked questions
How long does it take for Microsoft 365 email to start working?
It depends on the step. Microsoft’s troubleshooting article says a new domain can take up to one hour to reach all Exchange Online servers, and a new MX record up to 72 hours to spread worldwide. If mail still isn’t arriving after that, run Check health.
Can I keep my old email while I set up Microsoft 365 business email?
Yes. Mail keeps going to your current provider until you change the MX record. Afterward, messages in your old inbox stay with your old host unless you migrate them.
Do I need Business Standard for email?
No. Business Basic includes custom business email with Outlook on the web and mobile. Choose Business Standard if you want installable desktop apps.
What is the onmicrosoft.com address?
It’s the starter domain Microsoft creates at sign-up, like contoso.onmicrosoft.com. Microsoft’s domains FAQ says you can’t remove it, but it keeps working after you add your domain, and you don’t have to use it.
Sources
- Microsoft: Microsoft 365 Pricing for Business, Plans with Teams
- Microsoft: Microsoft 365 Business Basic
- Microsoft Learn: Try or buy a Microsoft 365 for business subscription
- Microsoft Learn: Set up Microsoft 365 Business Basic
- Microsoft Learn: Add a custom domain to Microsoft 365
- Microsoft Learn: Connect your domain by adding DNS records
- Microsoft Learn: Add users and assign licenses
- Microsoft Learn: Assign or unassign licenses for users
- Microsoft Learn: Domains FAQ
- Microsoft Learn: How to use DKIM for email in your custom domain
- Microsoft Support: Add an email account to Outlook for Windows
- Microsoft Support: Add an email account to Outlook for Mac
- Microsoft Support: Set up the Outlook app for iOS
- Microsoft Support: Set up email in the Outlook for Android app
- Microsoft Support: How to sign in to Outlook on the web
- Microsoft Learn: Set up multifactor authentication for users
- Microsoft Learn: Configure security defaults for Microsoft Entra ID
- Microsoft Learn: Find and fix issues after adding your domain
- Microsoft Learn: Emails aren’t received for a new domain
Your Next Step
Today, list every address that already receives mail at your domain and sign in to your registrar to confirm you can edit its DNS records. With both ready, you can set up Microsoft 365 business email starting with Step 1, without losing a message. For more help, browse our Email & Workspace guides.

Fernando Pompeu is a journalist and digital content writer with more than 8 years of experience in media outlets and news portals. He writes to explain things clearly and without jargon. At PlainSetup, he publishes step-by-step guides to the everyday tools small businesses run on, based on each tool’s official documentation and written for owners without an IT team.