
A client asks, “What time works for you?” You offer Tuesday at 10, they can’t make it, they suggest Thursday, you’re busy, and four messages later nothing is booked. A Google Calendar appointment schedule ends that back and forth: you publish the times you’re free, and people pick one themselves.
If you already use Google Calendar, you don’t need another tool. Per Google’s overview of appointment schedules, each booking lands on your calendar automatically. Some extras, like reminders and payments, need a paid Google plan, and this guide flags each one.
Quick steps
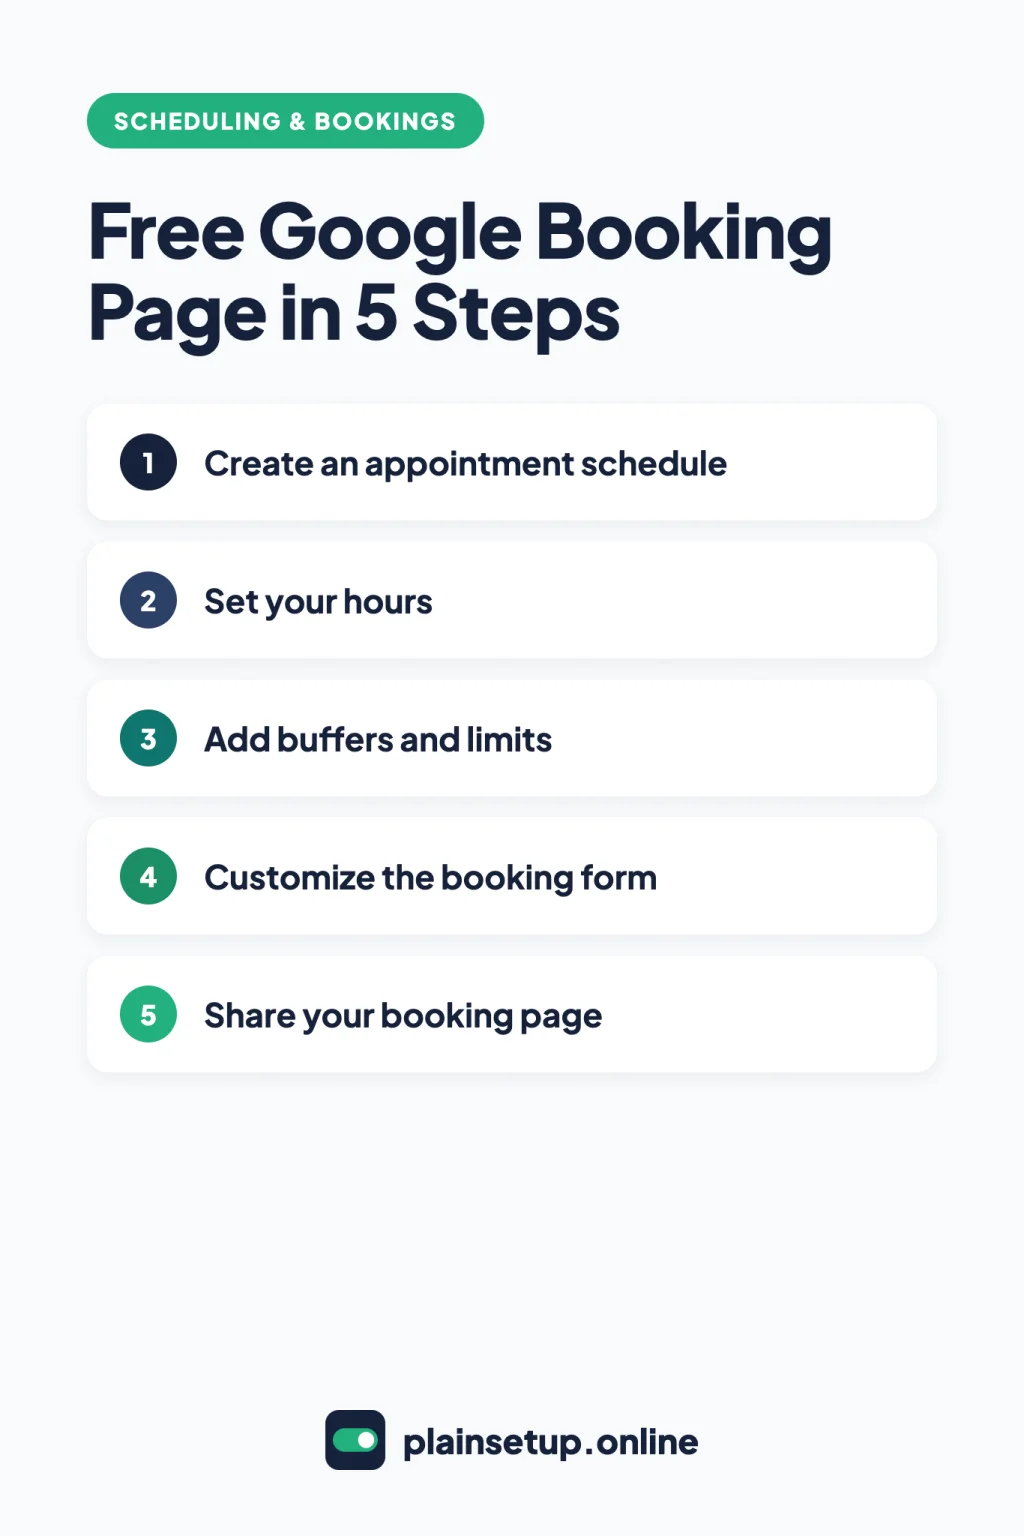
- On a computer, open Google Calendar and click Create > Appointment schedule.
- Set the appointment length and your weekly hours.
- Add buffer time, a daily booking limit and a scheduling window.
- Customize the booking page and booking form, then click Save.
- On a paid plan, add email reminders and connect Stripe for payments.
- Copy your booking page link or embed it on your website.
Free vs paid: what you get with each account
Google’s page to compare premium features for appointment schedules says a personal Google Account or a Workspace Business Starter plan can create a single booking page. Workspace Frontline, Essentials and older Workspace subscriptions that are no longer offered can’t create appointment schedules at all. Here’s what Google’s comparison chart shows for each account type:
| Feature | Personal account or Business Starter | Google One Premium, Google AI Pro or Google AI Ultra | Workspace Individual | Business Standard and Plus, Enterprise, Education, Nonprofits |
|---|---|---|---|---|
| Booking pages | One | More than one | More than one | More than one |
| Automatic email reminders | No | Yes | Yes | Yes |
| Check availability across multiple calendars | No | Yes | Yes | Yes |
| Accept payments for appointments | No | No | Yes | Yes |
| Verify emails to prevent spam bookings | No | No | Yes | Yes |
| Appointment schedules on secondary calendars | No | No | No | Yes |
| Up to 20 co-hosts | No | No | No | Yes |
- Google One: Google One Help says the premium features need AI plans of 2 TB or above, in eligible countries including the US, Canada and the UK. Prices for your region are on the Google One plans page.
- Free accounts still get the basics. Google’s appointment scheduling page lists buffer time, start and end dates, custom questions and a daily booking limit at no cost.
Need payments without Workspace? Our guide to setting up Calendly covers a dedicated tool, and our overview of online booking systems for small businesses compares the main choices.
Step 1: Create your Google Calendar appointment schedule
You need a computer with a supported web browser. Google’s guide to create an appointment schedule says you can’t create one in the Calendar app for Android or iPhone and iPad.
- On a computer, open Google Calendar.
- At the top left, click Create.
- Select Appointment schedule.
- In the Bookable appointment schedule panel on the left, click Add title and name the schedule, for example “30-minute consultation”.
Anyone with your booking page link sees the title, so write it for clients. You can also start from the Booking pages section on the left by clicking Create appointment schedule.
Step 2: Set your hours and appointment length
Still in the same panel:
- Appointment duration: click the Down arrow and choose a length, or select Custom to type your own.
- General availability: set the days, times and time zone you take appointments. For a weekly schedule, each time slot has three options: Unavailable all day, Add another period to this day and Copy time to all to repeat the same hours every day.
- Adjusted availability: change your hours for specific dates, like holidays. Click Change a date’s availability, pick the date and set new times, or click Unavailable all day.
Your booking page also hides busy times. Per Google’s page on editing your appointment schedule, events you RSVP “Yes” or “Maybe” to won’t show as open.
Step 3: Add buffers, limits and booking windows
Google’s guide to update your availability for appointments covers these settings:
- Scheduling window: set the maximum time in advance someone can book and the minimum notice you need. By default there’s a 4-hour minimum notice. For recurring schedules, Start and end dates limits the schedule to a date range.
- Booked appointment settings > Buffer time: check the box and enter the time you want between appointments.
- Booked appointment settings > Maximum bookings per day: check the box and enter how many appointments you’ll take in a day.
- Calendars: choose the calendar where bookings go and keep Check calendars for availability turned on to avoid conflicts. Checking secondary calendars too needs an eligible Workspace or Google One plan, as Google’s page to check your availability across calendars explains.
Click Next when you’re done.
Step 4: Customize the booking form
The next screen sets up what clients see:
- Booking page photo and name: these come from your Google Account. To change them, update your personal info there.
- Location and conferencing: click Select how and where to meet, then choose Google Meet video conferencing, In-person meeting, Phone call or None / to be specified later.
- Description: explain your service. It shows on your booking page, in confirmation emails and in the event description.
- Booking form: first name, last name and email address are always required. Click Add an item to ask your own questions, such as a phone number.
- Require email verification (premium): check this box to send a verification code to people who aren’t signed in to a Google Account. It’s off by default, and Google’s page to verify emails for appointments says it needs an eligible Google Workspace subscription.
Click Save. When someone books, you, any co-hosts and the person who booked get a confirmation email, and Google’s help pages don’t tie these confirmations to a paid plan.
Step 5: Turn on reminders and payments (premium)
Reminders need one of the paid plans in the table above. In the Booking confirmations and reminders section, click Add reminder to send more than one. You can send up to 5 reminders. One limit to know: “You can’t edit the text of the reminder emails.”
Payments need Workspace Individual, Business Standard or Plus, Enterprise Standard or Plus, an Education edition or Nonprofits, plus a Stripe account. Google’s guide to require payments for appointments gives these steps:
- In Google Calendar, at the top right, click the Settings menu > Settings.
- On the left, click General > Appointment schedules.
- Click Connect Stripe and follow the prompts.
- Create or edit an appointment schedule and expand Payments & cancellation policy.
- Check Require payment when booking, enter the amount and currency, and add a cancellation policy if you want one.
- Click Save.
Clients pay through Stripe with a credit card, Apple Pay or Google Pay, and currencies are provided by Stripe. Google doesn’t store card details or charge platform fees. Refunds aren’t automatic: if an appointment is canceled, you issue the refund from your Stripe dashboard, and your cancellation policy is yours to carry out.
Don’t see the option on a business account? Your Workspace admin controls it under Apps > Google Workspace > Calendar > Advanced settings > Appointment schedules with payments. Google’s admin page to allow paid appointment schedules says it’s off by default on every supported edition except Business Standard.
Step 6: Share your booking page
Google’s guide to share your appointment schedule notes that your booking page is always public: anyone with the link sees the page, your profile photo and your account name.
On a computer: under Booking pages, hover over your schedule and click Copy link. Paste it into your email signature, invoices or social profiles.
On your phone: in the Google Calendar app, tap Menu at the top left, tap your appointment schedule, then Share. On Android, tap Copy; on iPhone and iPad, tap Copy link.
Add it to your website:
- Under Booking pages, hover over the schedule and click Options > Sharing options > Website embed.
- Choose All booking pages or A single booking page.
- Pick Button with popup (set the button text and color) or Inline booking page (you can edit the width and height in the code).
- Click Copy code > Done and paste the code into your website’s HTML.
Google’s embed chart shows both options on Shopify, Squarespace, Unbounce and WordPress.org. Google Sites, Weebly, Wix and WordPress.com get the inline booking page only.
Open the link yourself before sharing it. Because of the 4-hour default minimum notice, a new page may show no times for today. That’s expected.
Frequently asked questions
Is Google Calendar appointment scheduling free?
Yes, for one booking page, which Google One Help says takes unlimited appointments at no charge. More pages, reminders and multi-calendar checks need a 2 TB+ Google One AI plan or eligible Workspace plan.
Can I take payments with Google Calendar appointment schedules?
Only on the eligible Workspace plans listed in Step 5, through your own Stripe account. Google’s payments help page doesn’t list supported countries, so check with Stripe for yours.
Can I create an appointment schedule on my phone?
No. Creating one needs a computer with a supported web browser. Afterward, you can share it from the Calendar app on Android, iPhone or iPad.
Can I add the booking page to my website?
Yes. Website embed gives you code for a popup button or an inline page. Google’s sharing guide lists which website builders support each option.
Sources
- Google Calendar Help: Learn about appointment schedules in Google Calendar
- Google Calendar Help: Create an appointment schedule
- Google Calendar Help: Compare premium features for appointment schedules
- Google Calendar Help: Update your availability for appointments
- Google Calendar Help: Edit your appointment schedule
- Google Calendar Help: Check your availability across calendars
- Google Calendar Help: Verify emails for appointments
- Google Calendar Help: Require payments for appointments
- Google Workspace Help: Allow paid appointment schedules in Calendar
- Google Calendar Help: Share your appointment schedule (computer)
- Google Calendar Help: Share your appointment schedule (Android)
- Google Calendar Help: Share your appointment schedule (iPhone and iPad)
- Google Workspace: Online Appointment Scheduling with Google Calendar
- Google One Help: Use Google Workspace premium features
- Google One: Plans and pricing
Your Next Step
Today, write down the one service you want people to book, how long it takes and the hours you’ll offer it. Then open Google Calendar on your computer and create your Google Calendar appointment schedule with just that service, and send the link to one client. For more help, browse our Scheduling & Bookings guides.

Fernando Pompeu is a journalist and digital content writer with more than 8 years of experience in media outlets and news portals. He writes to explain things clearly and without jargon. At PlainSetup, he publishes step-by-step guides to the everyday tools small businesses run on, based on each tool’s official documentation and written for owners without an IT team.