
Your newsletter list, signup form and welcome email all live in Mailchimp, and you’ve decided to switch. This guide shows how to move from Mailchimp to MailerLite in a safe order: clean the list, back it up, import it with the right statuses, rebuild what doesn’t transfer and test before your first send.
Still weighing the options? Our Mailchimp vs MailerLite vs Kit comparison covers plans and features. This post is only about the move itself.
Menu names come from the Mailchimp and MailerLite help centers, linked as we go. Both tools update their menus, so a label may look slightly different in your account.
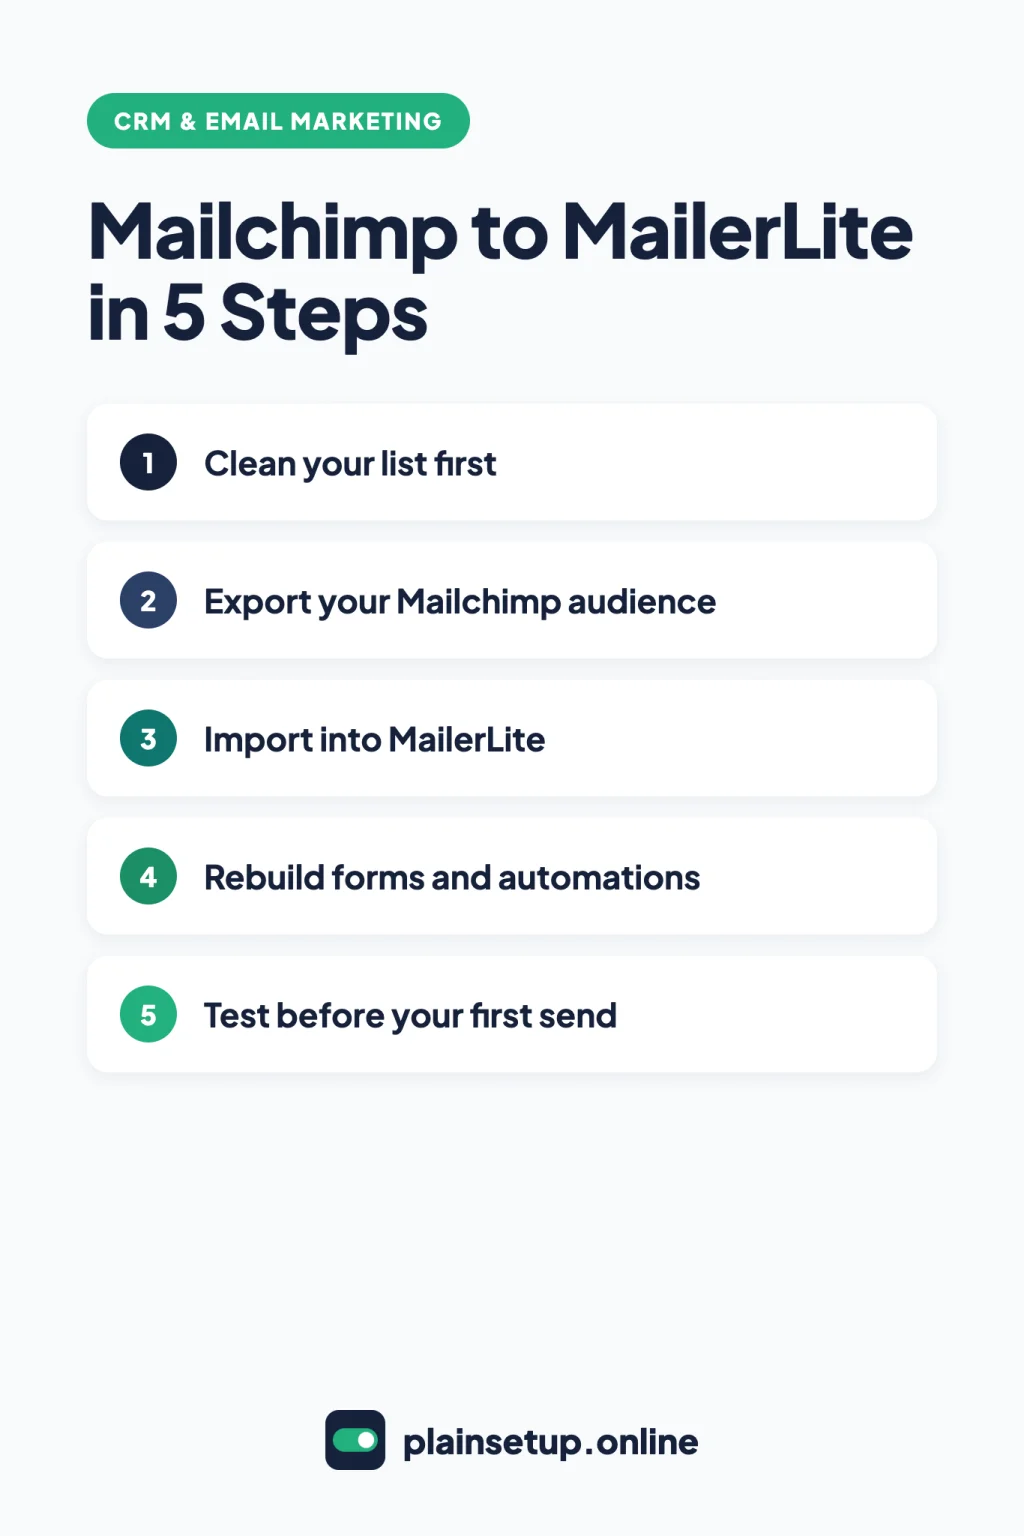
Quick steps
- Clean your Mailchimp list before you export anything.
- Export your audience and back up your templates.
- Create your MailerLite account and authenticate your sending domain.
- Import subscribers with the Mailchimp tool or a CSV file.
- Rebuild forms, templates and automations in MailerLite.
- Test everything, then switch the forms on your website.
Before you move from Mailchimp to MailerLite: what transfers
MailerLite’s Mailchimp migration guide brings over your subscribers and some of their organization. Everything else you rebuild.
| Item | Moves with the import tool? | What to do |
|---|---|---|
| Subscribers and their fields | Yes | Map fields automatically or by hand |
| Lists and tags | Yes, as groups | Pick one group per tag, or one group for all |
| Basic, field-based segments | Yes | Check them after the import |
| Behavioral, e-commerce or advanced segments | No | Rebuild them by hand |
| Unsubscribed and unconfirmed contacts | Optional | They can’t be sent newsletters |
| Forms, landing pages, templates, automations | No | Recreate them in MailerLite |
| Opens and clicks | No | Keep a Mailchimp report export as a record |
Check your list size first. During MailerLite’s 14-day premium trial you can add up to 250 subscribers and send up to 2,500 emails. The Free plan also stops at 250 subscribers, so a bigger list needs a paid plan before you import it all.
The MailerLite pricing page lists Comfort from $12 per month and Power from $25 per month, billed monthly, for up to 500 subscribers. Billing is based on active subscribers, and the FAQ says people who unsubscribed or bounced don’t count. Yearly billing saves 10%.
Prices checked in October 2026. Plans and prices change, so confirm on the official pricing page before you buy.
Step 1: Clean your list before you move
Moving is the easiest time to drop addresses that never open your emails. Every inactive subscriber you import into MailerLite counts toward your plan, and any address that was active during a billing cycle counts even if you delete it later, per the pricing FAQ.
In Mailchimp, build a segment of people who haven’t opened in a while and archive them. Mailchimp says archived contacts don’t count toward your billing tier, and you can still export them later. Our guide on how to clean your email list and remove inactive subscribers walks through the exact filters.
Step 2: Export your Mailchimp audience and back up your account
Even if you use MailerLite’s import tool, keep your own copy. Mailchimp’s guide to viewing or exporting contacts says only Owners and Admins can export audiences.
- Click Audience. If you have more than one audience, choose it from the Audience drop-down.
- Click Export audience, then Export CSV in the pop-up.
- Wait for the email, then download the file. To find it again, go to More options > Export history.
The download can be a ZIP file with separate CSV files for subscribed, unsubscribed, non-subscribed and cleaned contacts. The contact type appears in each file name. Exports stay in your account for 30 days, and archived contacts are exported separately. Contact exports don’t include opens and clicks.
For a fuller backup, Mailchimp’s page on exporting account data covers templates as HTML files, sent emails and reports. Click your profile icon > Account > Settings drop-down > Manage my data, tick the data you want, choose a time frame and click Export Data. You get one account export per 24 hours, and it can take up to 24 hours for large accounts. Website, landing page and ad content are not included, so screenshot your landing pages if you want to copy them.
Step 3: Set up MailerLite and authenticate your domain
Create your account from MailerLite’s account setup guide: fill in your details, click Create my account, answer a few questions and click Verify email address in the email MailerLite sends you. The same page says MailerLite reviews content regularly against its Terms of Use.
Then authenticate the domain you send from. MailerLite’s domain authentication guide says this is required for a custom sending domain, and new accounts can skip it only during the 14-day trial.
- Go to Account settings > Domains tab > Add domain.
- Enter your sending email address and click Save.
- Use the automatic setup, or choose Or manually authenticate your domain to get DKIM, SPF and domain verification records.
- Add them at your DNS provider exactly as shown, then click Authenticate > Check DNS Records.
Records usually pass in minutes but can take up to 24 hours. If your list is over 250 subscribers, upgrade before importing: Account settings > Plan and billing > Upgrade (paid plan).
Step 4: Import your subscribers
Option A: the Import from Mailchimp tool
This is the route MailerLite’s migration guide describes:
- Go to Subscribers > Add subscribers > Import from Mailchimp tab.
- Connect with Log in using credentials (then click Allow in Mailchimp) or Connect via API key.
- Select your lists and click Next.
- Choose Map the fields for me or Map the fields myself.
- Choose Create groups for each list and tag or Add all subscribers to one group. As the guide puts it, Mailchimp uses tags and MailerLite uses groups to label subscribers.
- Choose whether to bring over segments and whether to include Unsubscribed or Unconfirmed subscribers.
- Pick Update missing info only or Overwrite all fields for duplicates, then click Let’s import.
If you map fields yourself, the guide suggests skipping contact_id and storing ip_opt in a custom field such as Opt-in IP address, as proof of consent. Click Finish import to see how many subscribers were added, updated and not added. New Mailchimp sign-ups don’t sync on their own, so use Sync again under Import from Mailchimp until your new forms are live.
Option B: a CSV file
MailerLite’s guide to importing subscribers uses Subscribers > Add subscribers > Import from a CSV or TXT file. Upload the file, click Import subscribers, choose a group or click Add new group, match each column to a field and click Finish import.
Import only the subscribed CSV. MailerLite rejects addresses already marked unsubscribed, bounced or spam complaint in your MailerLite account, but a new account has no history yet. Leave out the cleaned file too: per Mailchimp’s page about your contacts, those addresses are hard bounces or repeated soft bounces. MailerLite also blocks role-based addresses such as admin@ and support@.
MailerLite asks that every subscriber you add has agreed to receive marketing email from you, and its page on who you can email excludes purchased lists and old contacts you haven’t emailed in two years. Consent rules also depend on the laws where you and your subscribers are, so check those separately; this guide isn’t legal advice.
Step 5: Rebuild forms, templates and automations
- Forms: per MailerLite’s embedded form guide, go to Forms > Embedded forms > Create form. Select the group new subscribers should join, edit the fields and click Next.
- Landing pages: Sites > Landing pages > Create.
- Templates: open My templates and recreate your newsletter layout with the Drag & drop editor. Your Mailchimp HTML backup is a handy reference for colors and wording.
- Automations: the migration guide says Automation > New automation; the automation workflow guide says Automations > Create workflow. Start a welcome email with the Joins a group trigger, add Send email and click Activate.
Free has limits: the pricing page lists 3 automations, 3 signup forms and 1 landing page. Multiple triggers in one automation need Power.
Step 6: Test everything before your first send
MailerLite’s migration guide ends with a test round:
- Preview each form and landing page, then sign up with your own address.
- Check that the test sign-up lands in the right group and triggers your welcome automation.
- Send test emails to yourself. Test emails don’t count toward the trial’s 2,500-email limit.
- Compare subscriber counts with your Mailchimp export. In MailerLite, the Subscribers page shows active subscribers by default (subscriber statuses).
When the numbers match, replace the Mailchimp forms on your website with the MailerLite ones, run Sync again one last time and send your first campaign.
Frequently asked questions
Does MailerLite have a Mailchimp import tool?
Yes. The Import from Mailchimp tab under Subscribers > Add subscribers connects to your Mailchimp account and imports lists, fields, tags as groups and basic segments, per MailerLite’s migration guide.
Will my unsubscribed contacts come over?
Only if you tick that option. MailerLite keeps them in a separate category from active subscribers and won’t send them newsletters. If you import by CSV, upload only the subscribed file.
Can I move my Mailchimp templates to MailerLite?
MailerLite’s guide says to recreate them in My templates. Mailchimp’s account export gives you HTML files of your templates to keep as a reference.
Do I need a paid plan to move from Mailchimp to MailerLite?
Not for up to 250 subscribers. The trial and the Free plan both stop at 250, so a bigger list needs Comfort or Power, per the pricing page.
Sources
- MailerLite: How to migrate from Mailchimp to MailerLite
- MailerLite: How to import subscribers
- MailerLite: What is included in MailerLite’s 14-day premium trial?
- MailerLite: How to create a MailerLite account
- MailerLite: Who can I send emails to in MailerLite?
- MailerLite: Subscriber statuses explained
- MailerLite: Domain authentication
- MailerLite: How to create an embedded form
- MailerLite: How to create an automation workflow
- MailerLite: Pricing
- Mailchimp: View or Export Your Contacts
- Mailchimp: Export and Back Up Account Data
- Mailchimp: Archive or Unarchive Your Contacts
- Mailchimp: About Your Contacts
Your Next Step
Today, export your Mailchimp audience and open the ZIP file to see how many subscribed contacts you really have. That number tells you which MailerLite plan you need before you move from Mailchimp to MailerLite. For more help, browse our CRM & Email Marketing guides.

Fernando Pompeu is a journalist and digital content writer with more than 8 years of experience in media outlets and news portals. He writes to explain things clearly and without jargon. At PlainSetup, he publishes step-by-step guides to the everyday tools small businesses run on, based on each tool’s official documentation and written for owners without an IT team.