
You finished a project, the client asked for an invoice, and you already take card payments through Stripe. Now you want a proper bill with a Pay button, not a payment link pasted into an email. This guide shows how to send invoices with Stripe from the Dashboard, step by step, with no code.
You’ll set up your branding once, add the customer, add what you sold, pick a due date and payment methods, then send and track the invoice. Menu names come from Stripe’s docs and can change.
New to invoicing in general? Read what a professional invoice should include first. Still choosing a payment provider? Our guide on how to accept credit card payments compares the card fees.
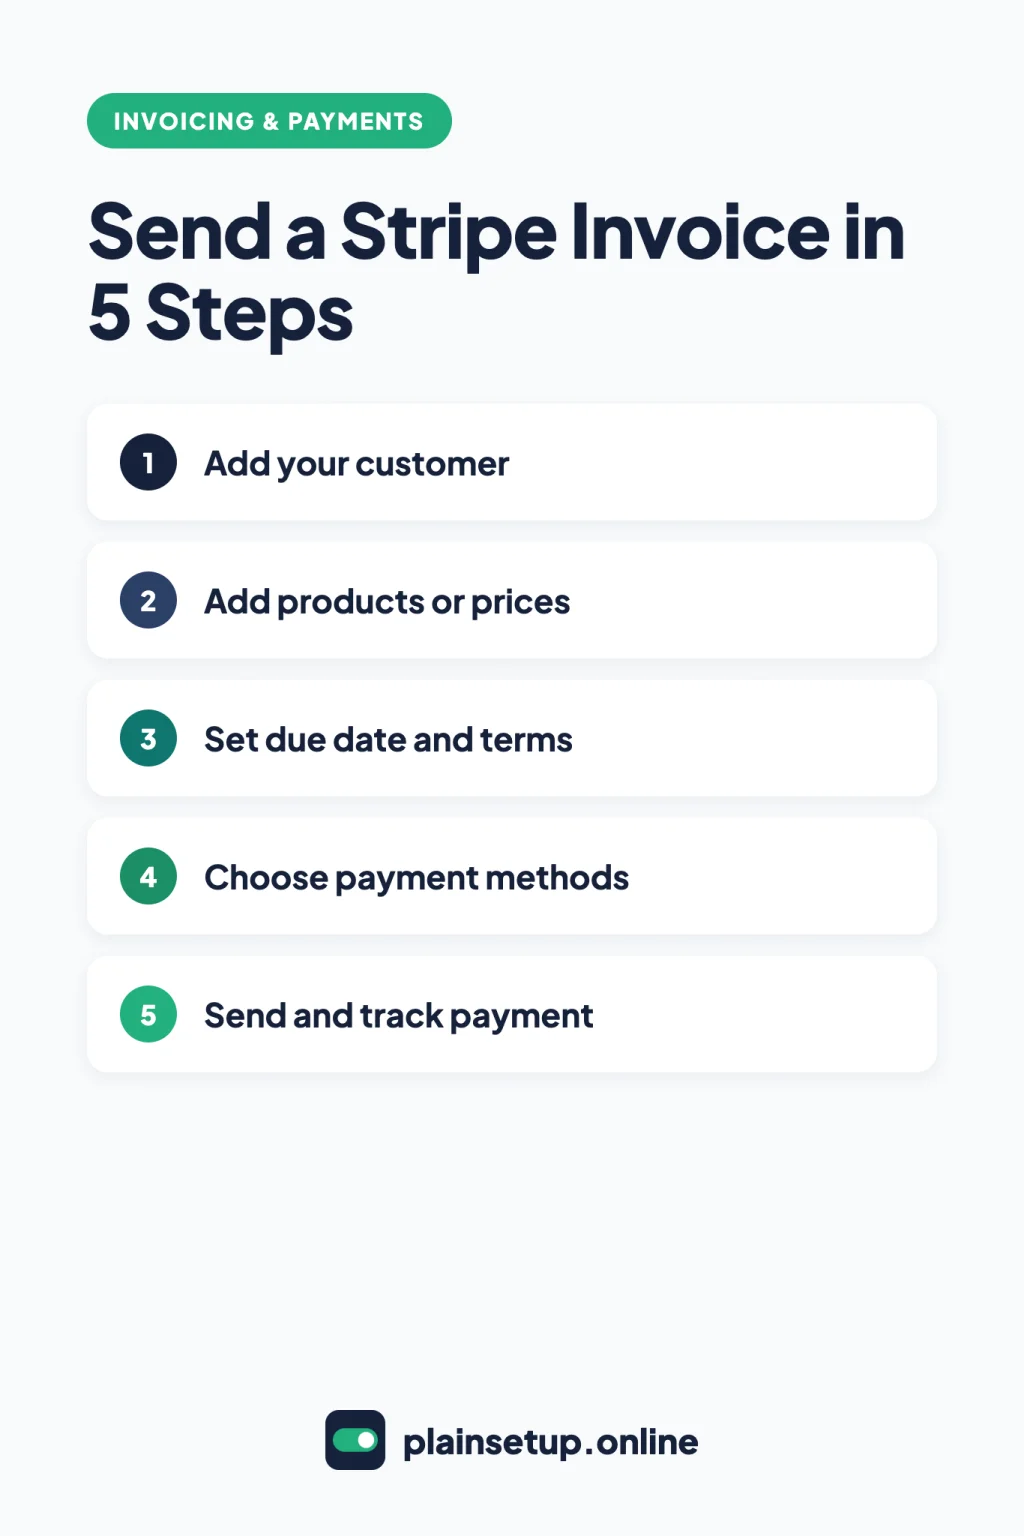
Quick steps
- Add your logo, colors and default payment terms.
- Add the customer with a name and email.
- Save your services as products, or add one-off items.
- Create the invoice and set the due date and memo.
- Choose payment methods and email the invoice.
- Track its status and turn on automatic reminders.
Before you send invoices with Stripe: account and fees
You need a Stripe account. Stripe’s invoicing guide starts with your email, full name, country and a password, then Verify your email. To take real payments, finish your profile in Account settings (business, identity and bank details), then Agree and submit. In the US, Stripe verifies your legal entity name and type, EIN, SSN (or ITIN) and business address, and PO boxes aren’t accepted (US account requirements).
Until then, you can practice in a sandbox. Stripe’s guide suggests creating test invoices there first, and the Dashboard guide says to select a Billing plan before you use Invoicing features.
Stripe Invoicing has no monthly fee. On the US Invoicing pricing page:
| Plan | Invoicing fee | What it adds |
|---|---|---|
| Starter | 0.4% per paid invoice | Hosted invoice page, reports, customer portal, automatic collection and reminders |
| Plus | 0.5% per paid invoice | Everything in Starter, plus quotes |
The payment fee comes on top. Stripe’s US pricing page lists 2.9% + 30¢ per successful transaction for domestic cards. Its local payment methods pricing lists ACH Direct Debit at 0.8% with a $5.00 cap, and USD Bank Transfer at 0.5% with a $5.00 cap.
Example: a $1,000 invoice on Starter, paid by a domestic card, costs $4.00 (0.4% of $1,000) plus $29.30 (2.9% of $1,000 + $0.30), or $33.30. Paid by ACH Direct Debit, it costs $4.00 plus $5.00 (0.8% of $1,000 is $8.00, capped at $5.00), or $9.00.
Stripe’s Invoicing pricing article says “Users are only charged when an invoice is paid through Stripe.” Unpaid, voided and paid-outside-Stripe invoices aren’t charged.
Prices checked in October 2026. Plans and prices change, so confirm on the official pricing page before you buy. These are US rates in USD; fees differ in other countries.
Step 1: Set up your invoice template and branding
Do this once and every invoice looks like yours. Stripe’s customization guide covers two places:
- Branding settings: upload an Icon and a Logo, and pick a Brand color and Accent color. Files must be JPG or PNG, under 512 KB, and at least 128 by 128 pixels. The logo shows on invoice PDFs.
- Settings > Billing > Invoices: set a default memo, a default footer, your invoice numbering and Default payment terms (when payment is due after you send it).
Numbering can run per customer or across your whole account. Stripe picks a default by country: the UK and EU typically use account-level numbering, and other countries, including the US, default to customer-level. Invoices also show your Public business information, such as a support email (hosted invoice page guide).
Step 2: Add a customer
Per Stripe’s Customers guide, search the Customers page first, because duplicate records cause problems later. Then:
- Click Add customer (or press N).
- Enter at least the Name and Account email. Stripe sends invoices and payment notices to this email.
- Add a billing address and a preferred Language if you need them. Invoices show the billing address.
- Click Add customer in the dialog.
Customers are single-currency: once you invoice someone, you can’t change their currency.
Need a second person copied, like the client’s accounts payable team? Open the customer, click Edit, untick Same as account email under Billing information, then use Add more recipients to fill Emails to CC (customer emails guide).
Step 3: Add products or one-off items
If you bill the same services often, save them. Go to the Product catalog page, click Add product, choose a one-time product, and give it a name and a price (products and prices guide). Next time, you pick it from a list instead of typing it.
For a one-time job, skip this. In the invoice editor, Add one-time item creates a line that only exists on that invoice.
Step 4: Create the invoice
Following Stripe’s Dashboard guide:
- Go to Invoices and click Create Invoice. Stripe saves a draft whenever you leave the editor.
- Select the customer, or Add new customer.
- Choose the currency from the overflow menu (⋯) in the Items section if you need to.
- Add items with Add one-time item or pick a saved product, then enter Quantity and Price. Item options lets you add a tax rate, a coupon or a supply date.
- Set the due date. Stripe’s invoicing guide shows Request Payment with a choice like Due in 30 days.
- Write a short note in the Memo box, such as the project name. Under Advanced options, you can add up to four custom fields, like a PO number, and choose A4 or Letter page size.
Check the due date carefully. Once an invoice is finalized, you can’t change its due date; you have to void it and send a new one (manage invoices guide).
On tax: Stripe Tax can calculate sales tax on invoices with the Collect tax automatically toggle, but only where you have a tax registration set up; see Stripe’s guide to tax on invoices and check your obligations with your tax authority or an accountant.
Step 5: Choose payment methods and send
Customers can pay with any method enabled in your invoice settings. For first-time users, Stripe automatically turns on card, Link, bank transfers, Cash App Pay and WeChat Pay (Use invoices). Change the defaults under Default payment terms, or pick methods on a single invoice.
Availability depends on your country. Stripe’s payment methods list shows ACH Direct Debit and Cash App Pay for US businesses only, Bacs Direct Debit for the UK, and pre-authorized debits for Canada and the US. Cards work in most locations.
Next, pick how the invoice goes out. The Dashboard guide lists four options:
- Email invoice with link: Stripe emails a payment page link and the invoice PDF. This is the usual choice.
- Email invoice without link: the PDF only, no Pay button.
- Send invoice or payment page link manually: you copy the link and send it yourself.
- Automatically charge a payment method on file: for customers whose card you already saved.
Click Review invoice. You can add more email addresses or schedule a send date. Stripe’s invoicing guide shows a preview of the PDF, email and payment page, and the final button as Finalize and send.
The link opens Stripe’s hosted invoice page, where the client can see the amount and status, pay, and download PDFs of the invoice and receipt. The link expires 30 days after the due date (hosted invoice page guide).
Step 6: Track payment and reminders
The Invoices page shows each invoice’s status. Stripe’s invoice lifecycle guide lists five: draft, open (finalized and waiting), paid, void and uncollectible. Open invoices can show badges like Past due.
To chase late payers automatically, go to Settings > Billing > Invoices, find Manage advanced invoicing features and turn on Send reminders if a one-off invoice hasn’t been paid. Click Add reminder for each one and pick a schedule before, on or after the due date (automatic collection guide). Both Starter and Plus include automatic reminders.
Other everyday actions:
- Resend by hand: open the invoice and click Send invoice.
- Paid by check or cash: overflow menu (⋯) > Change invoice status > Paid.
- Made a mistake: Duplicate invoice, fix the copy, send it, and void the old one with Change invoice status > Void.
Stripe pays the money into your bank account. Its payouts guide says your first payout is typically scheduled within 7 to 14 days after your first live payment, depending on industry, country and risk.
Frequently asked questions
Does it cost extra to send invoices with Stripe?
Yes, on top of payment fees. In the US, Invoicing Starter costs 0.4% per paid invoice and Plus costs 0.5%, with no monthly fee, per the Invoicing pricing page. You’re only charged when an invoice is paid through Stripe.
Can a customer pay a Stripe invoice by bank transfer?
Yes, if you enable it. Bank transfers are on by default for first-time users, and US businesses can also offer ACH Direct Debit. Stripe’s US pricing caps both USD Bank Transfer and ACH Direct Debit fees at $5.00.
Can I edit a Stripe invoice after sending it?
Only a little. Once finalized, you can’t change most details, including the due date, per Stripe’s lifecycle guide. Duplicate it, fix the copy, send it, and void the original.
Does Stripe send payment reminders automatically?
Only if you turn them on. Enable Send reminders if a one-off invoice hasn’t been paid in your invoice settings and add one or more reminders. Stripe skips a reminder if a payment is already processing.
Sources
- Stripe: Use the Dashboard
- Stripe: Send invoices to collect payments for an online business
- Stripe: Customize invoices
- Stripe: Customers
- Stripe: Products and prices
- Stripe: Payment methods
- Stripe: Use invoices
- Stripe: Hosted invoice page
- Stripe: Send customer emails
- Stripe: Automatic collection
- Stripe: How invoicing works
- Stripe: Manage invoices
- Stripe: Automatically collect tax on invoices
- Stripe: Invoicing built for speed and scale
- Stripe: Pricing & Fees
- Stripe: Local payment methods pricing
- Stripe: Stripe Invoicing pricing
- Stripe: Receive payouts
- Stripe: Requirements for having a US Stripe account
Your Next Step
Today, open a sandbox, add your logo and default payment terms, and create one test invoice to your own email with Email invoice with link. Once it looks right, you’re ready to send invoices with Stripe to real clients. For more help, browse our Invoicing & Payments guides.

Fernando Pompeu is a journalist and digital content writer with more than 8 years of experience in media outlets and news portals. He writes to explain things clearly and without jargon. At PlainSetup, he publishes step-by-step guides to the everyday tools small businesses run on, based on each tool’s official documentation and written for owners without an IT team.